With the term Jumpbox we denote a computer that will serve as a jump for your connection, allowing you to connect to any computer in the local network of the remote computer.
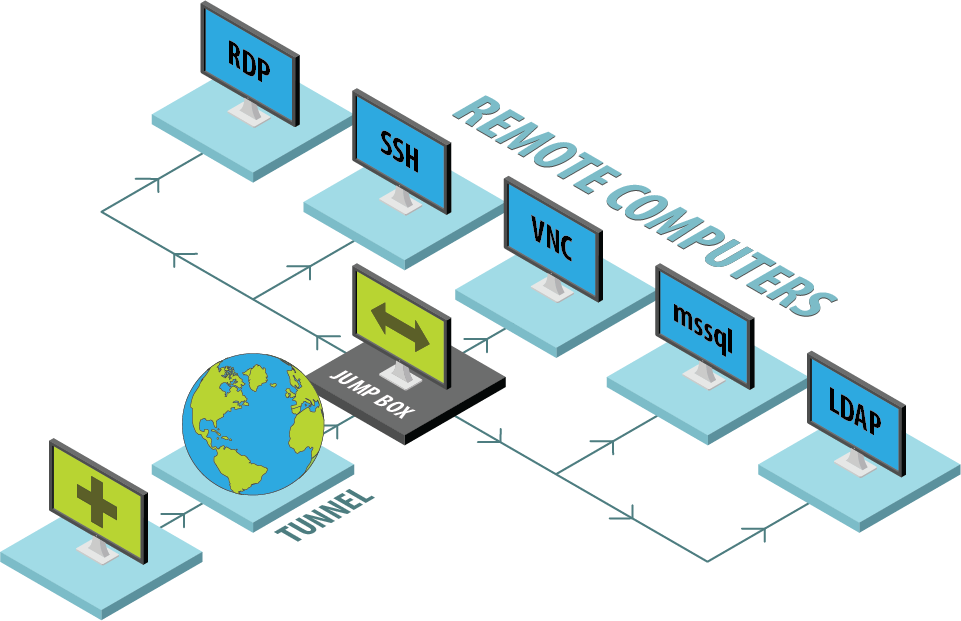
In examples we will be using three different computers A,B and C. B and C are in the same local network and A is in another network altogether. We are working on computer A and due to the configuration we can neither establish a RDP session or ISL Light session with C. However we can establish the ISL Light session with computer B. In this configuration the computer B will server as a jumbox. Take a look at the diagram below showing the network configuration. In our case computer B is a jumpbox and computer C is one of the remote computers.
Please refer to the relevant topic for your case:
Create an RDP session using a jumpbox
Step 1

Click on the "Action" next to the computer you will use as a jumpbox and select the "New Tunnel" option. Office - Macbook is computer B in our case.
Note: Even though we are making a RDP connection (Windows only connection) we can use a computer with a different operating system as a jumbox. In our case we are using a computer running macOS.
Step 2

In the IP field enter the local address of the computer C (located in the same local network as the target computer). Then click on "Create".
Note: The remote network has to be configured in such a way that a computers B and C can establish a connection between them.
Step 3

Enter the access password for computer B.
Step 4

Enter the login credentials for computer C when prompted.
Step 5
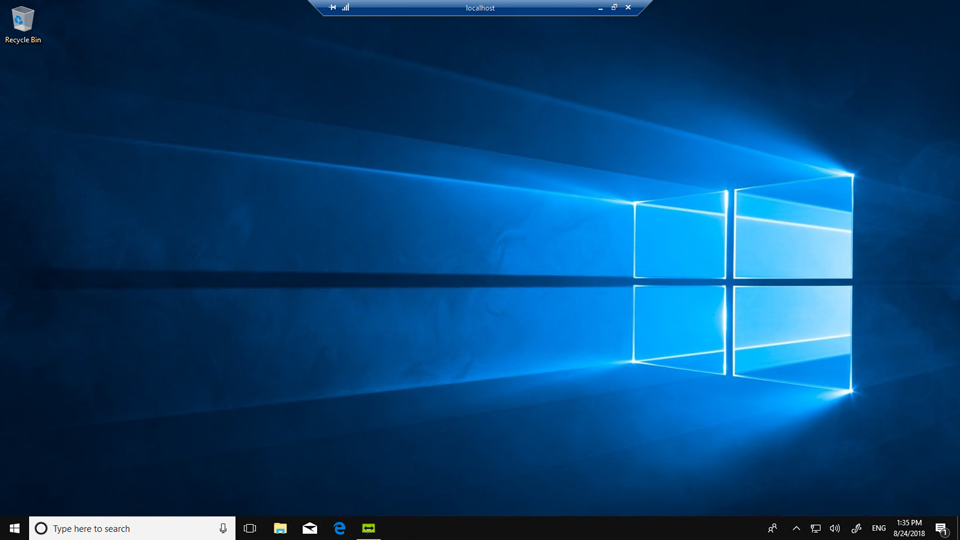
You can now control computer C via RDP.
Create an SSH session using a jumpbox
Step 1

Click on the "Action" next to the computer you will use as a jumpbox and select the "New Tunnel" option. Office - Windows 10 is computer B in our case.
Step 2

Enter the Username and the IP of the computer C (located in the same local network as the target computer). Then click on "Create".
Note: The remote network has to be configured in such a way that a computers B and C can establish a connection between them.
Step 3

Enter the access password for computer B.
Step 4
Note: Step 4 differs between Windows and macOS hosts. On Windows the PuTTY program will be launched to handle the SSH connection and on macOS the SSH will be handled trough Terminal.
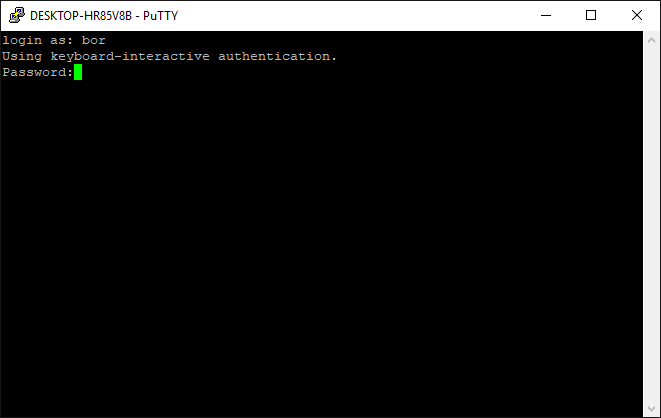
Enter the username and password for the remote computer to log in.
Note: On Windows the SSH connections are handled by PuTTY, which means that you will first have to install PuTTY first. Because of how the login procedure is handled by PuTTY you will have to enter your username again when SSH connection is established.
Step 5
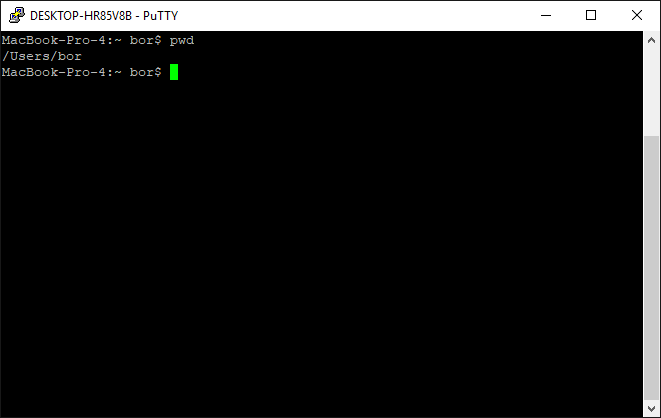
You are now connected to the computer C via SSH.
Related Articles:
Remote Printing via Custom Tunnel (Example)