This topic shows how to create a tunneled session for RDP and SSH access to the remote computer.
Create an RDP session
Step 1

Click on the "Action" button next to the computer you wish to connect to and select the "Connect via... - New Tunnel" option.
Step 2

Click the "Create" button to create a tunnel for an RDP session.
Note: You should leave the IP Address field empty, in that case the value is set to localhost which means you will connect to the target computer (specifying a remote IP will make the remote computer act as a Jump Box to the target IP).
Note: You should change the Port field if you configured the remote computer to listen for RDP connections on some other port, otherwise leave the field blank and default port 3389 will be used.
Step 3 (Optional) - Edit RDP settings

The RDP (mstsc.exe) parameters are specified in ISL Light settings under "Port Forward" and are set to:
C:\WINDOWS\sysnative\mstsc.exe /public /v:localhost:{PORT}You can change this settings to alter the behaviour of RDP. Keep in mind that this are RDP native settings and as such the Microsoft documentation should be consulted for adding them: RDP command line parameters.
Adding a /multimon flag will thus enable multi monitor view as provided by RDP. Then edited Default rdp schema would look like this:
C:\WINDOWS\sysnative\mstsc.exe /public /v:localhost:{PORT} /multimonStep 4

Enter the global password of the remote computer and click "Connect" to start the ISL Light session which will serve as a tunnel.
Step 5

Enter the Windows account login information for the remote computer and click "OK" to start the RDP session.
Step 5
 You are connected to remote computer via RDP.
Create an SSH session
Step 1

Click on the "Action" next to the computer you wish to connect too and select the "Connect via... - New Tunnel" option.
Step 2

Click the "Create" button to create a tunnel for SSH session.
Note: You should leave the IP Address field empty, in that case the value is set to localhost which means you will connect to the remote computer you selected. You should change the Port field if you configured the remote computer to listen for SSH connections on some other port, otherwise leave the field blank and default port 22 will be used.
Step 3

Enter the global password of the remote computer and click "Connect" to start the ISL Light session which will serve as a tunnel.
Step 4
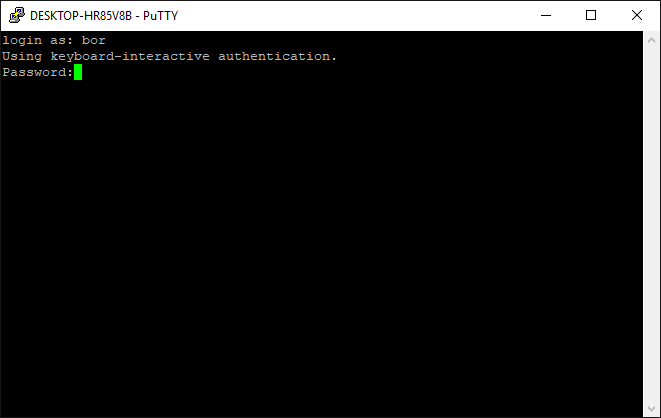
Enter the username and password for the remote computer to log in.
Note: On Windows the SSH connections are handled by PuTTY, which means that you will first have to install PuTTY. Because of how PuTTY implements the login procedure you will have to enter your username again when SSH connection is established.
Note: Depending on your configuration you might receive an error when creating an SSH connection in Windows. To fix it you can manually change the Default ssh schema and explicitly enter the path to PuTTY executable. The setting can be found in ISL Light Settings under Port Forward.
Default:
ssh://localhost:{PORT}Explicit:
"<path_to_PuTTY_executable/putty.exe>" localhost -P {PORT}
Step 5
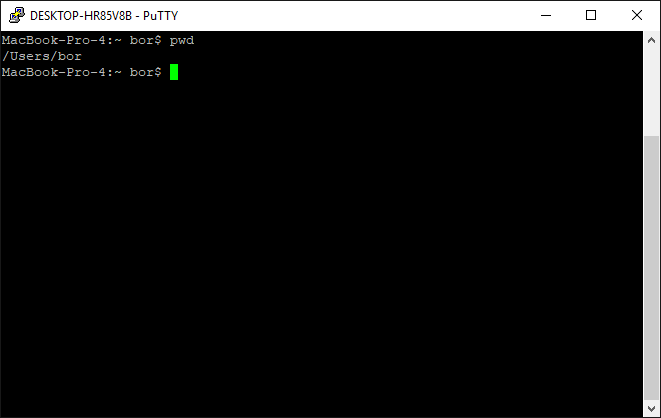
You are now connected to the remote computer via SSH.
Related Articles:
Remote Printing via Custom Tunnel (Example)