Follow the steps below to add the computer to your list of remote devices using the link sent via email, which should be opened on the target computer.
Step 1

Click "Set Unattended Access" from the "+" button dropdown.
Note: A computer can be added to the list of remote computers in several different ways, depending on your use case. All available options are described here: Set Unattended Access
Step 2

Ensure "Invite via... Email" is selected, enter the recipient's email address, and click the "Send" button.
Step 3 (Optional)
 To see additional options, click "Show Options" to expand the "Set Unattended Access" overlay.
Step 4 (Optional)

Here you can select to which group the new computer(s) should be added, the alias (computer name), and various tags.
Note: Adding a computer to the group is the same as adding the computer to the All Computers group and then dragging it to the appropriate group later. In both cases, the remote computer will be shared with all the users who are members of that group.
Step 5 (Remote Computer)
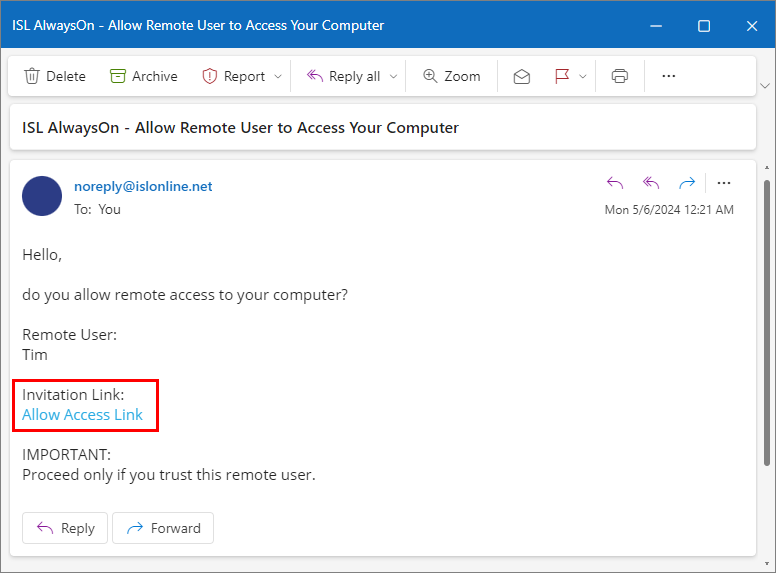
Open the email with the subject line "ISL AlwaysOn - Allow Remote User to Access Your Computer" on the remote computer and click "Allow Access Link".
Step 6 (Remote Computer)

Click the "Run" button to run ISL AlwaysOn which was downloaded automatically.
Note: The browser detects the computer's operating system and downloads the corresponding executable.
Note: If ISL AlwaysOn has already been installed on this computer, then proceed to Step 9 directly.
Step 7 (Remote Computer)

Click the "Next" button.
Step 8 (Remote Computer)

Click the "Finish" button.
Step 9 (Remote Computer)

Review the information and click the "Grant Access" button.
Note: If this is the first time the ISL AlwaysOn is being installed on this computer then you will be asked to set the Access Password for the computer as well. An Access password must be entered whenever you want to connect to the unattended computer.
Step 10

The computer has been added to the selected group and is available for connection.
Related Articles:
Set Unattended Access via Link
Set Unattended Access via Code