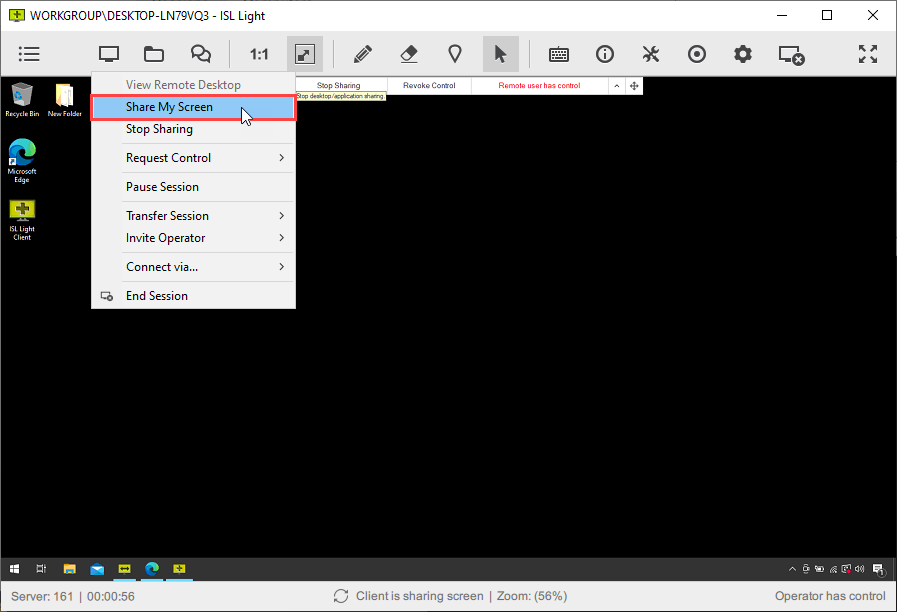
The following options are available in the Desktop Sharing menu:
- View Remote Desktop
- Share My Screen
- Stop Sharing
- Request Control
- Transfer Session
- Invite Operator
- Pause Session
- Connect via...
- End Session
Video Tutorial
View Remote Desktop
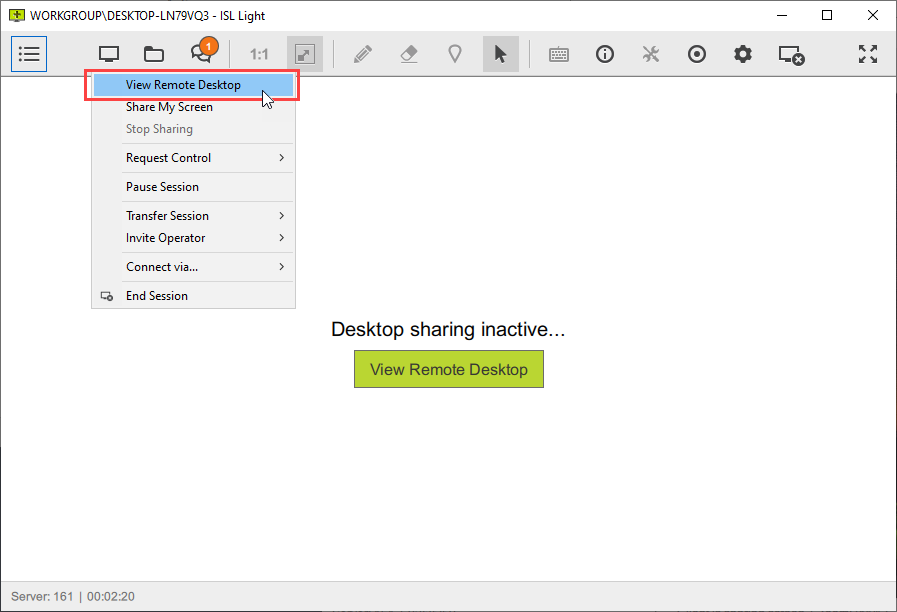
Click "View Remote Desktop" from the desktop sharing drop-down to begin viewing the remote desktop. Alternatively, you can click on the green button "View Remote Desktop" in the middle of the application window.
Note: If you are connected to your own computer then viewing your own screen will cause it to be displayed as a nested image within itself. You will be prompted to confirm this action.
Share my Screen
Note: "Share my Screen" feature is not available when connecting from ISL Light to ISL AlwaysOn (Unattended Access).
Step 1

Click "Share My Screen" from the desktop sharing drop-down to share your screen.
Step 2
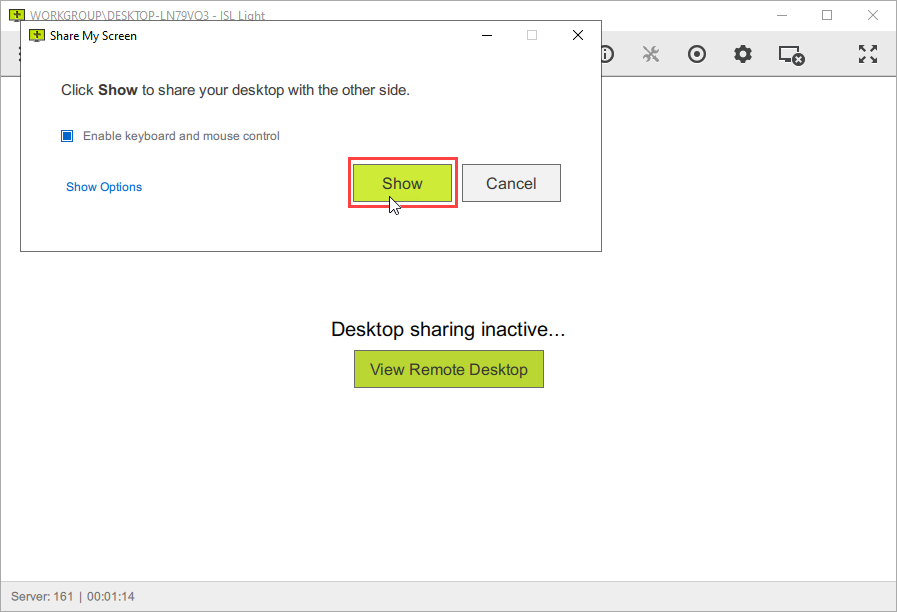
Click the "Show" button to confirm.
Step 3
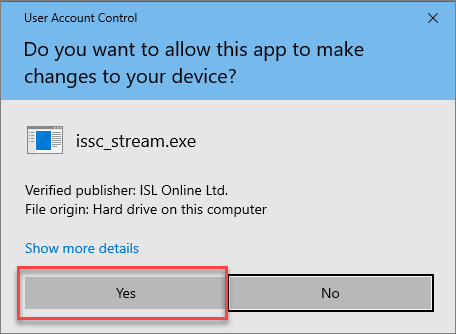
Confirm UAC by clicking the "Yes" button.
Step 4
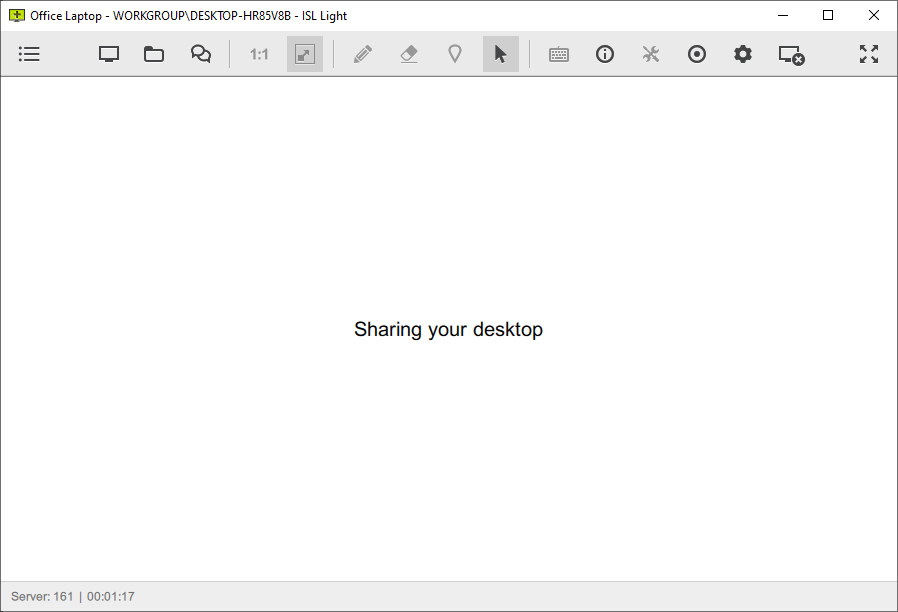
You are now sharing your screen with the other side.
Share particular screen region, application or monitor
You can also share only one monitor, application or particular region of your screen.
Note: This feature is available from ISL Light version 4.3.2 onward.
Step 1
Click "Share My Screen" from the desktop sharing drop-down to share your screen.
Step 2
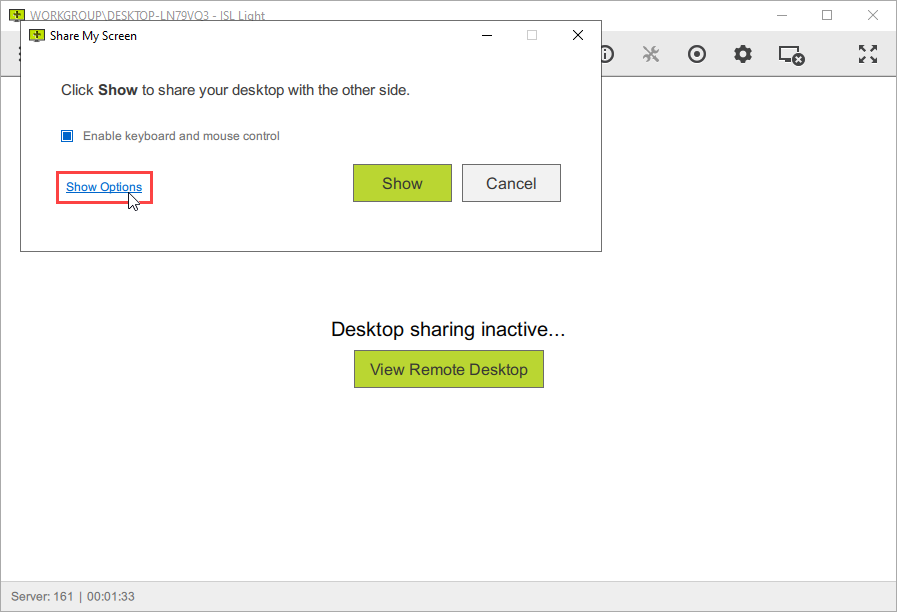
In order to share only a particular monitor, application, or screen region, click on "Show Options".
Step 3
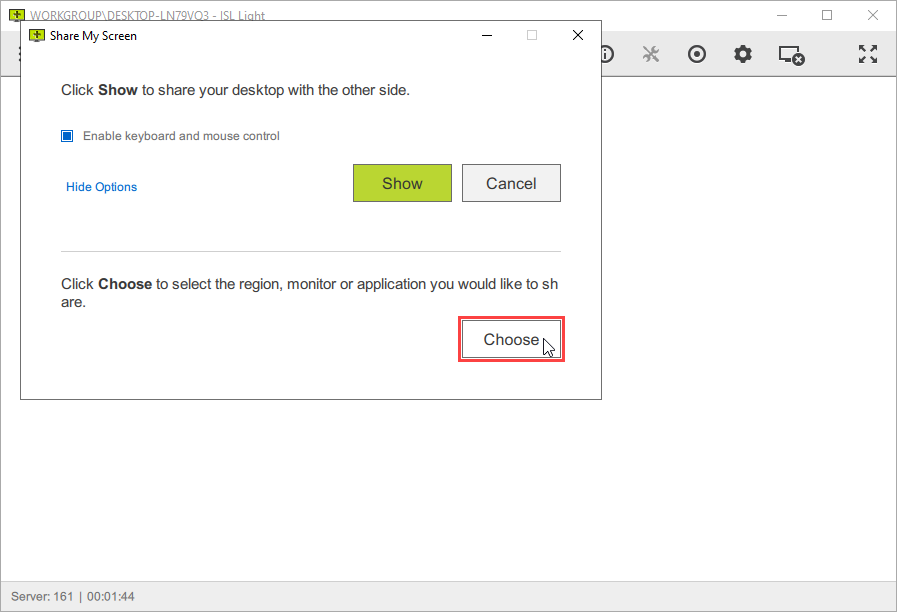
Click the "Choose" button.
Step 4
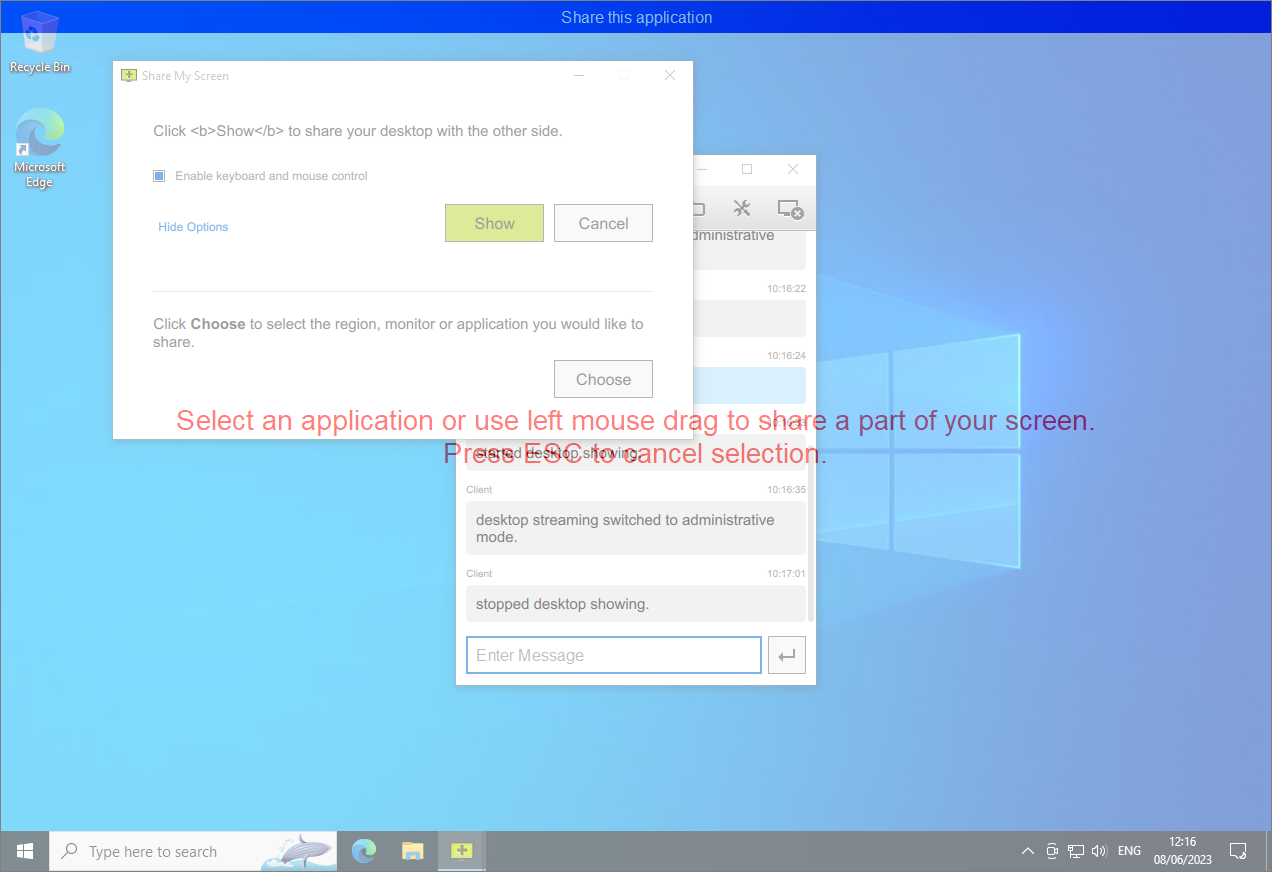
Select the screen region, application or monitor you wish to share with your client.
Stop Sharing
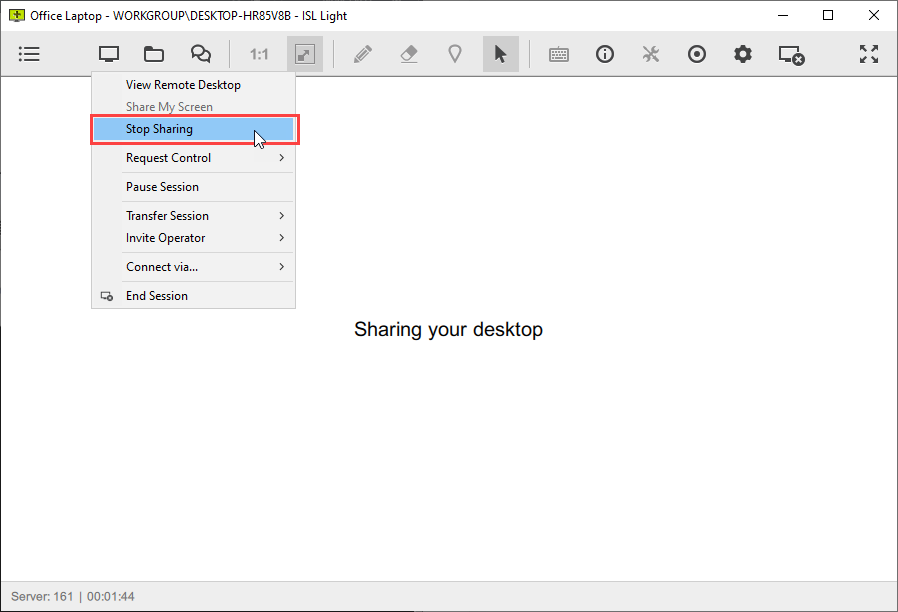
To stop desktop sharing, press on the "Stop Sharing" in Desktop Sharing drop-down menu.
Request Control
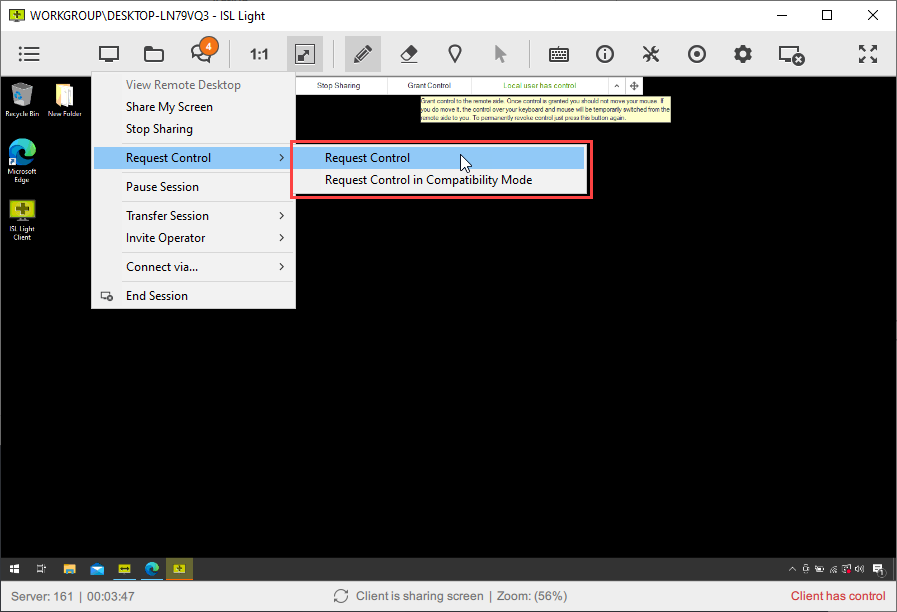
If you do not have control of the remote computer (e.g. it was disabled or not allowed in the first place) you can Request Control. Remote user will have to approve this action.
Transfer Session
Step 1
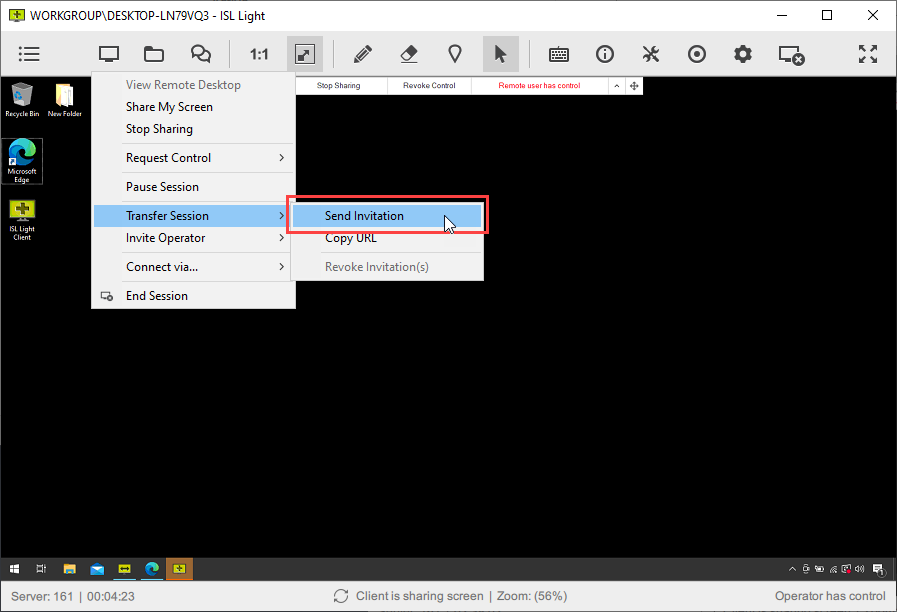
Click "Transfer Session > Send Invitation" from the screen sharing drop-down.
Step 2
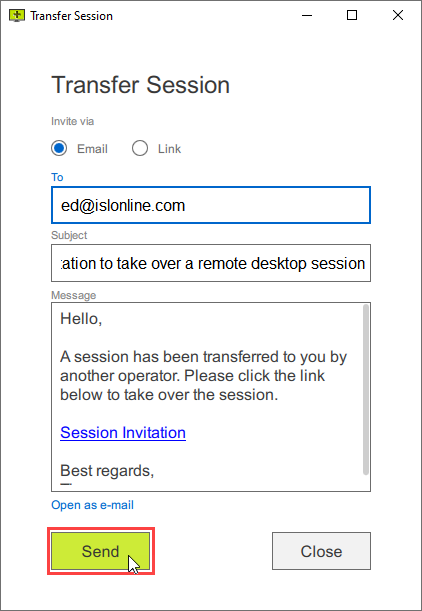
Type the email of the operator to whom you wish to transfer the session. You can also edit the body of the email. Click the "Send" button to send the invitation.
Step 3
![]()
A message will appear notifying you that the session has been transferred.
Invite Operator
If you need additional help supporting a customer, you can invite another supporter into the session. Unlike the Transfer Session option, you will not be disconnected once another operator joins, rather you will both be able to see and control the remote computer.
Note: The "Invite an Operator" feature is not available when connecting from ISL Light to ISL AlwaysOn (Unattended Access) unless the option "Download Client" is selected. This can be done in the ISL AlwaysOn Settings or Connect Options.
Note: The "Invite an Operator" option is only available for sessions you started.
Step 1
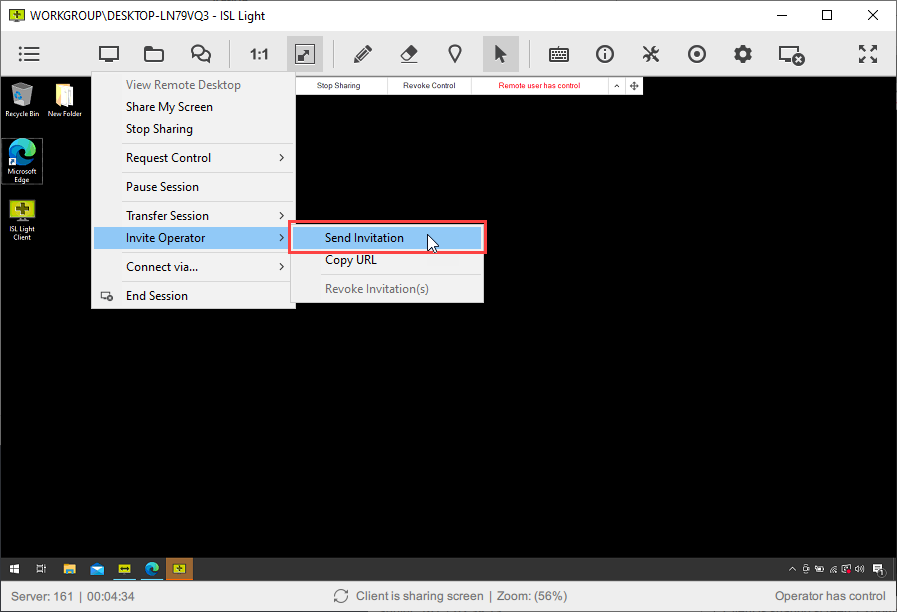
Click "Invite Operator > Send Invitation" from the screen sharing drop-down.
Step 2
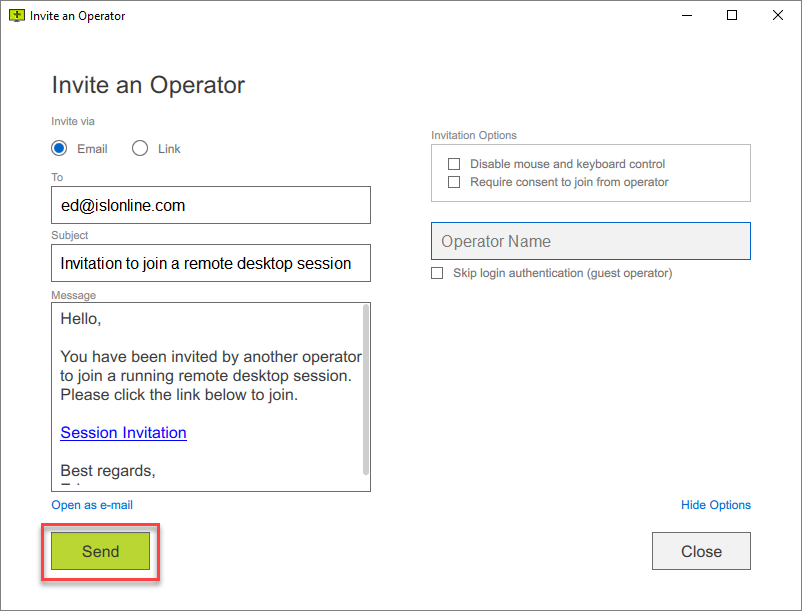
Invite an Operator dialogue has the following options:
- "Disable mouse and keyboard control" to only allow an invited operator to view the remote screen.
- "Require consent to join from the operator" opens a window where the original operator can allow or deny joining the session.
- "Skip login authentication (guest operator)" enables the invitation of guest operators (without a user account) into their ISL Light sessions.
Type the email and click "Send" or share the "Session Invitation" link with an operator via other means.
Pause Session
Video Tutorial
User Manual
Step 1
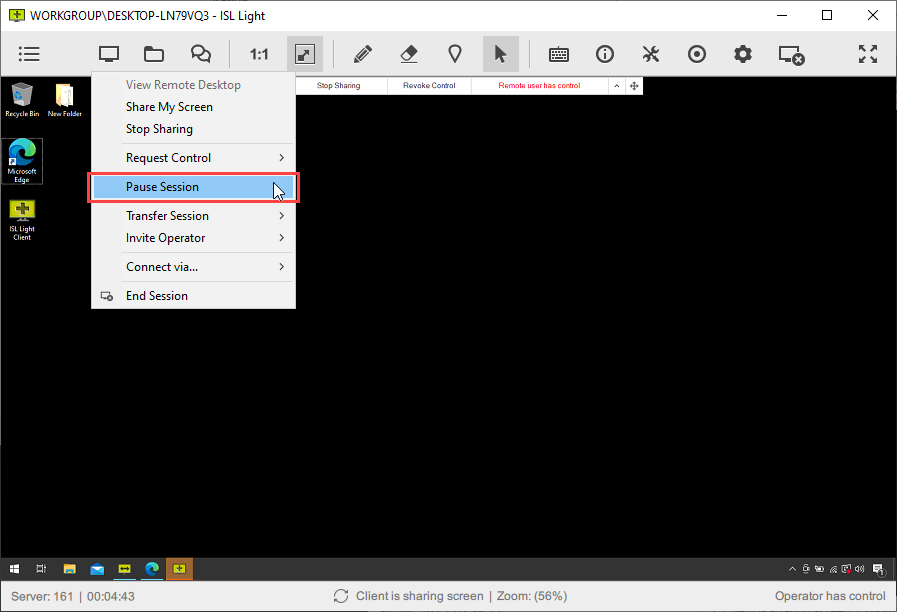
Click "Pause Session" in the Desktop Sharing drop-down.
Step 2
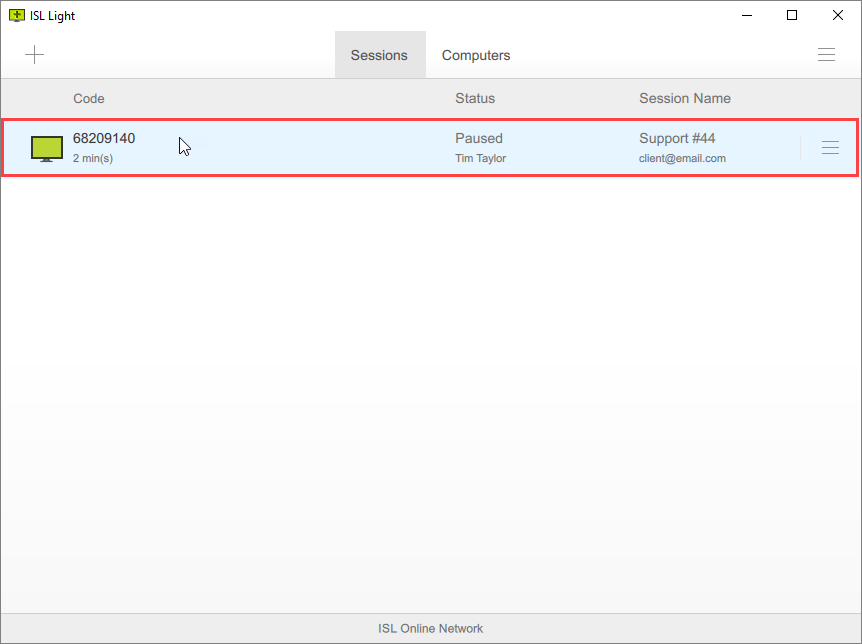
Click the paused session to resume a session.
Step 3
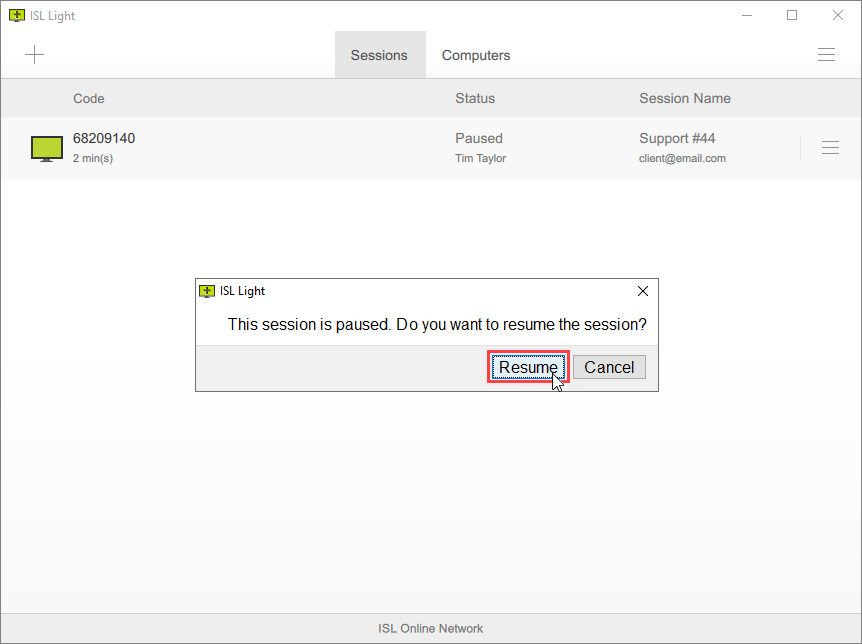
Click "Resume" to resume the session.
Connect via...
Connect via option allows you to use ISL Light port forwarding functionality to tunnel RDP, SSH and other connections to remote computers. The creation and usage of tunnels is described in depth in the following topics:
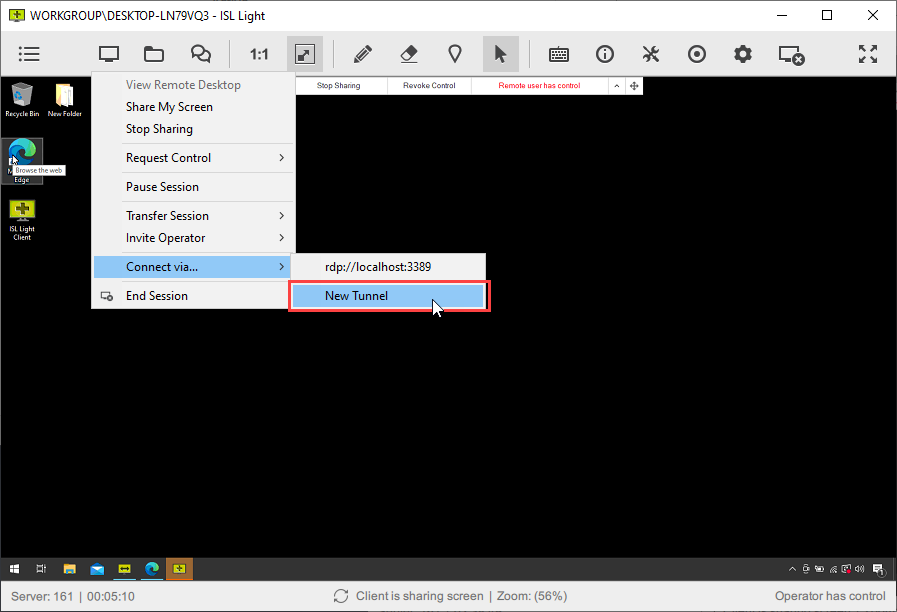
Click on "New Tunnel" to create a new tunnelled connection.
Active Listeners
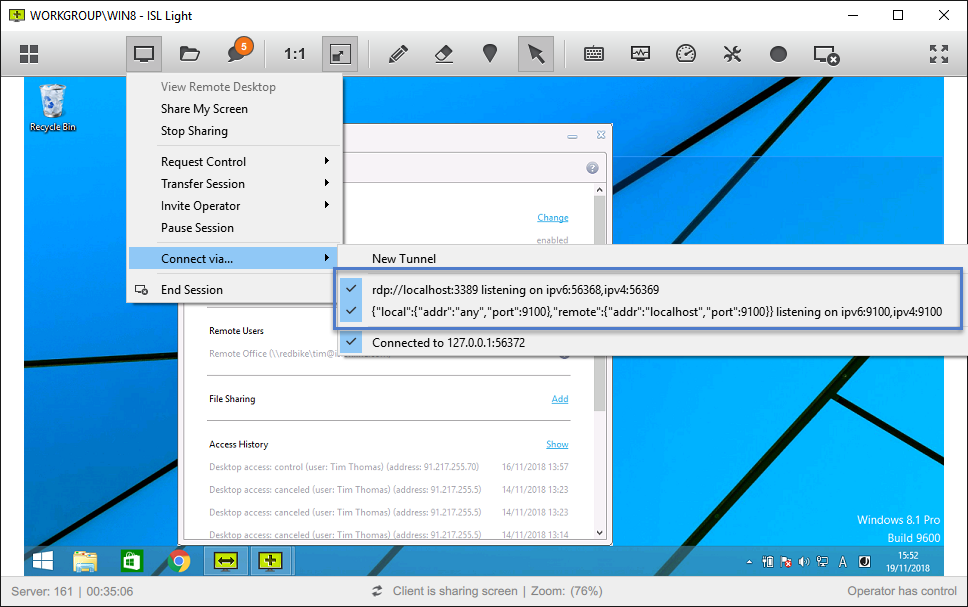
Middle list shows the active listeners (ones that have a blue check-mark) that are listening for new connections. When a listener detects a connection it will spawn a tunnel. Click on a specific listener to disable it.
Active Tunnels
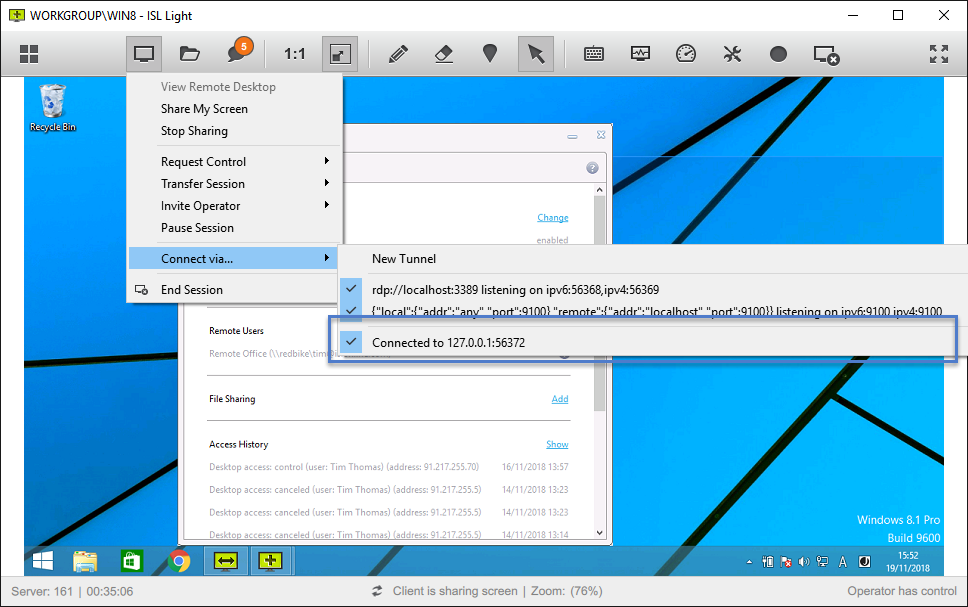
Bottom list shows the active tunnels (ones that have a blue check-mark), that are currently in use. Click on a specific tunnel to close it.
End Session
Step 1
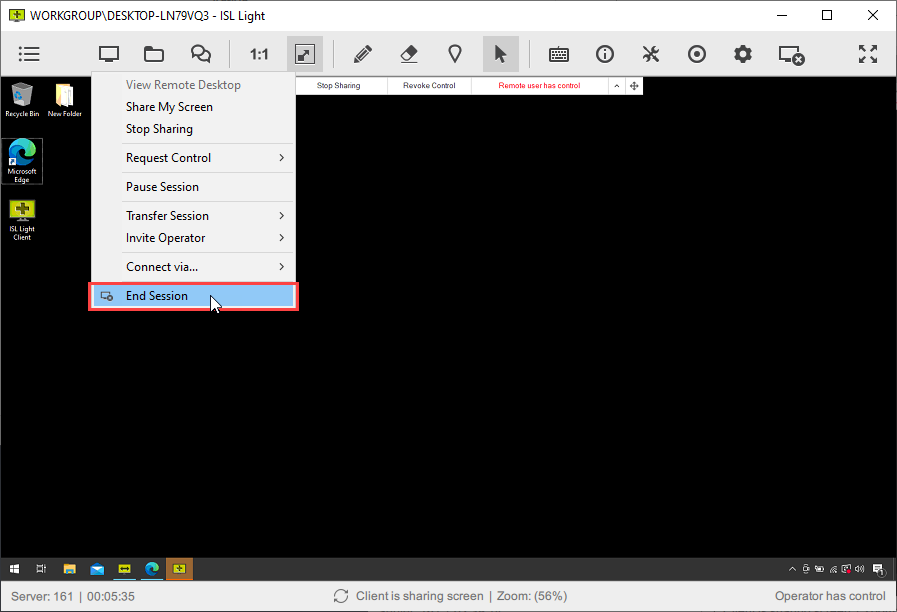
Click "End Session" to end the session.
Step 2
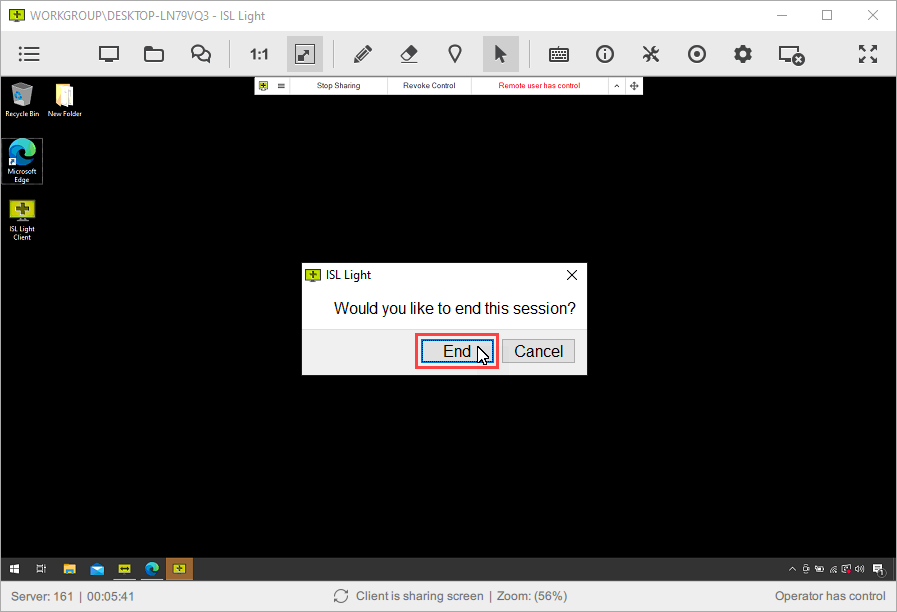
Click "End" to confirm to end the session.