This chapter describes the basic instructions on how to modify your web page in order to use ISL Pronto.
Important: When integrating ISL Pronto you have to be mindful of Mixed Content https error. If you are integrating ISL Pronto on a site which is using https then your images as well as the ISL Pronto javascript have to be loaded over https otherwise the imported content will not be shown due to security policies.
Upload Images
Step 1
Default web page integration requires you to have 3 images on your website. You have to name images: islpronto-chat.jpg, islpronto-message.jpg and islpronto-logo.jpg, then upload all three images to a folder on your website.
You can see examples for each of them:
islpronto-chat.jpg

Image that will be shown when there is at least one supporter available.
islpronto-message.jpg

Image that will be shown when there are no supporters available.
islpronto-logo.jpg
![]()
Replace this example with your company logo - it will be shown in the top left corner of the web chat window.
Note: When using the default web chat layout, logo picture should not be larger than 300 x 80 pixels in order to be displayed correctly.
Step 2
Create a folder on your website and upload all three images to a folder on your website. For example: https://example.com/images.
Note: If you are integrating ISL Pronto on a site that uses https then images have to be loaded over https as well (https://example.com/images).
Server licence users: The procedure for server licence differs from the procedure for hosted service users - please continue to this topic.
Step 3
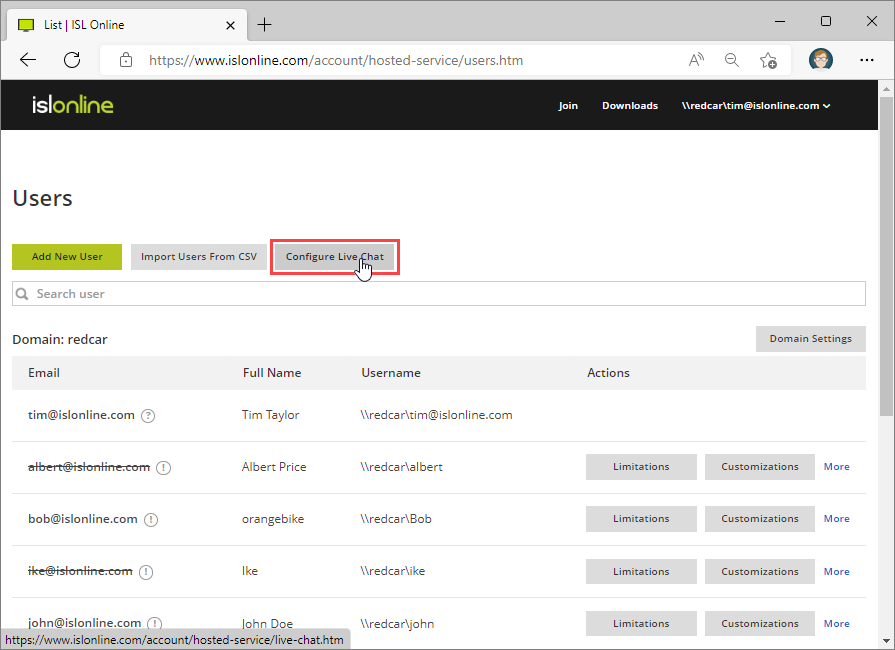
Click "Configure Live Chat" button under ISL Online account (top right) > Users.
Step 4
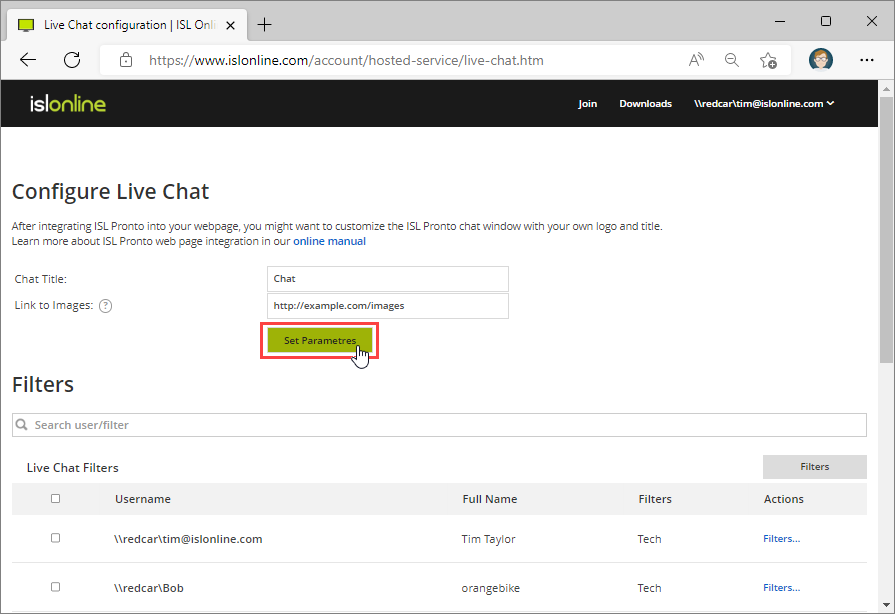
Click the configure ISL Pronto link and enter the desired chat title,
Enter the "Chat Title", for example "Company Support", as well as enter the link to the images you uploaded. For example: http://example.com/images.
Than click "Set Parameters" button.
Note: If you have more than one website and you would like them all to point to your ISL Pronto supporters (similar to our websites for ISL Light, ISL AlwaysOn, ISL Pronto, ISL Groop - they all have "Chat live" buttons that point to the same live support, but they use different images), you will most likely need different images and chat window titles for different websites. In this case, please send an e-mail to support@islonline.com and describe your situation so that we can set all the needed parameters.
If you wish to quickly test ISL Pronto before you customize the layout and add a link to your website you can use the following link: https://islpronto.islonline.net/live/islpronto?template=dn:XXXDOMAINXXX (Replace XXXDOMAINXXX with the domain name you setup earlier in the guide)
Integrate Code
Now you need to gain access to your website code.
Step 1
At the bottom of the web page you need to add the following code just before </body>.
<script type="text/javascript" src="https://islpronto.islonline.net/live/islpronto/public/chat.js?d=---DOMAIN---"></script>
Please replace "---DOMAIN---" with your ISL Online Domain name.
Important: The script code needs to be below the ISL Pronto chat button code, otherwise it will not work! This is why we suggest you put the script code at the bottom, just before </body>. Another reason for putting the ISL Pronto script code below all your script lines (i.e. directly above </body>) is that in case the ISL Pronto server is not accessible, it will not block the download of everything below it.
Step 2
Next you need to add this code somewhere you want to display the ISL Pronto Live Chat button.
<a id="islpronto_link" href="mailto:YOUR_OFFLINE_EMAIL_ADDRESS"><img id="islpronto_image" alt="Live chat" src="https://---URL---/islpronto-message.jpg" style="border:none"/></a>
Please replace "YOUR_OFFLINE_EMAIL_ADDRESS" with your own email address, and replace "---URL---" with your own website address.
Testing Procedure
Once you have customized the code details you can test your setup.
Step 1
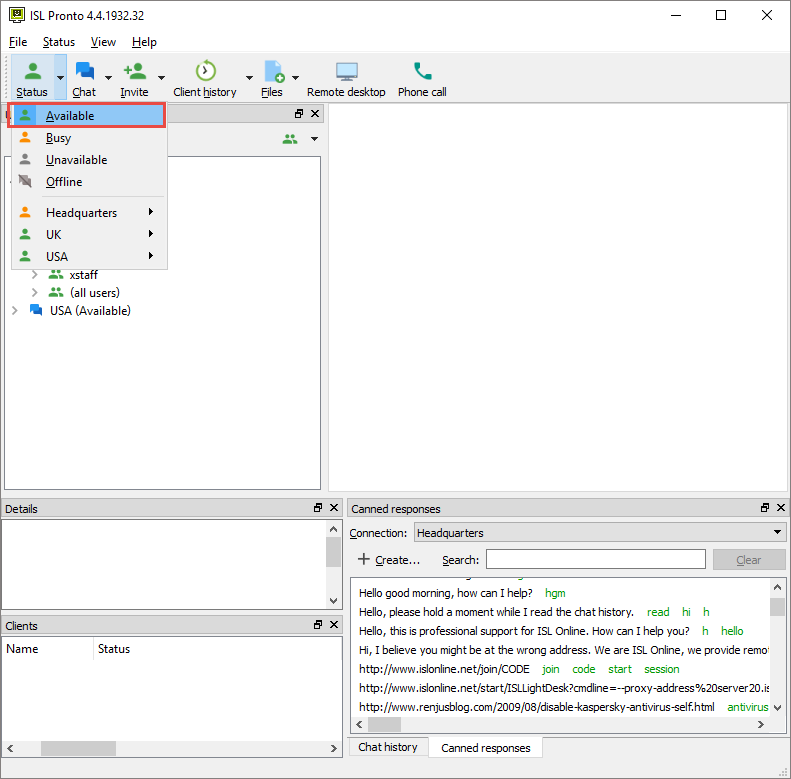
Open ISL Pronto on your PC, then click “status” > “available”.
Step 2

Locate the ISL Pronto Live Chat button on your website. It should say "Live Chat". Click this Live Chat button to start a Live Chat.
Step 3

Call Notification displays in the right bottom corner.
Google sites users: Please refer to Google Sites Integration for ISL Pronto gadget integration instructions.
Live chat notifications

Chat settings can be configured by clicking Settings in the lower left corner. You can choose between:
- Enable Sounds: Enable sounds for incoming messages while the chat window is minimized.
- Enable Chat Notifications: Enable system notifications for incoming messages while the chat window is minimized.