Video Tutorial (Complete Installation)
User Manual
First you need to add a server. Follow these instructions to find out how its done.
Step 1
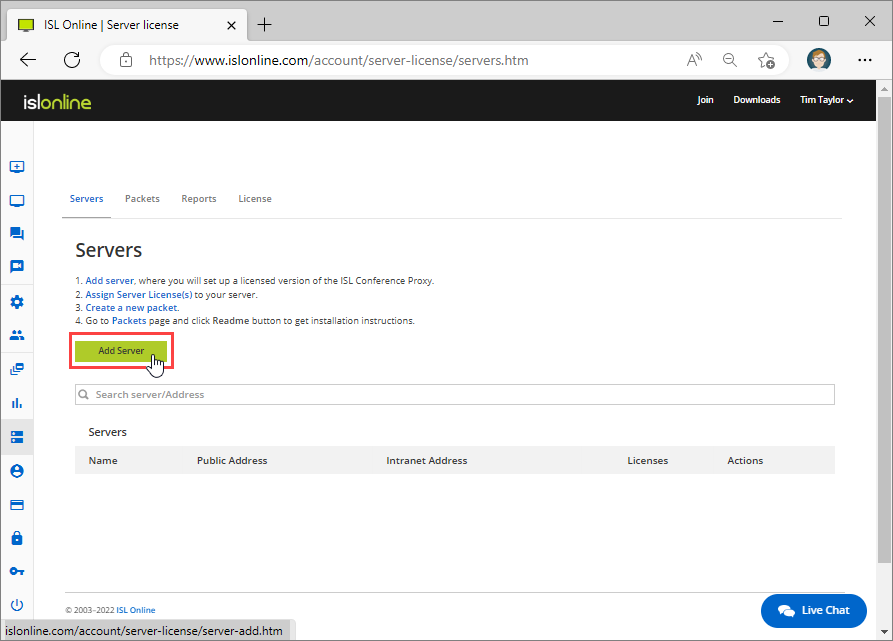 Click on the "Add Server" button in order to create the server.
Step 2
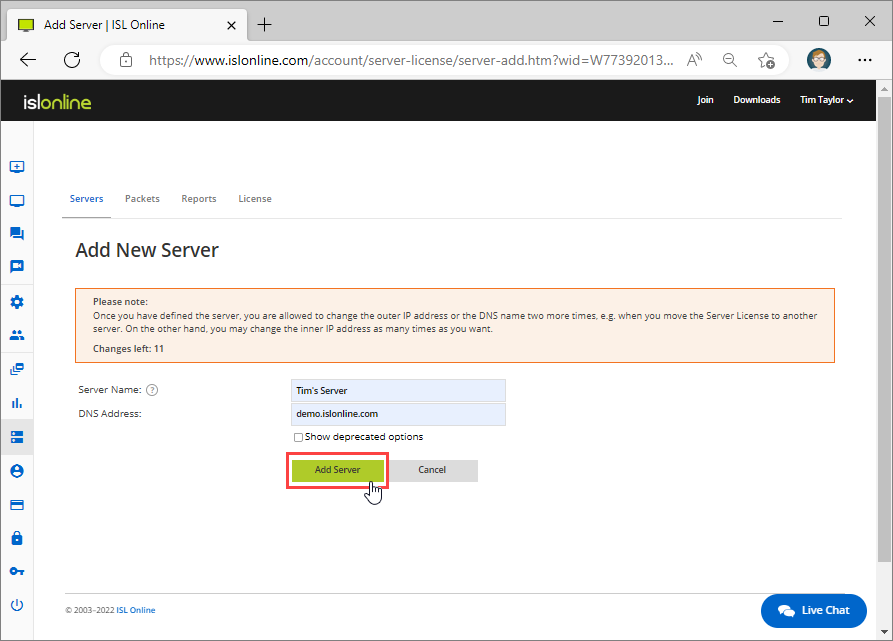 Type in the Server name (for your reference) and the chosen DNS Name for your server (usually a subdomain of your company domain, e.g. support.mycompany.com), then click the "Add Server" button.
Step 3
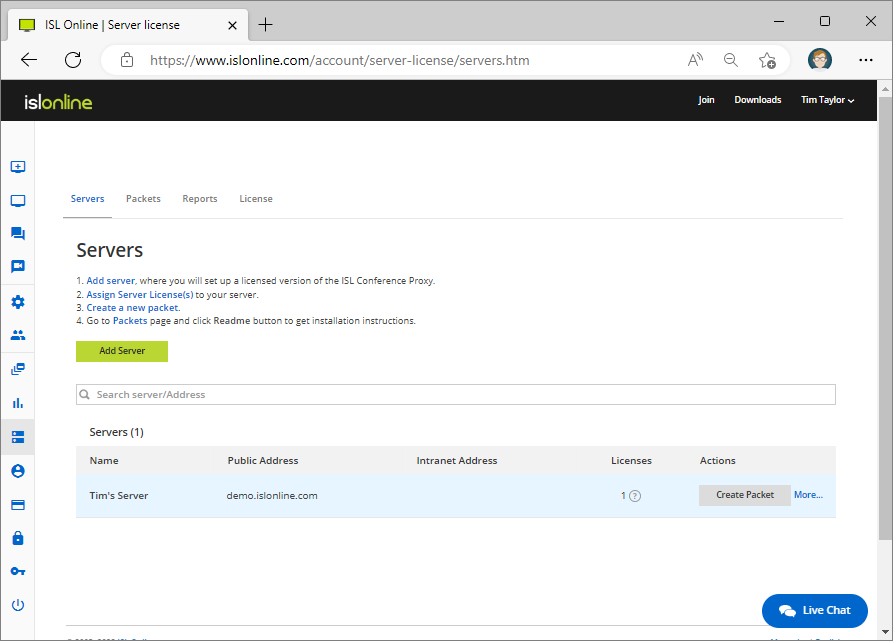 Your server now appears in the servers list.
Note: You can repeat this procedure for all the servers that you wish to use for ISL Conference Proxy. Usually there is only one server, but you can use more than one and either use them separately or connect them to a grid.
Next Steps: