ISL Online supports Single Sign-On (SSO) integration using SAML 2.0, an open standard for exchanging authentication and authorization data between an Identity Provider (IdP) and a Service Provider (SP). ISL Online functions as the Service Provider (SP) and assumes that the customer hosts and manages the Identity Provider service. Once established, this integration creates a secure access control system, allowing your users to authenticate through your company's SSO portal when they log in to ISL Online Cloud products.
This integration adds another layer of security and offers users a single authentication point for different and completely independent software systems. SSO also enhances user experience by enabling them to authenticate once and then access multiple products during their session without needing to authenticate separately for each one.
Requirements
To use SAML 2.0 Single Sign-On with your ISL Online Cloud account, you will need:
- ISL Online Premium Cloud License (Compare Pricing Plans)
- Access to your main ISL Online Cloud account
- Custom ISL Online domain name (Change Domain Name)
- SAML 2.0 compatible Identity Provider (provisioning and managing is your responsibility)
- SAML 2.0 compatible ISL Online applications:
- ISL Light 4.4.1906.12 or newer for desktop
- ISL Light 4.4.1825.40 or newer for Android
- ISL Light 4.4.1809.35 or newer for iOS
- ISL Pronto 4.4.1932.38 or newer for desktop
Configuration
Once SAML 2.0 Single Sign On (SSO) is configured for your account, your users will authenticate through your SSO portal. Creating new users and changing their user profile attributes on ISL Online User Management pages will be disabled.
Change ISL Online Domain name
Step 1
If you haven't done already, change the Domain name to a fitting name, that represents your company/organization. A good example of domain name for a company named “Example Company inc.” would be “exampledomain”.
Important: remove any special characters, such as dot, dash, ... symbol from your domain name (e.g. ".", "-", ...). If your company name is "example-domain", use "exampledomain" for your ISL Online domain name instead.
Request SSO Integration
Step 2

Log into your main ISL Online account, and navigate to the License tab. Scroll down to Single sign-on and select Request SSO configuration.
Step 3
 Fill out the Organization Name field with your desired organization name, and click Continue.
Step 4 - Identity Provider Setup

On this page, you can find the Service Provider Details that can be used to configure your Identity Provider. While configuring your Identity Provider, you can refer to the documentation provided on this page, depending on which Identity Provider you are using.

For this example, we will be using EntraID as our service provider.
Select the identity provider from the dropdown menu, and fill in the following fields with the content received from your Identity Provider configuration:
- Metadata XML URL
- Full name (optional)
- User groups (optional)
Note: Some fields may change when switching to a different Identity Provider
Step 5 - User Mapping

If you're just starting fresh with your new ISL Online account and haven't created any additional users yet, new users will be automatically created upon their first SSO sign on.
Your main ISL Online user account and any additional users you have created and used before, must be mapped to your external users on your Identity Provider in order to keep access to the same user accounts. To accomplish this user remapping, you will need username values for your existing ISL Online user accounts with the accompanying username values from your Identity Provider. Fill the SSO Username column with the values of your Identity Provider, matching the users already created in ISL.
Step 6 - SSO Activation

For the SSO activation, you can choose between two options:
- Activate automatically (SSO will be enabled as soon as the configuration is verified)
- Schedule Activation (Support will contact you before enabling SSO)
Note: If you select Activate Automatically, your SSO login will be enabled immediately after our team approves your request. Please ensure that you and any sub-users are familiar with the SSO login procedure, as it will be required to access ISL Online.
Alternatively, if you choose Schedule Activation, you will receive an email once your SSO request is approved. This email will invite you to join us via live chat, where we will activate and test the SSO login together in real time.

Your sso request has been submitted and is pending validation. You will be notified by email once the setup is complete and SSO is enabled.
If you need to make changes, you can still edit your request while it's under review, by clicking on Edit SSO Configuration.
Login with SSO
Step 7
Once we complete the configuration on our side, we will notify you with the remaining information in order to complete the SAML 2.0 SSO integration. In order to validate successful integration, navigate to www.islonline.com in your browser.

Click the Log In button at the top right corner of the ISL Online home page.

Click Sign in to an organization.

Enter the name of your organization and click Next.
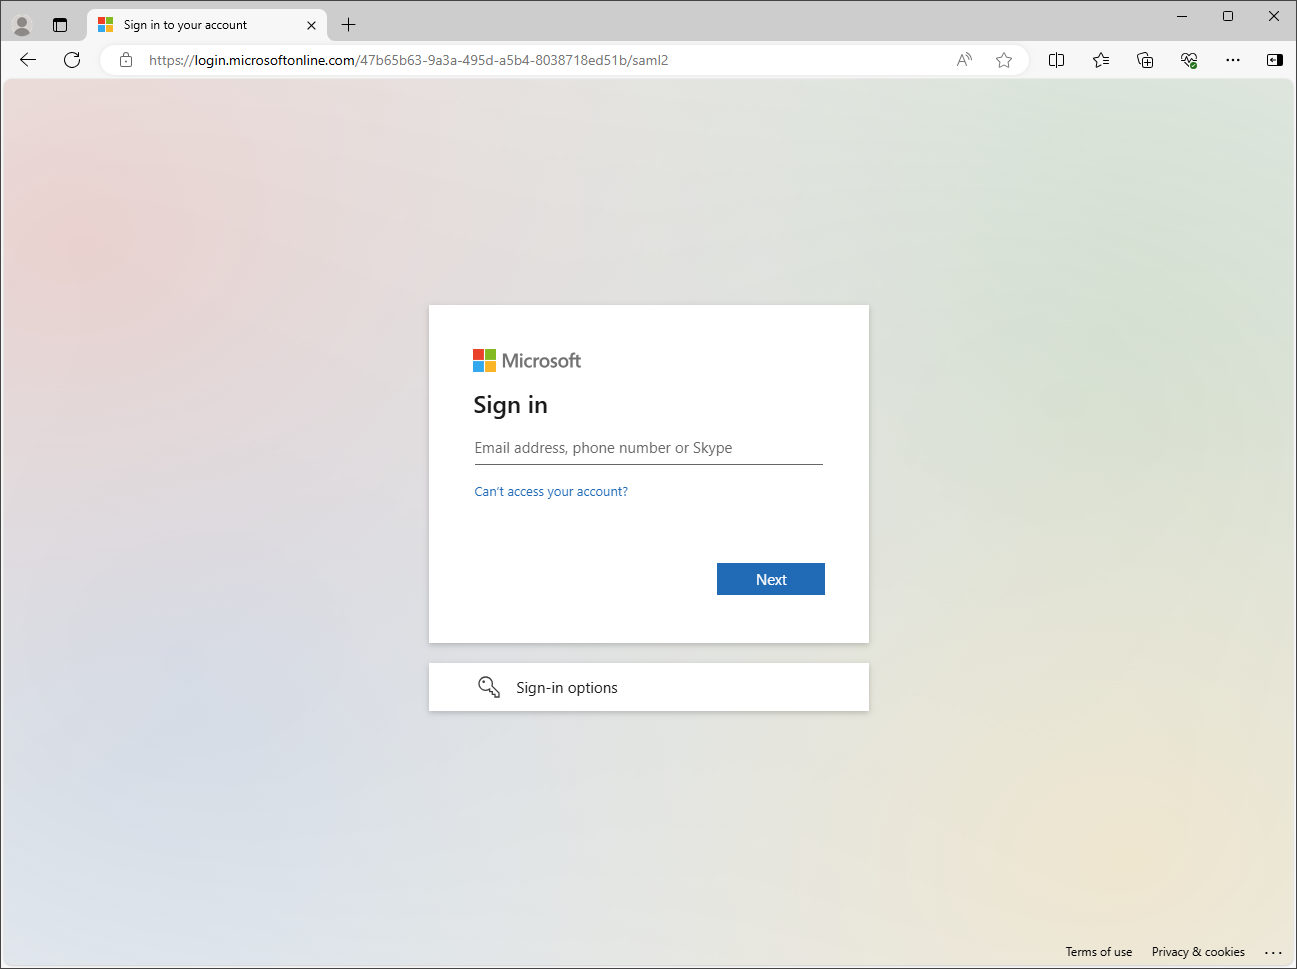 Login with your SSO account.
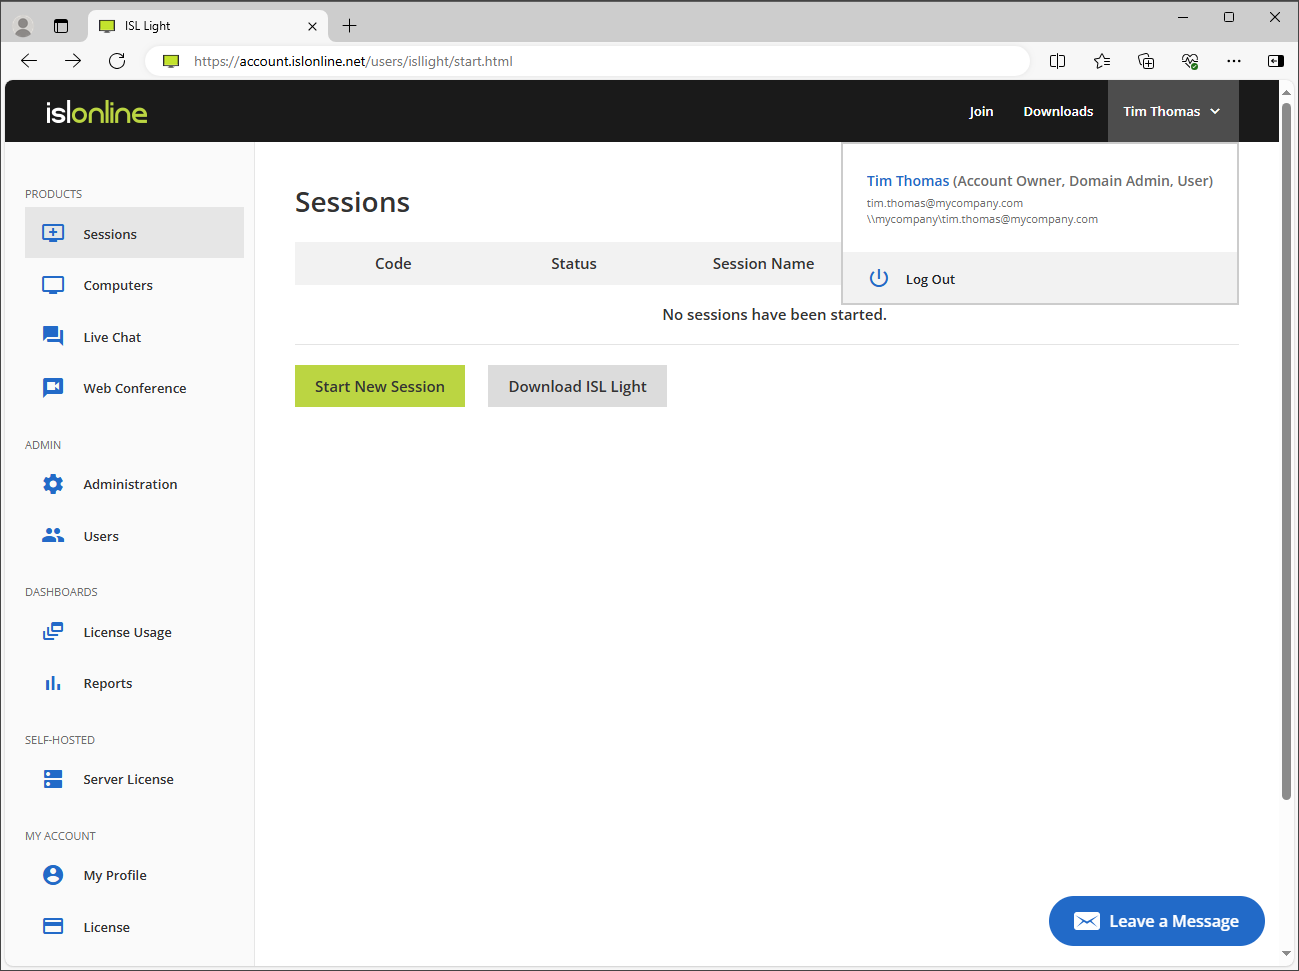 Once logged in back to ISL Online portal, make sure your user information matches. Existing user accounts should retain all the information from before (computers, session history, ...).
 When you login with your main user account and navigate to Users page, you will notice some of the actions have been disabled, due to SSO configuration:
- Change Domain name
- Add New User
- Import Users From CSV
- Change Password
- Forgot Password
- Change Contact
Those actions should now be handled on your Identity provider.