ISL AlwaysOn enables you to send an email to the recipient(s), granting them the authority to approve or reject the connection for the remote computer before establishing a session. This feature also serves as an alternative to local consent when the remote user may be unavailable at the computer but has access to their email (e.g., via phone).
Video Tutorial
Important: Server license users: This feature requires ISL Conference Proxy version 4.4.2335.62 or newer.
User Manual
Step 1 (Remote Computer)
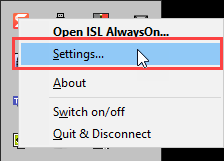
Open “Settings…” from the tray icon on the remote computer.
Step 2 (Remote Computer)
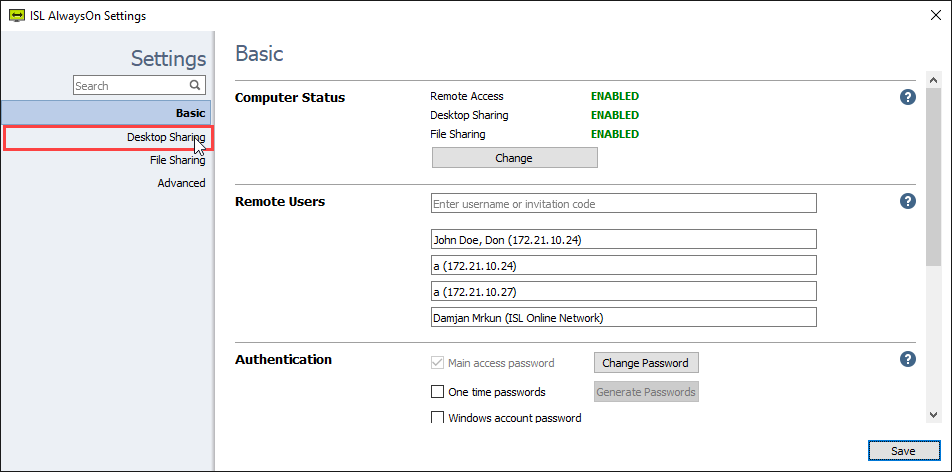
Open “Desktop Sharing” settings.
Step 3 (Remote Computer)
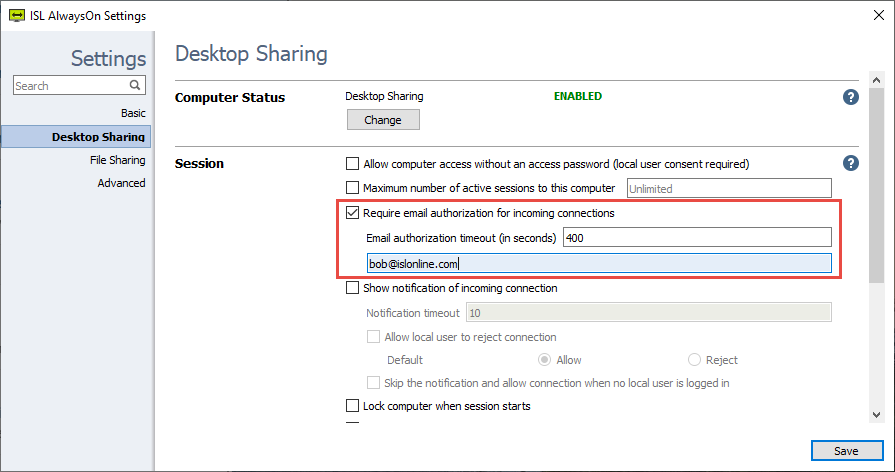
There are a few options.
Enable the setting “Require email authorization for incoming connections” and type the recipient email.
- Email authorization timeout (in seconds): Customizable expiration time for authorization emails (default: 180 seconds).
- Recipient(s): Recipient(s) will receive an email providing an option to either approve or deny the connection. If multiple emails are set, authorization is required by any recipient. The connection will be authorized by the first recipient to approve, not necessarily by all recipients.
Click “Save” to confirm changes.
Step 4 (Local Computer)
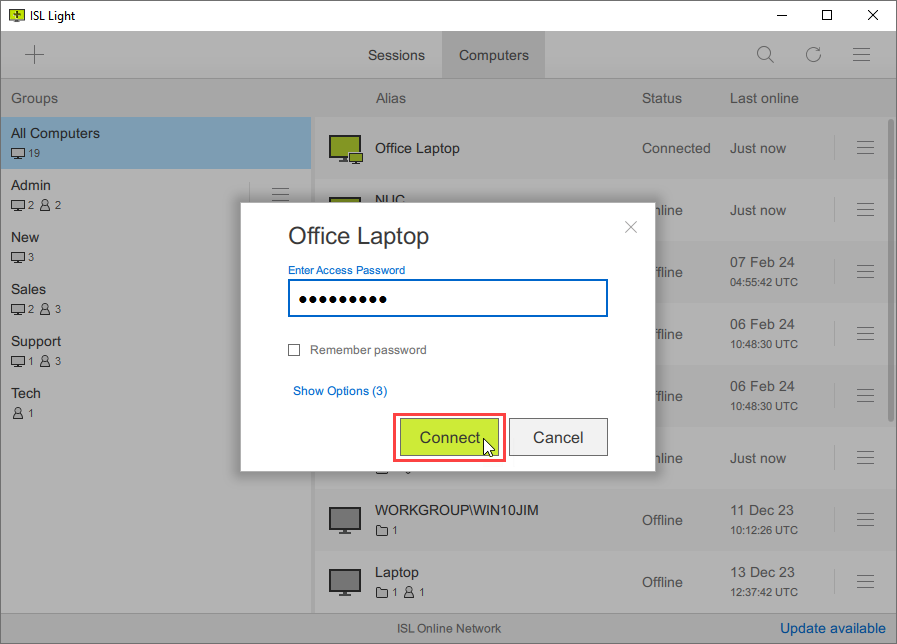
Open ISL Light and connect to the remote computer where we have configured the email authorization.
Step 5 (Local Computer)

The local user is waiting for email authorization. The seconds left to authorize the connection are shown in the dialog.
Step 6 (Remote Computer)
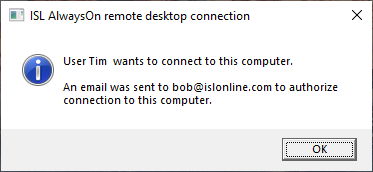
Meanwhile, on the remote side, a notification is shown, and the email is sent to recipient(s) to authorize connection.
Step 7 (Recipient - Any Computer)
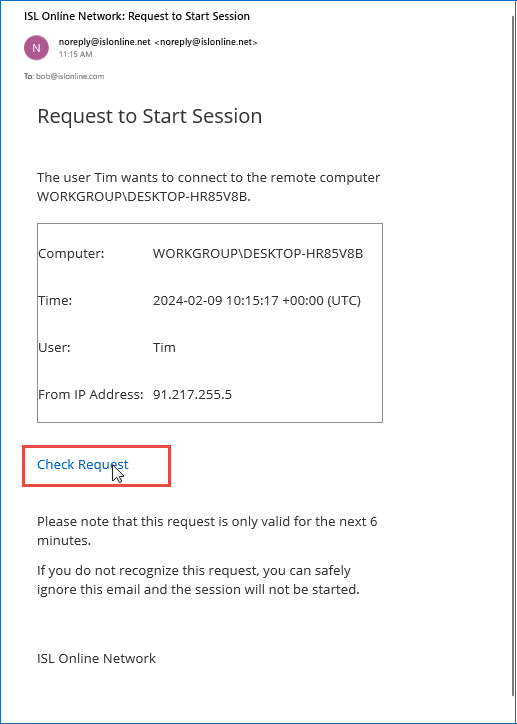
The recipient clicks “Check Request” from the email.
Step 8 (Recipient - Any Computer)
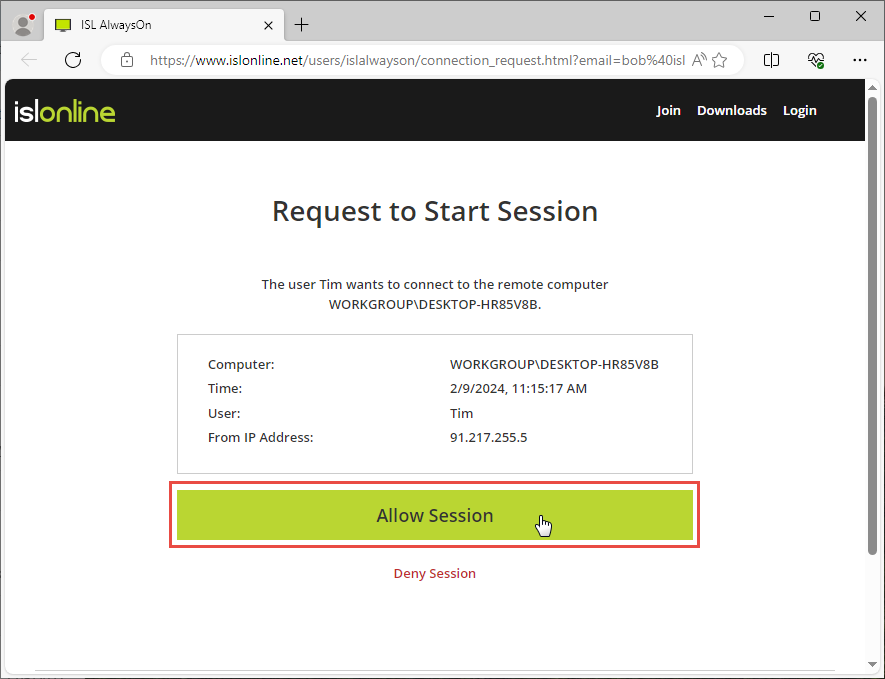
The recipeint clicks “Allow Session” to authorize the request to connect to remote computer.
Step 9 (Recipient - Any Computer)
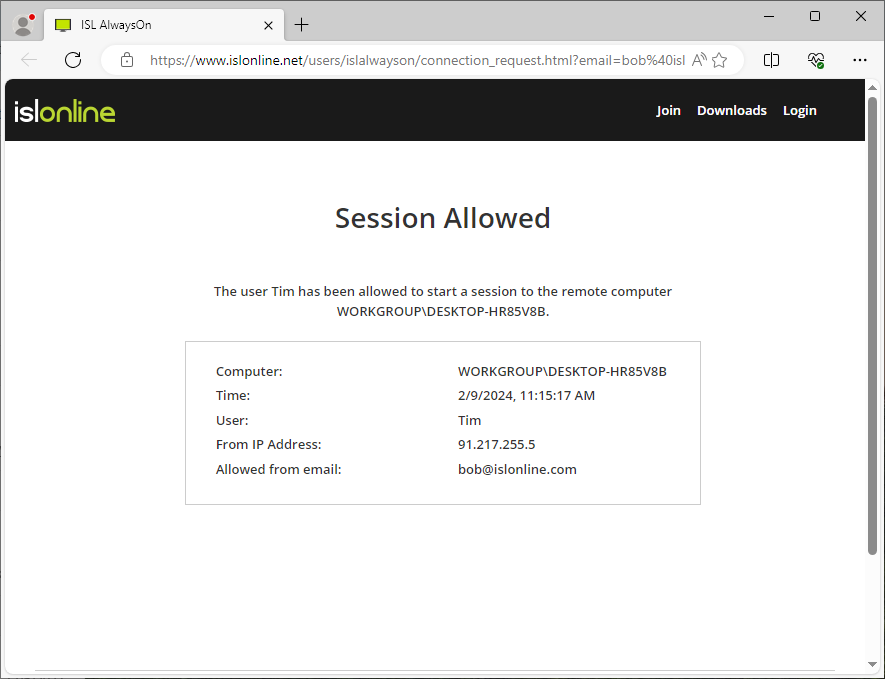
The session is allowed and the operator can connect to the remote computer.
Step 10 (Local Computer)

Meanwhile, the operator was able to connect due to authorization that was done in step 6.