Note: There is a known bug with version 4.4.1917.33 of ISL Conference Proxy where backup will fail to restore if version of the backup and current ICP are the same. In newer versions the backup is restored correctly, if you are experiencing issues please upgrade the ICP to a newer version or visit our support and we will provide you with a workaround.
Please follow the steps below to restore ISL Conference Proxy from an existing backup. Make sure to transfer the backup files to the machine where you intend to perform the restore before proceeding.
Step 1
Windows
- Download the latest ISL Conference Proxy installer (please choose 32-bit or 64-bit version, depending on your operating system). Most machines nowadays are 64-bit, so the examples will include the 64-bit version in sample commands, modify accordingly in case of 32-bits.
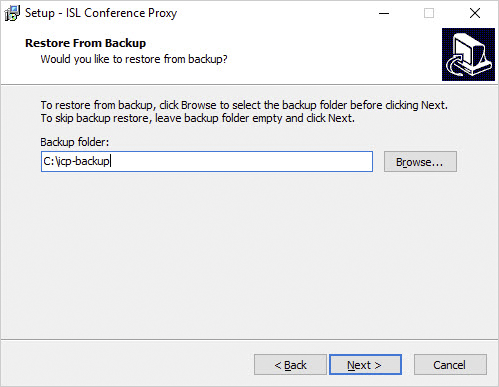
- Run the ISL Conference Proxy installer and follow the installation wizard. When prompted, enter the path to the appropriate location where you placed the backup files in your case, make sure you read the important note below.
Linux
- Download the latest ISL Conference Proxy installer (please choose 32-bit or 64-bit version, depending on your operating system). Most machines nowadays are 64-bit, so the examples will include the 64-bit version in sample commands, modify accordingly in case of 32-bits.
- 32-bit: https://www.islonline.com/system/installer_latest_linux
wget http://www.islonline.com/system/installer_latest_linux
- 64-bit: https://www.islonline.com/system/installer_latest_linux64
wget http://www.islonline.com/system/installer_latest_linux64
- 32-bit: https://www.islonline.com/system/installer_latest_linux
- Login as root and install ISL Conference Proxy (replace /icpbackup with the appropriate location where you placed the backup files in your case, make sure you read the important note below):
sh installer_latest_linux64 restorebackup /icpbackup
Note: By default temporary folder for restoring ISL Conference Proxy backup is /tmp/. It is possible to set a custom temporary location if needed. As an example we'll create a confproxyrestore directory in /opt/ and set the newly created directory as an environment variable.
mkdir -p /opt/confproxyrestore
export TMPDIR=/opt/confproxyrestore
sh installer_latest_linux64 restorebackup /icpbackup
ISL Conference Proxy installer will now use /opt/confproxyrestore as a temporary directory instead of /tmp/ directory.
When the restore procedure is completed users can remove /opt/confproxyrestore directory.
Step 2
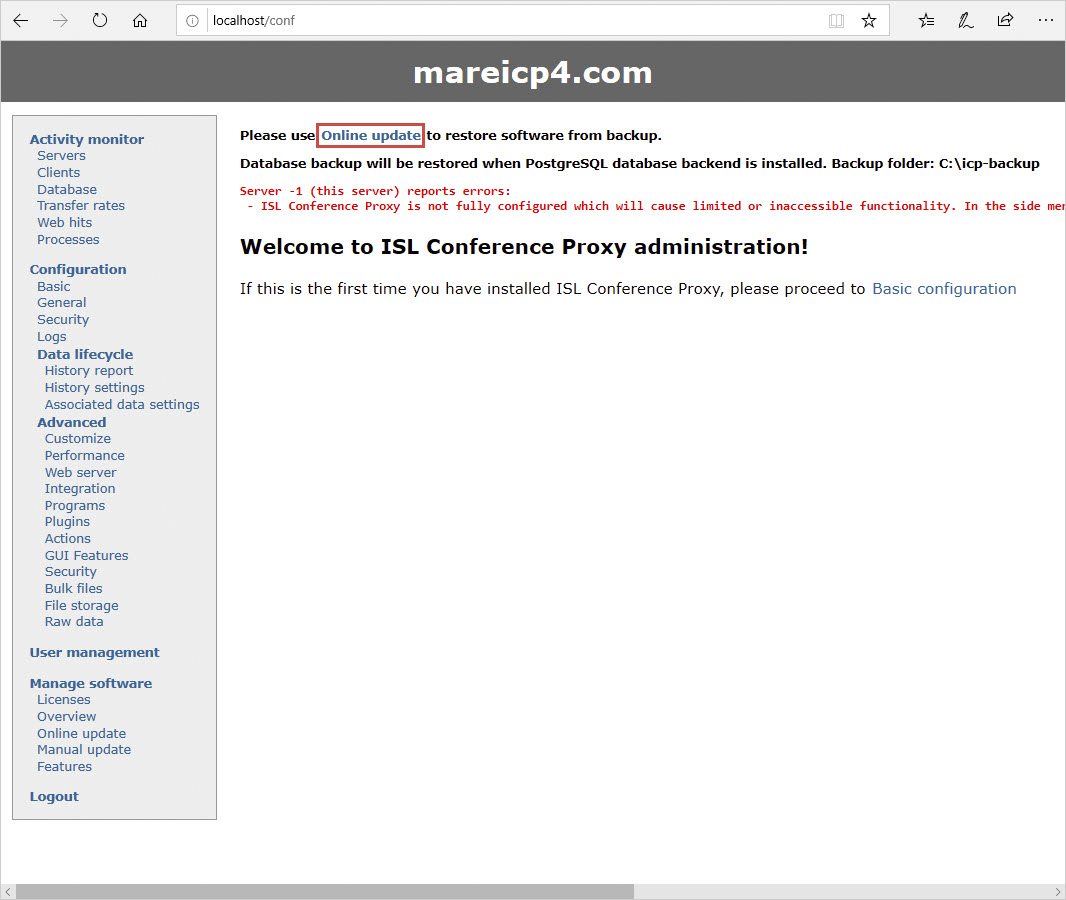
After installer has finished, login to your ISL Conference Proxy administration (<icp_server_address>/conf) and click on "Online update".
Step 3
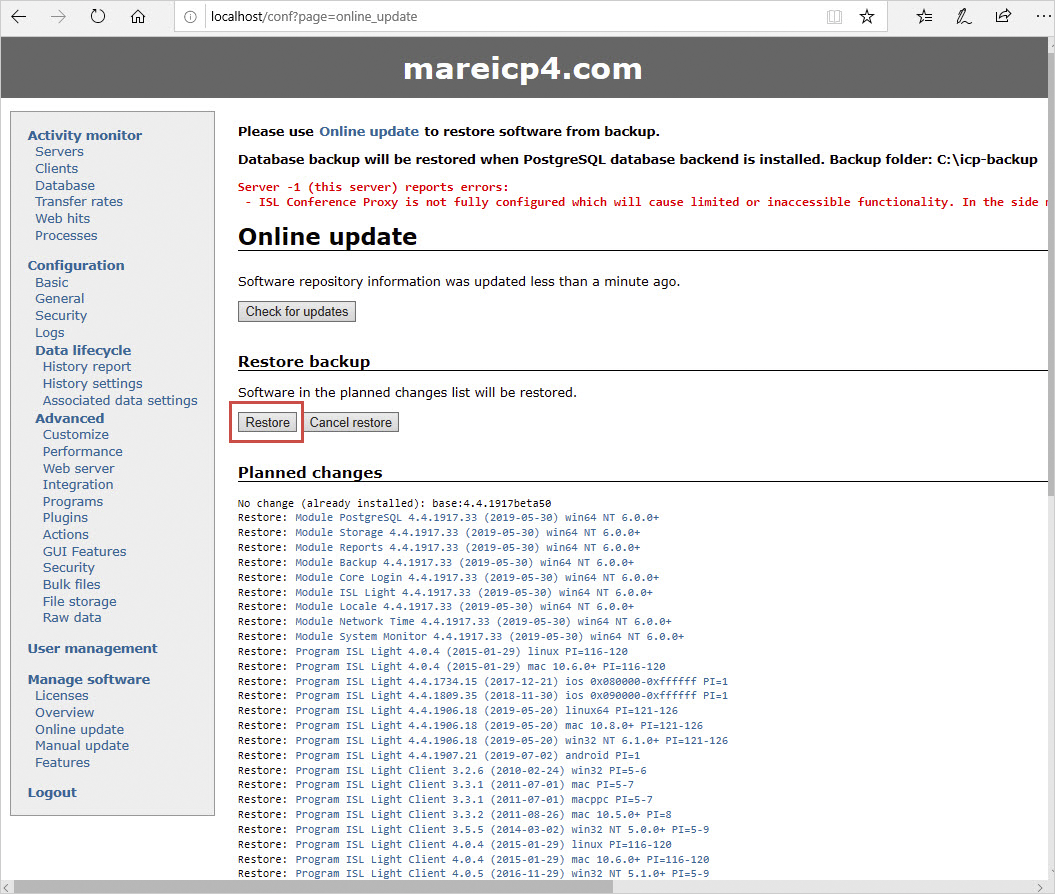
Click on "Restore".
Step 4
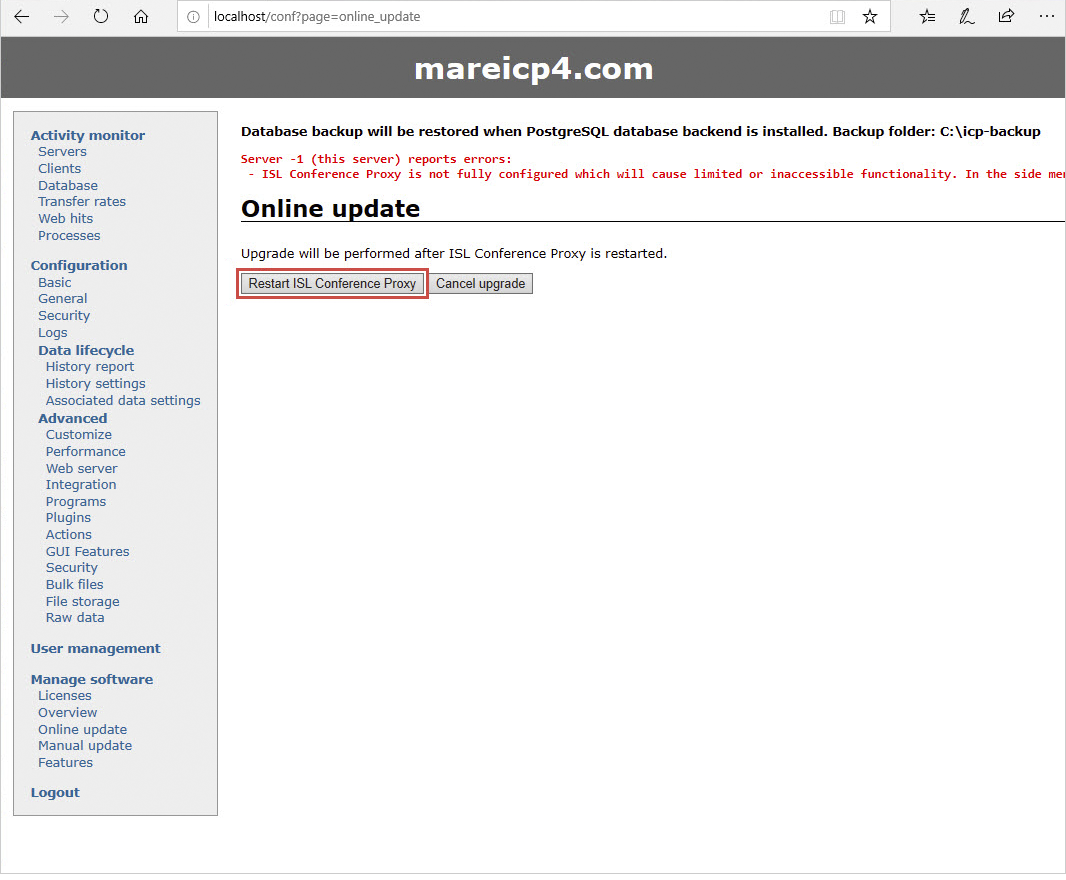
Click on "Restart ISL Conference Proxy" to finish the restore procedure.
Step 5
After ISL Conference Proxy is back up and running, make sure to perform a quick check of the restored state.
If you see any errors on top of the administration like "Failed to load module postgresql_...", it is possible that there was a directory permission issue and ISL Conference Proxy was unable to access the specified backup directory to perform a restore.
Check "User management" to see if the expected domains and users are present.
Perform a product login with one of the users and check that the expected computers in the list are present, session history is not empty etc.
In case of any issues during the restore procedure or additional questions please visit our support and we will assist.