Follow the steps below to create a new backup of ISL Conference Proxy.
Step 1
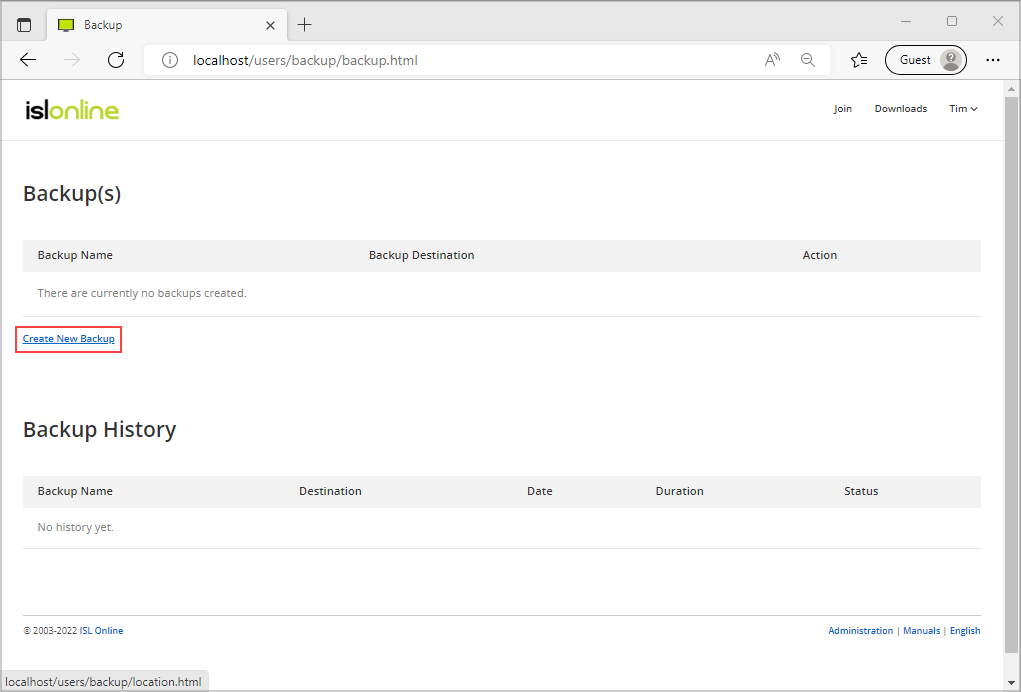
In the backup pages click on "Create New Backup".
Step 2
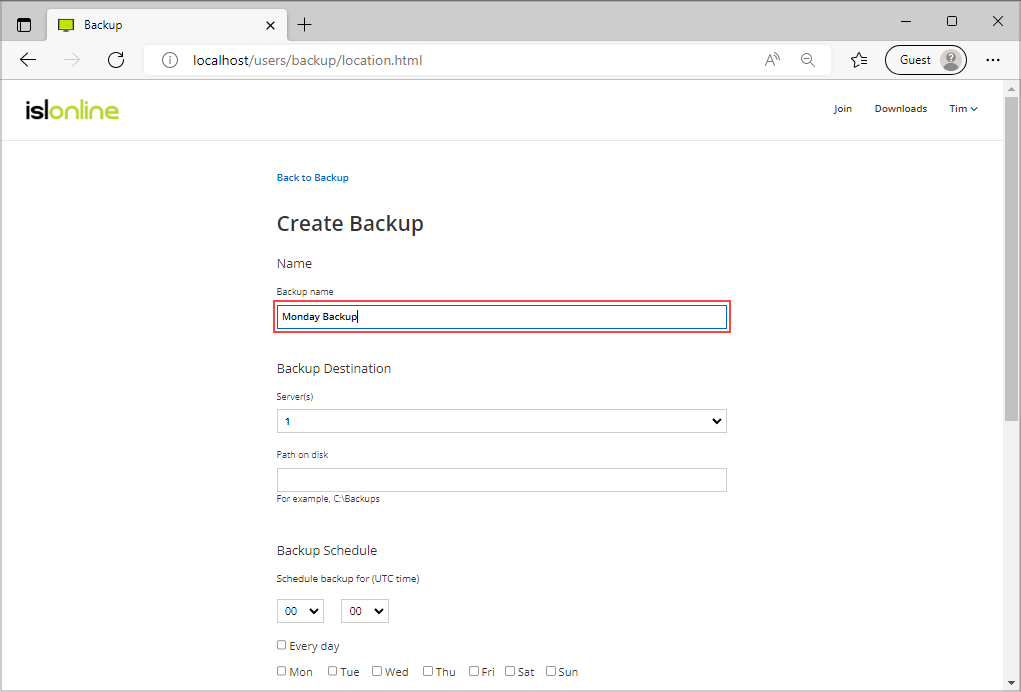
Enter the name of the backup.
Note: This field is mandatory. "Backup name" must be shorter than 1024 characters and must be unique, meaning no two backups can have the same name.
Step 3
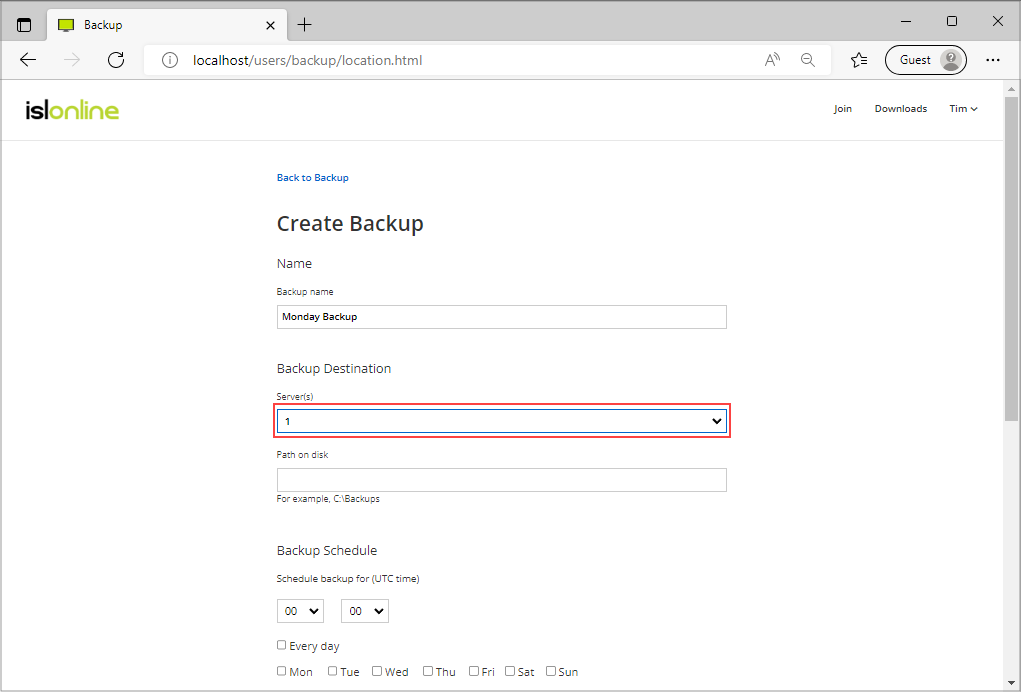
Select which server to backup, up in case multiple servers are available.
Note: 1 means that the backup will be created for server 1 if you have multiple ISL Conference Proxy servers.
Step 4
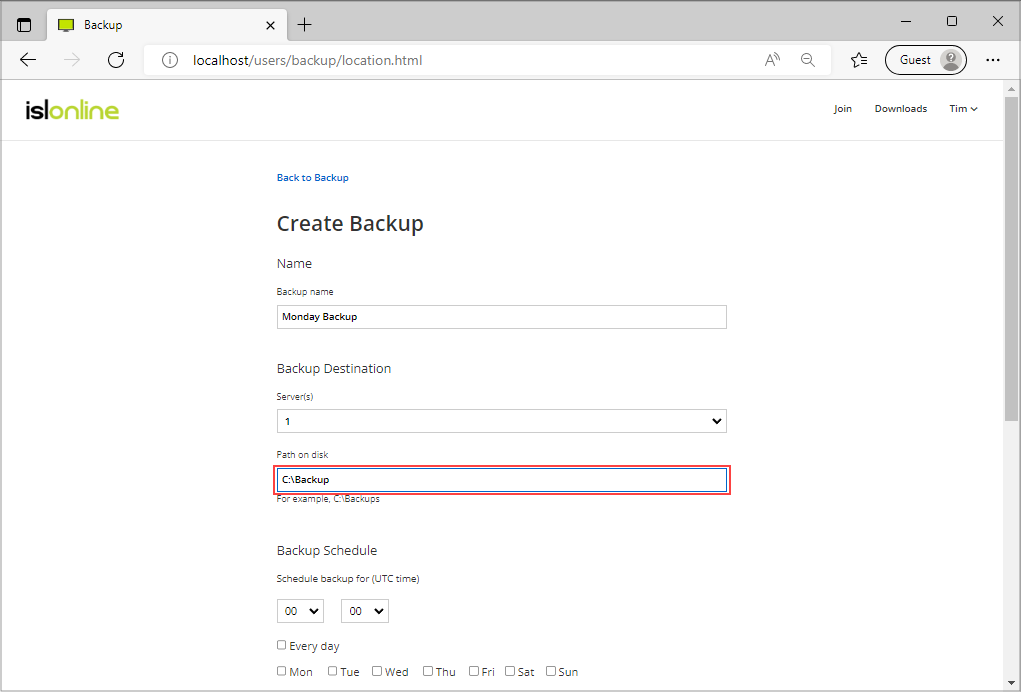
Enter the full path where the backup should be created.
Important: It is crucial that the location where you want to save the backup files is accessible and readable by ISL Conference Proxy which is running as user islcp. islcp does not have administrative rights (administrator or local system account on Windows or root on Linux), as such we suggest using a top level directory (e.g. C:\icp-backup on Windows or /icp-backup on Linux) and adjusting its permissions appropriately.
Important: The directory specified must exist and islcp user must have writer permissions for it. In case you get an error "Could not set backup directory at the specific location. Directory "<path>" is not empty", you will need to open folder properties and under the "General" tab uncheck the box in front of "Read-only (Only applies to files in folder)" attributes.
Depending on the configuration the islcp user might have be added to the "Security" tab of the folder with read/write permission including all directories on the path specified.
Note: On Linux, you have to change the owner of the directory to islcp. Run the command:sudo chown islcp <path>in your terminal to change the ownership.
Note: This field is mandatory. "Path on disk" must be shorter than 1024 characters.
Step 5
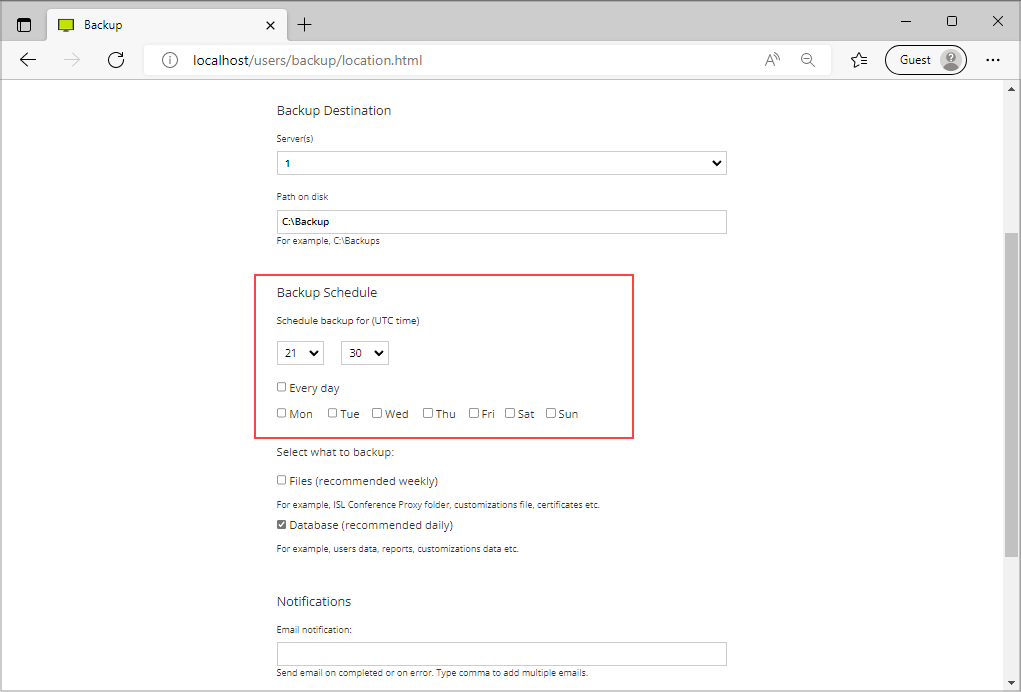
Select the hour, minute, and day of the week for the backup to start automatically. If you leave it unchecked, you will still be able to start the backup manually.
Step 6
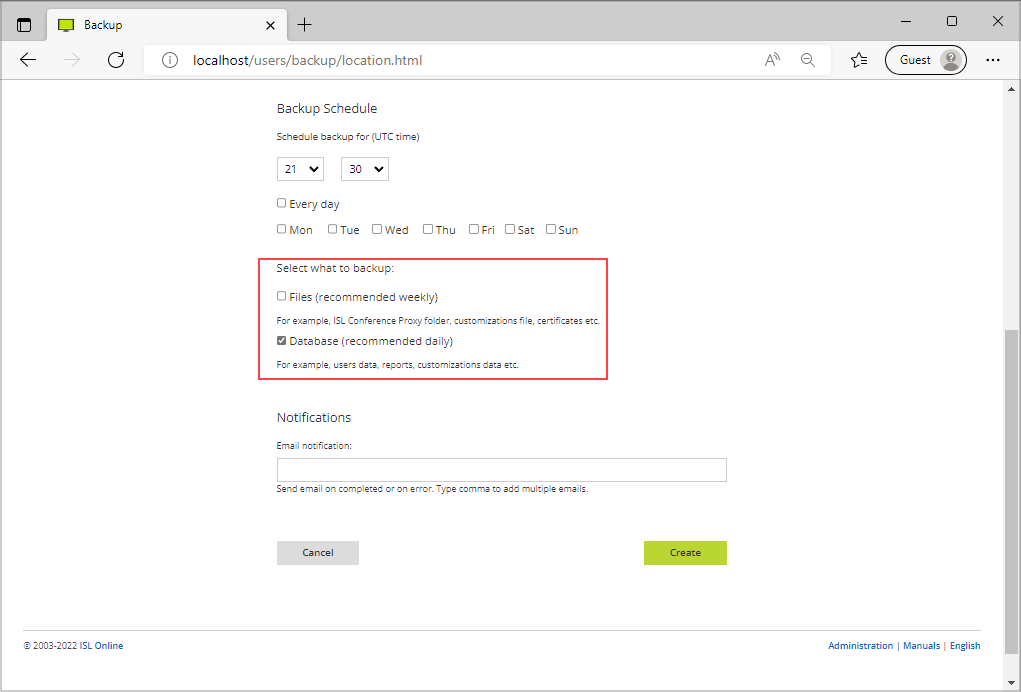
Select what you want to backup, "Files", "Database" or both. Select both in case this backup will be used to migrate the server.
Step 7
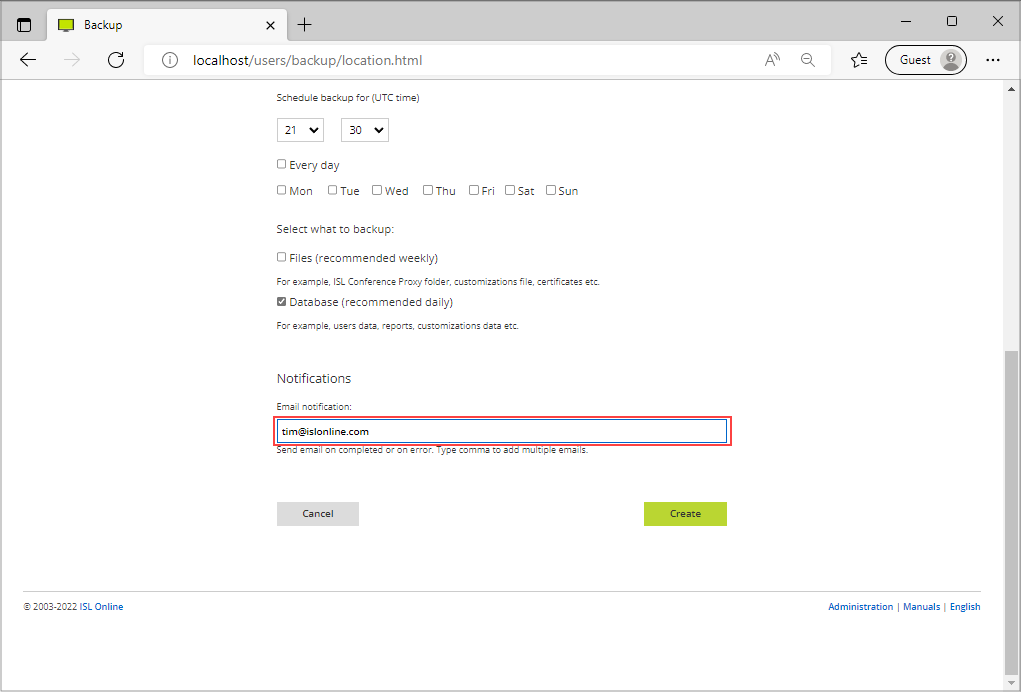
Enter e-mail addresses that will get a notification when a backup is finished (not mandatory). You can enter multiple addresses by separating them with a comma.
Step 8
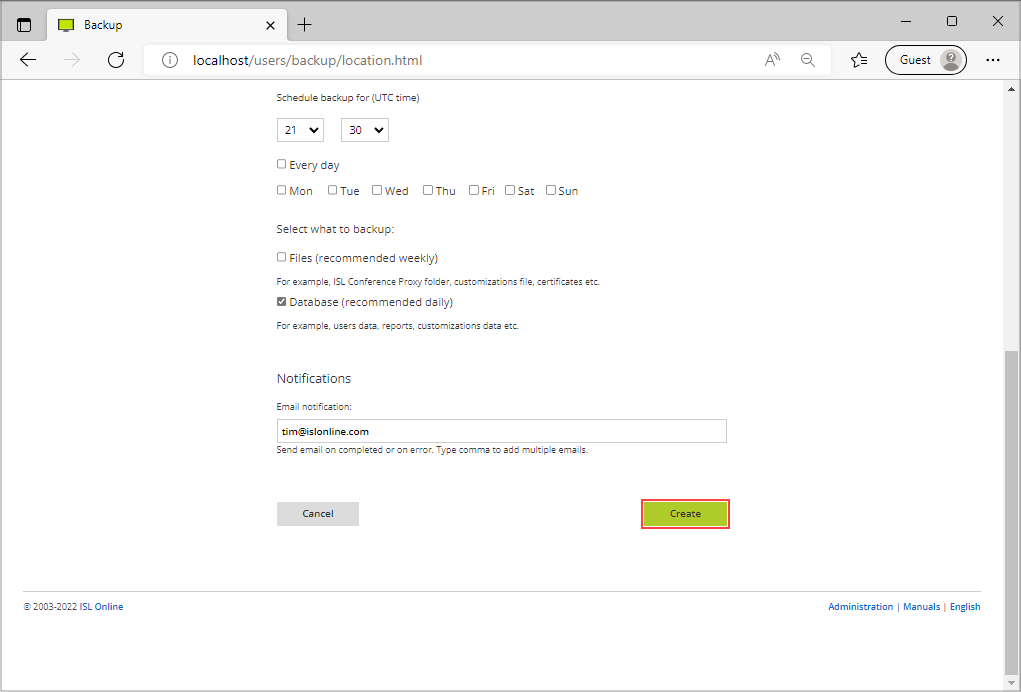
Click "Create" to add the backup. You will be redirected to an overview dashboard where a new backup will be shown.