Computer Group functionality allows you to group the computers and add members to share computers with them. Computer groups are shown when sharing them with "Users" or "User Groups" - allowing you to quickly share a Computer Group with a number of different users.
Create Group
Step 1

Click the "Create Group" button.
Step 2

Type the group name, select Group owner and click "Create Group" button.
Step 3

The new "Computer Group" was successfully created.
Change Owner
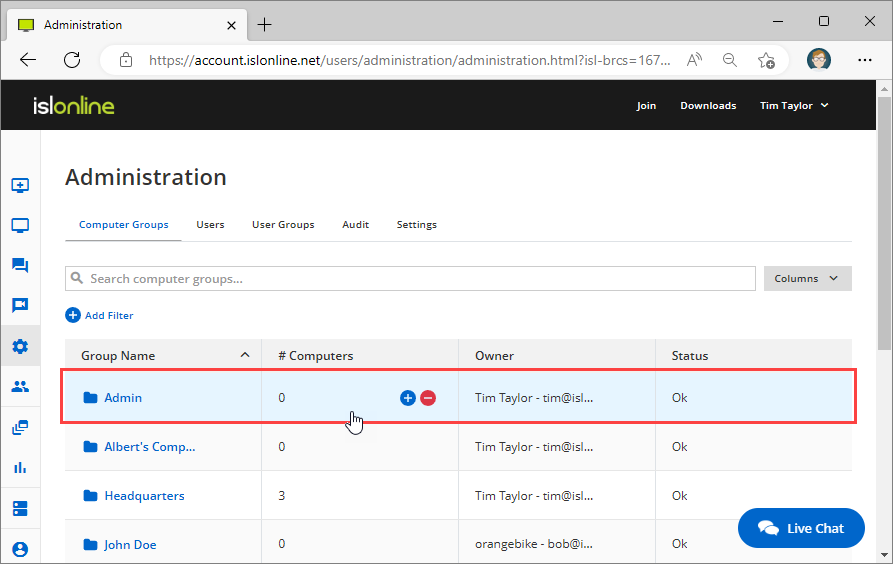
Step 1
 Click the "Computer Group row".
Step 2

Select "New Owner" or click "Assign to me".
Step 3
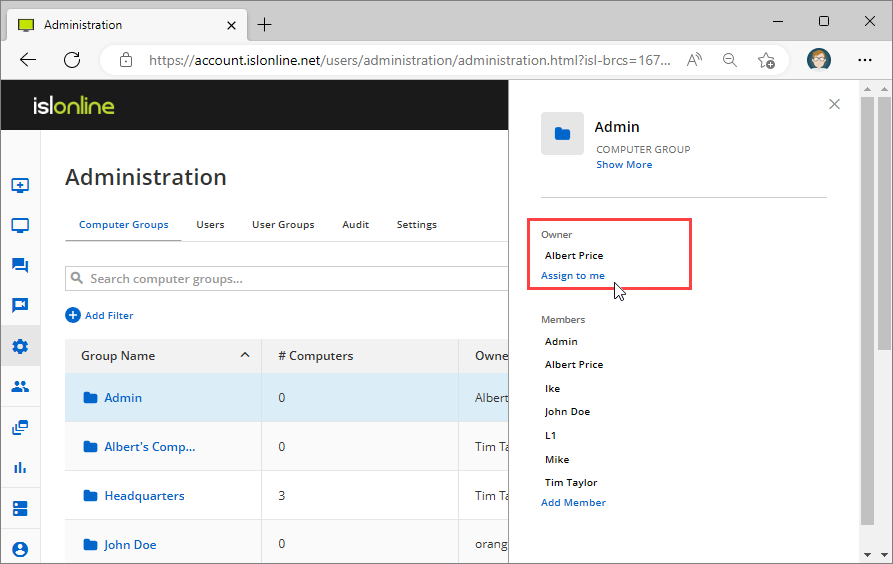
The new owner is now assigned.
Note: Changing the owner of the computer group transfers the associated rights to manage computers to another user.
Add Members
Step 1
Click the "Computer Group row".
Step 2
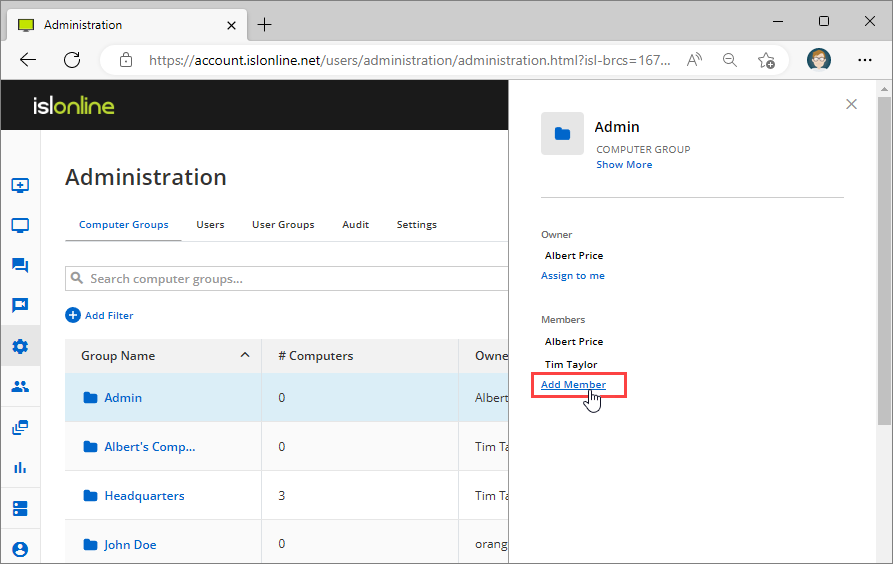 Click "Add Member".
Step 3
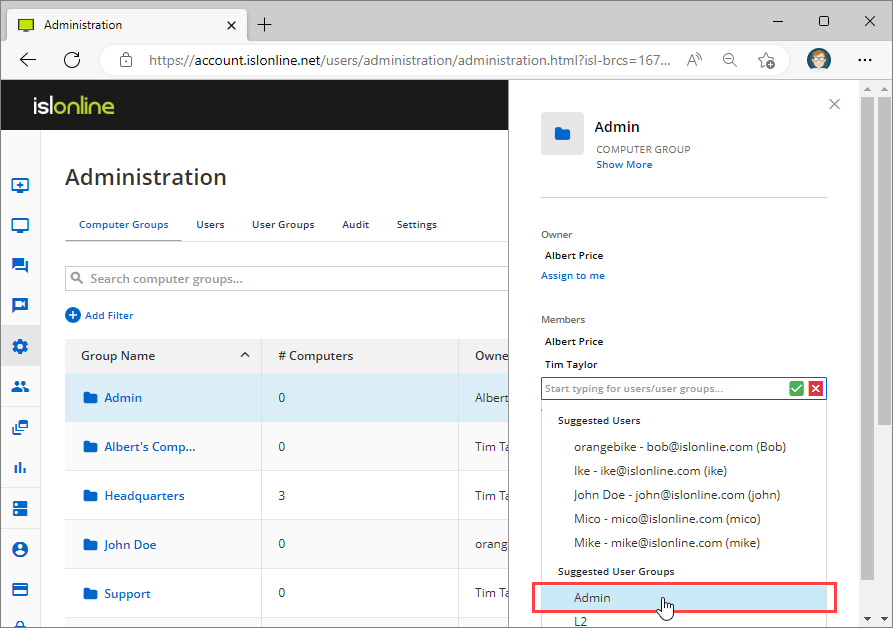 Select the "User" or "User Group" to share the "Computer Group (computers)".
Step 4
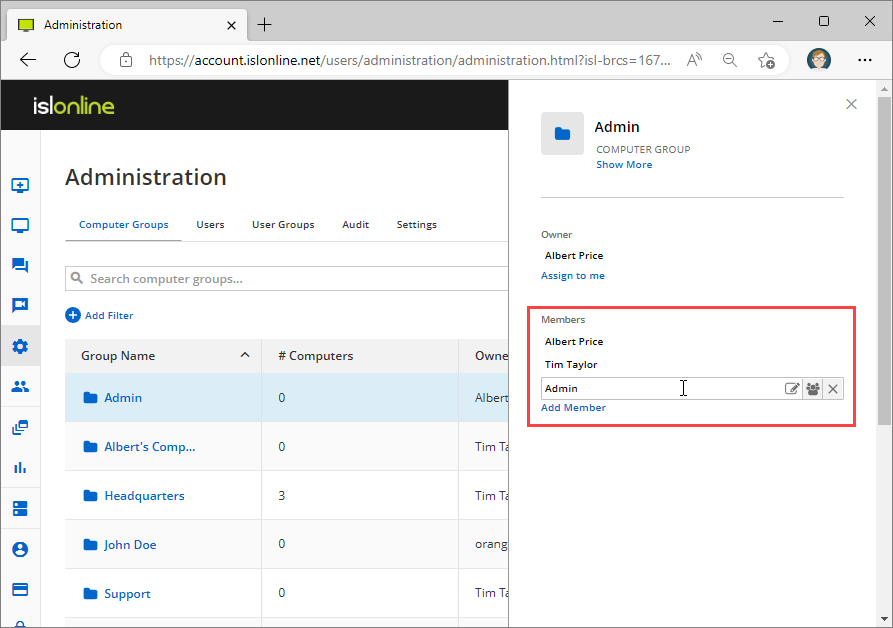
The new member has been assigned to the Computer Group.
Note: Assigning the computer group shares all the computers in that group with a user.
Delete Group
Step 1

Click the "Computer Group row", and click "Delete Computer Group" button.
NOTE: All members must be removed from the computer group before it is possible to delete it.
Step 2

Click the "Delete" button to delete the computer group.
Step 3

The computer group was successfully deleted.