For easier deployment of ISL Light to multiple computers, you can use one of the many different deployment tools available. In this guide, we will show you how to deploy ISL Light on Windows computers via Microsoft Intune.
Note: If you have customized ISL Light that you wish to deploy, change the naming of files and paths accordingly to your customization.
To deploy ISL Light on Windows computers please follow the following guide.
Step 1
You will have to prepare an ISL Light silent installer URL which we will use to download the ISL Light for deployment. Here is an example of how the prepared ISL Light installer URL should look like:
https://ICP_ADDRESS/download/ISLLight?cmdline=--setup-and-exit
Note: You can use this example to prepare the ISL Light silent installer URL for your case. Please adjust ICP_ADDRESS to your use case. ISL cloud users need to use islonline.net for ICP_ADDRESS.
Step 2
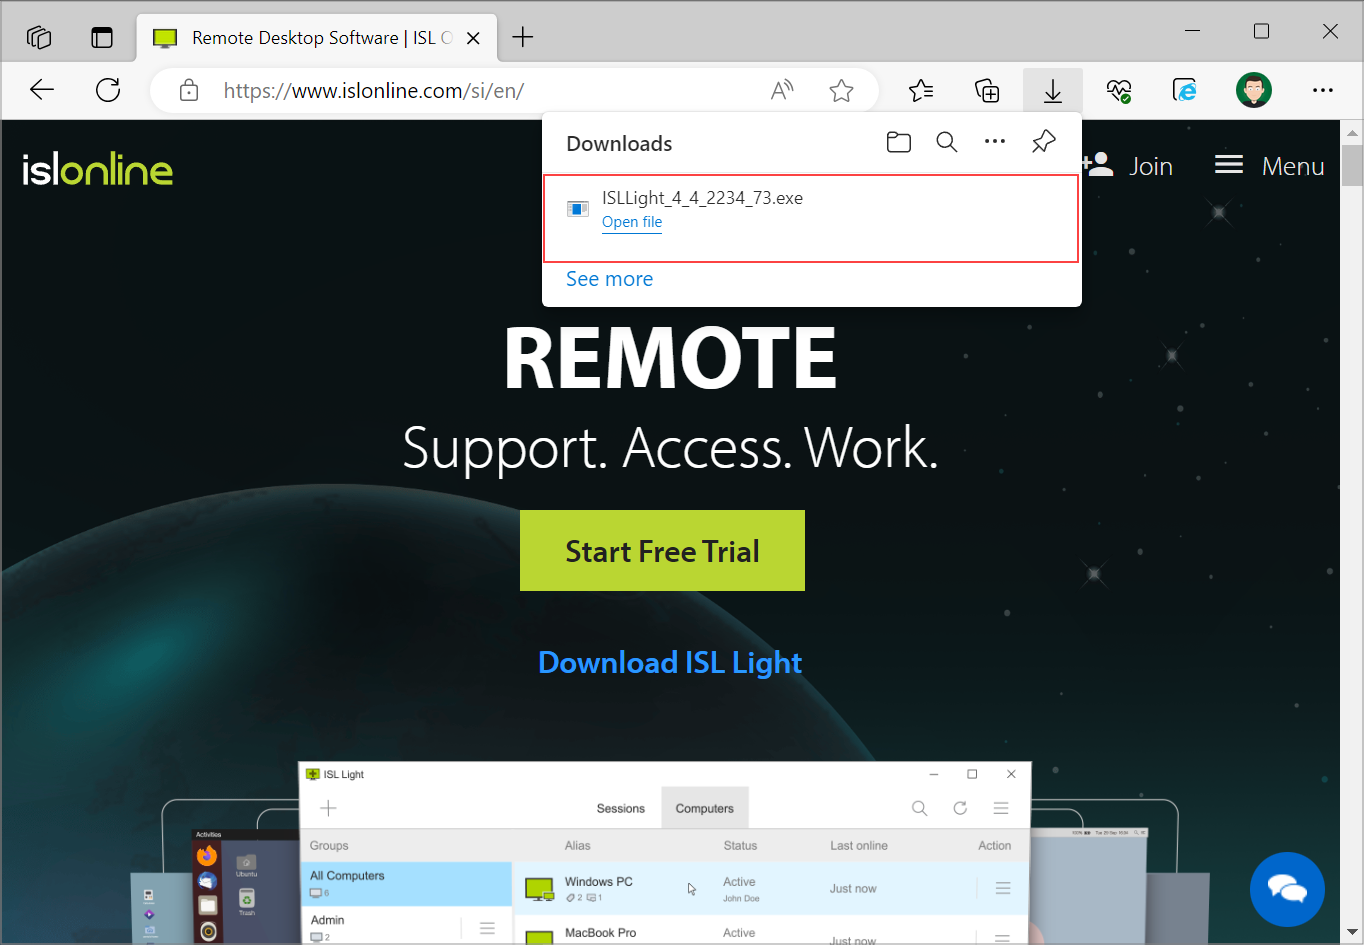
Once you have the ISL Light silent installer URL prepared, download the ISL Light from the URL.
Step 3
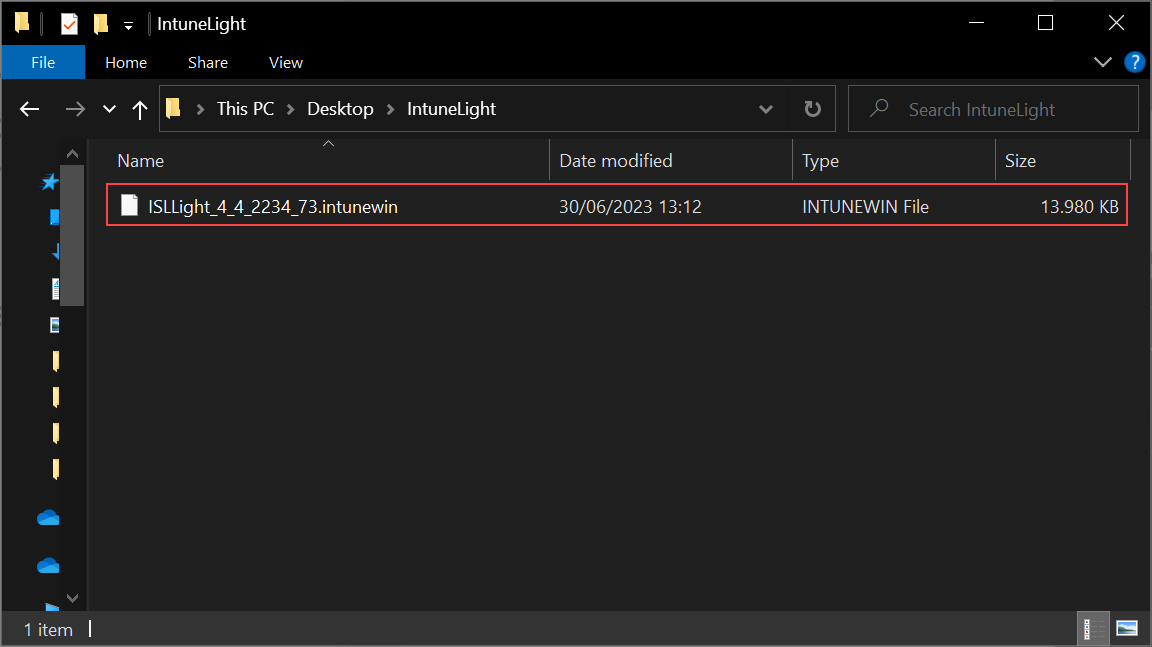
Transform the downloaded .exe into an .intunewin file. Check this official guide from Microsoft on how to do this.
Step 4
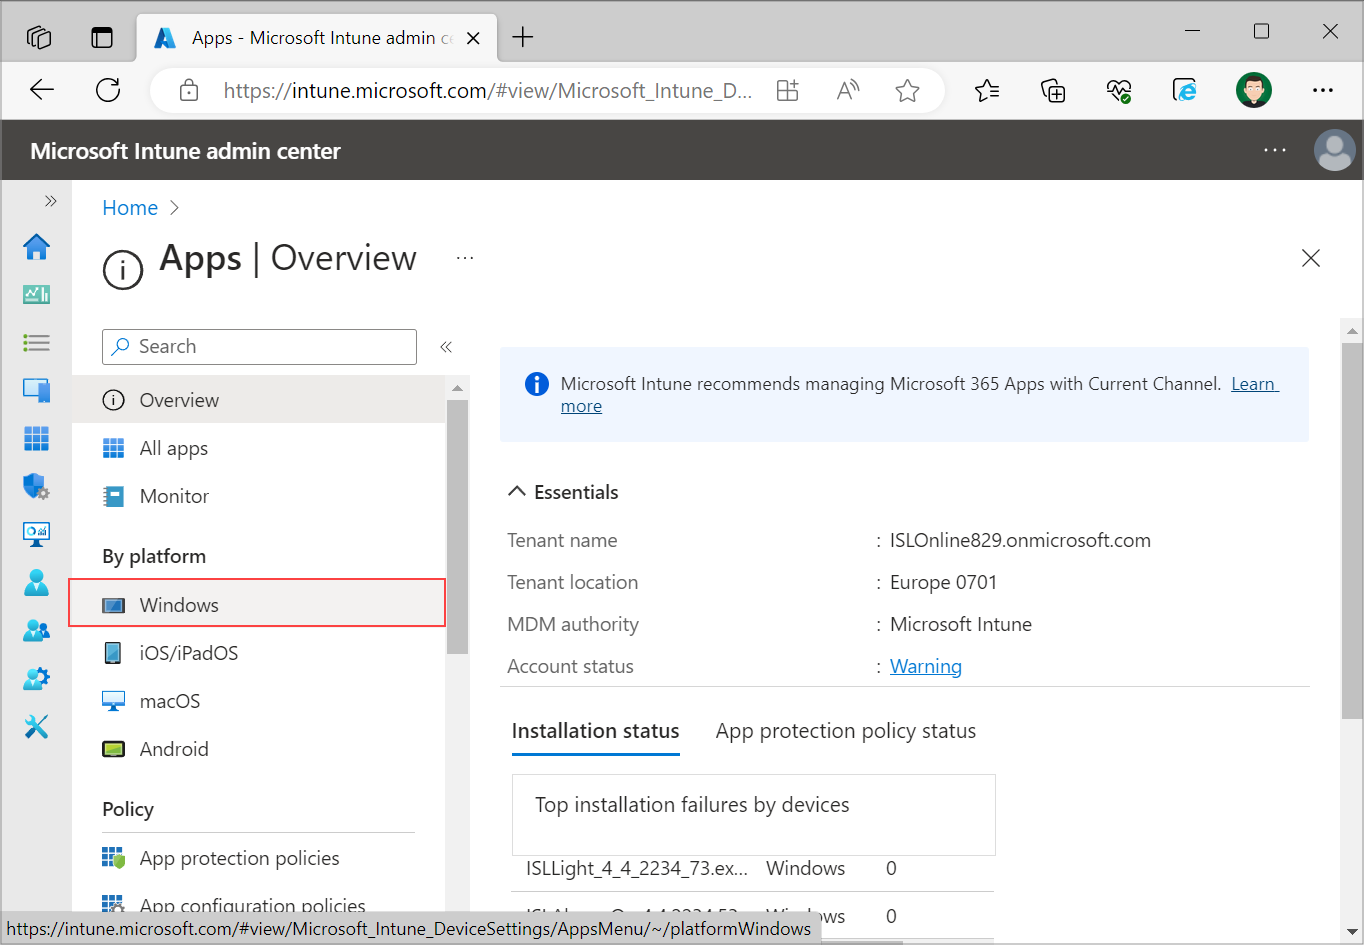
Open Microsoft Intune, select “Apps” from the left menu and click on “Windows” under “By platform”.
Step 5
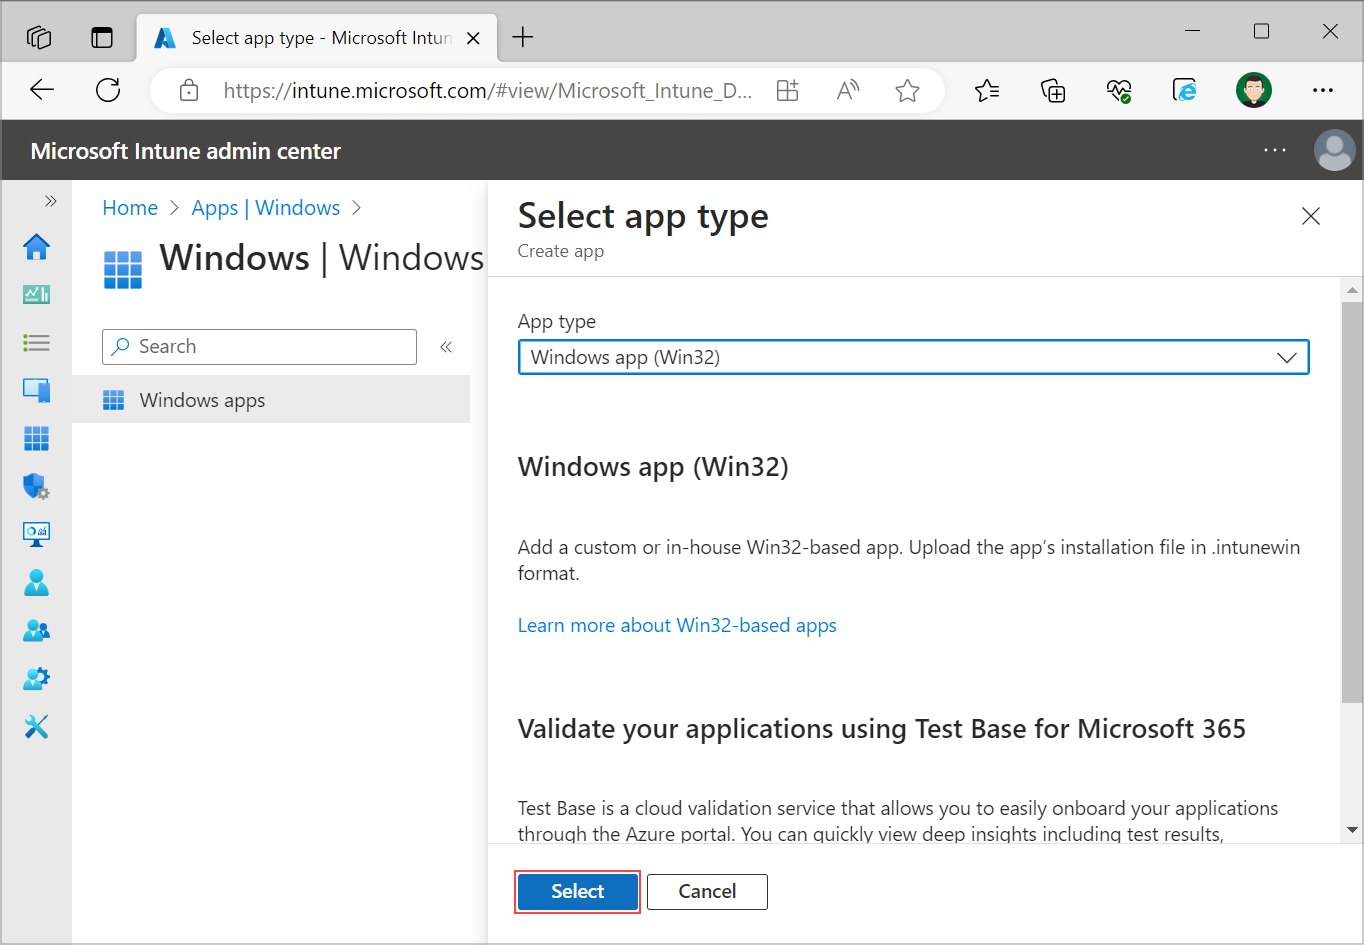
Select “Add” on the top of the page, set App type to “Windows app (Win32)” and click “Select” on bottom right of the page.
Step 6

Upload the .intunewin file that you have created in step 3 by clicking “Select app package file” and select “Ok”.
Step 7
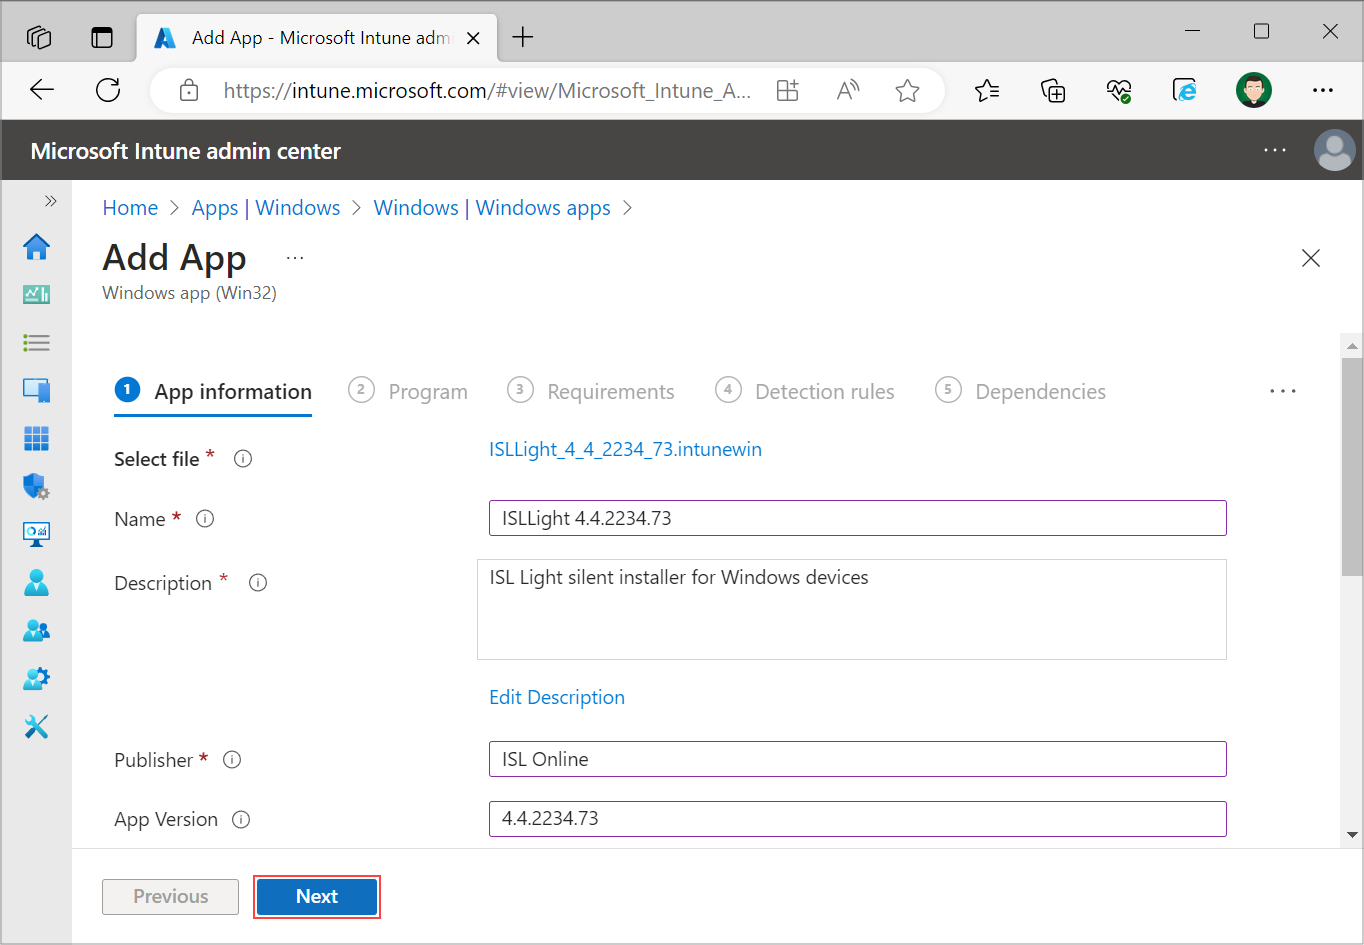
On the “App information” page fill out the required fields:
- Name - Enter the name of the .exe file that was downloaded. For example if we have downloaded ISLLight_4_4_2234_73.exe, we will enter “ISL Light 4.4.2234.73”.
- Description - Enter a short description regarding the file
- Publisher - “ISL Online”
- App Version - Enter the version of ISL Light application that you have downloaded. For example if we have downloaded ISLLight_4_4_2234_73.exe, we will enter “4.4.2234.73”.
Optionally you can fill out the remaining input fields and proceed to the next page by clicking “Next”.
Step 8
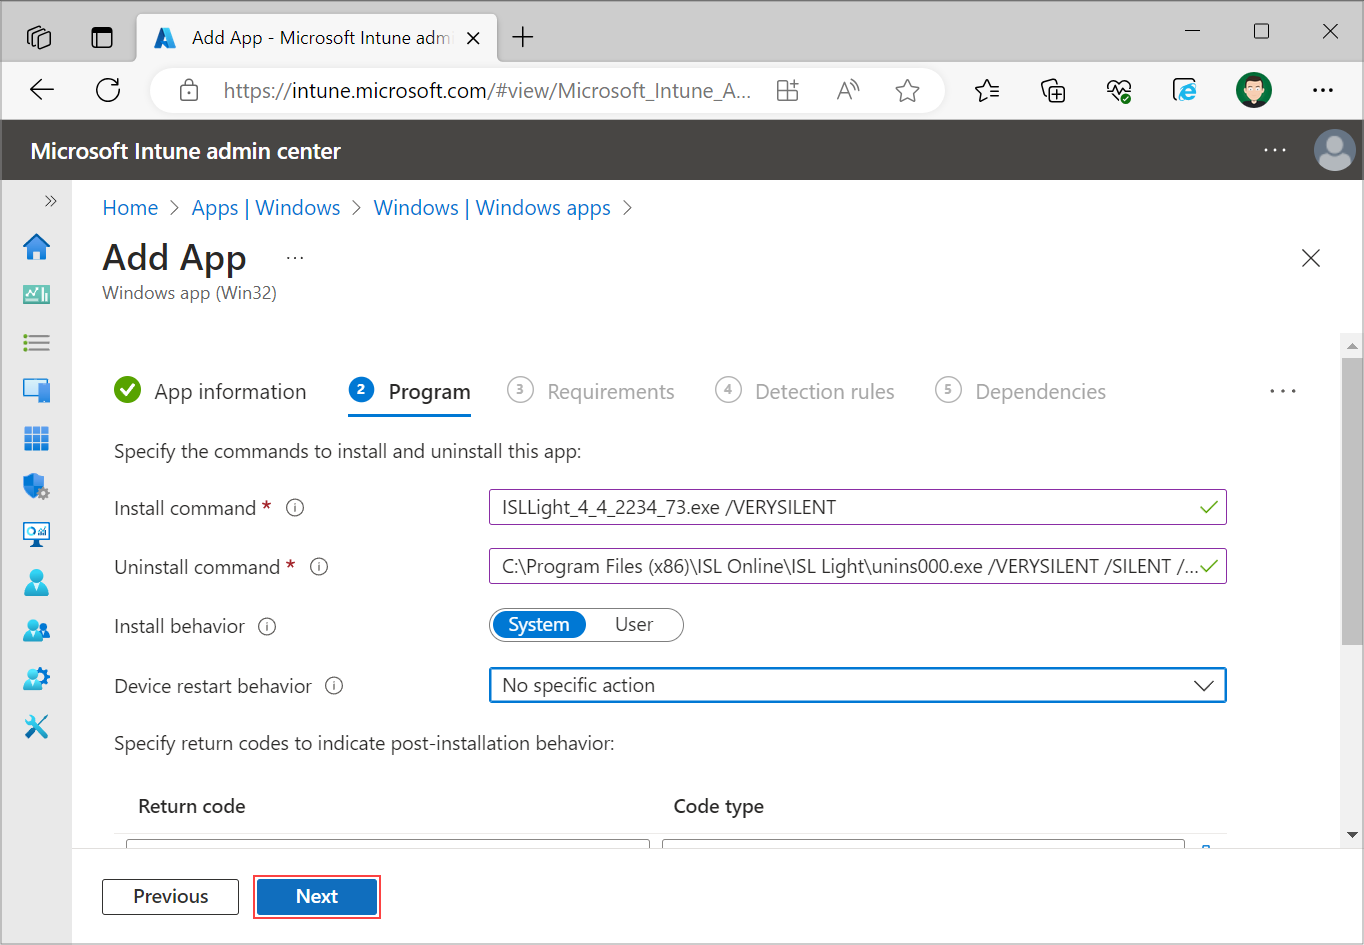
On the “Program” page fill out the required fields:
- Install command - Enter the file name of the file that you have downloaded in Step 2 with additional argument “/VERYSILENT”. For example if we have downloaded ISLLight_4_4_2234_73.exe, we will have to enter “ISLLight_4_4_2234_73.exe /VERYSILENT”.
- Uninstall command - “C:\Program Files (x86)\ISL Online\ISL Light\unins000.exe /VERYSILENT /SILENT /SUPPRESSMSGBOXES”
- Install behavior - System
- Device restart behavior - No specific action
After you have filled out the required fields, select “Next”.
Note: If you have customized ISL Light adjust the install and uninstall command to your customization.
Step 9
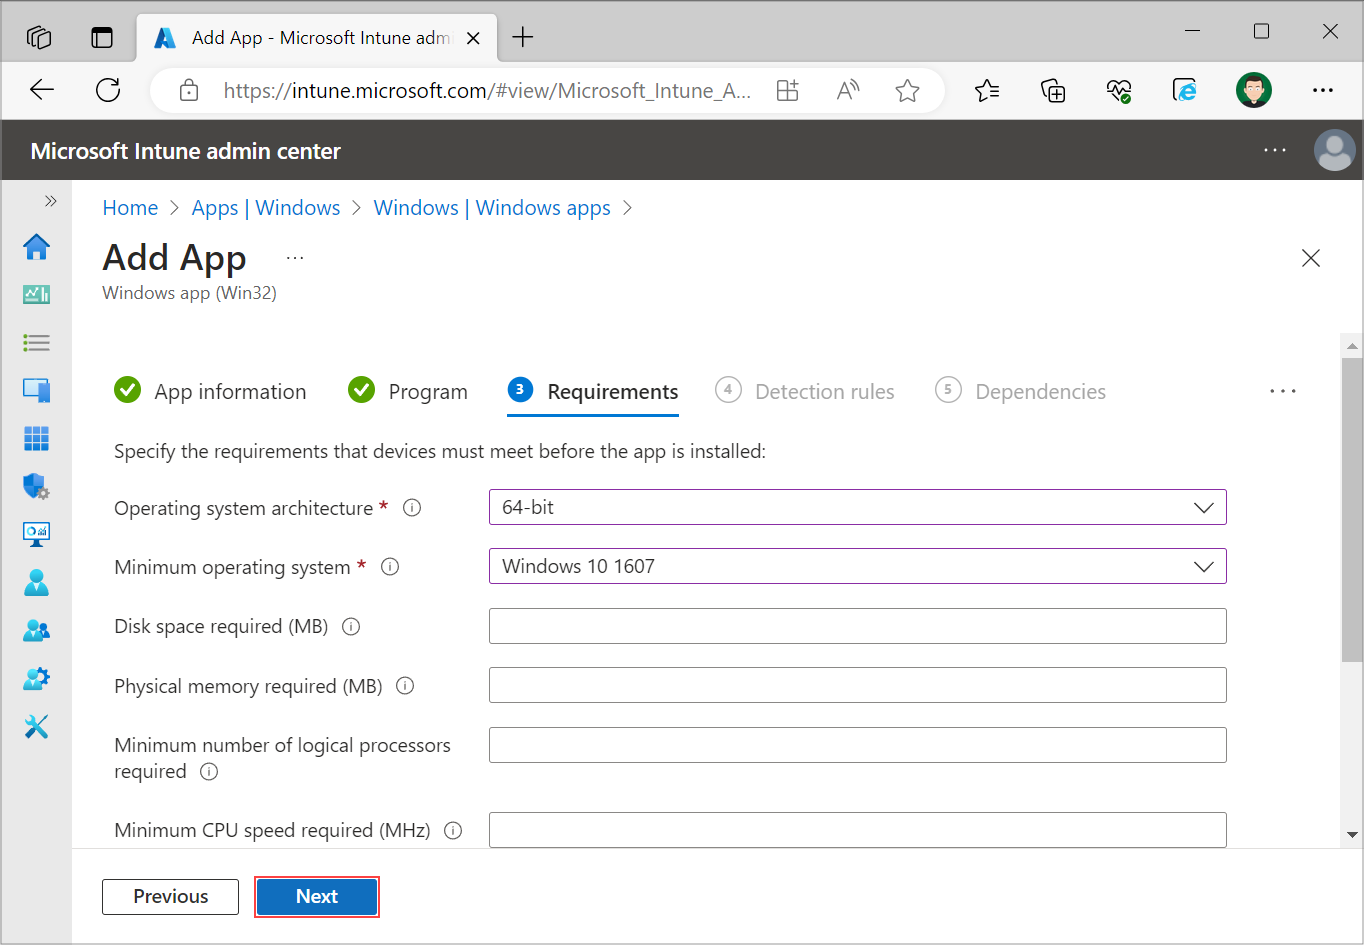
On the “Requirements” page set the Operating system architecture and Minimum operating system for your deployment. Additionally you can fill out other input fields. Then proceed to the next page by clicking “Next”.
Step 10
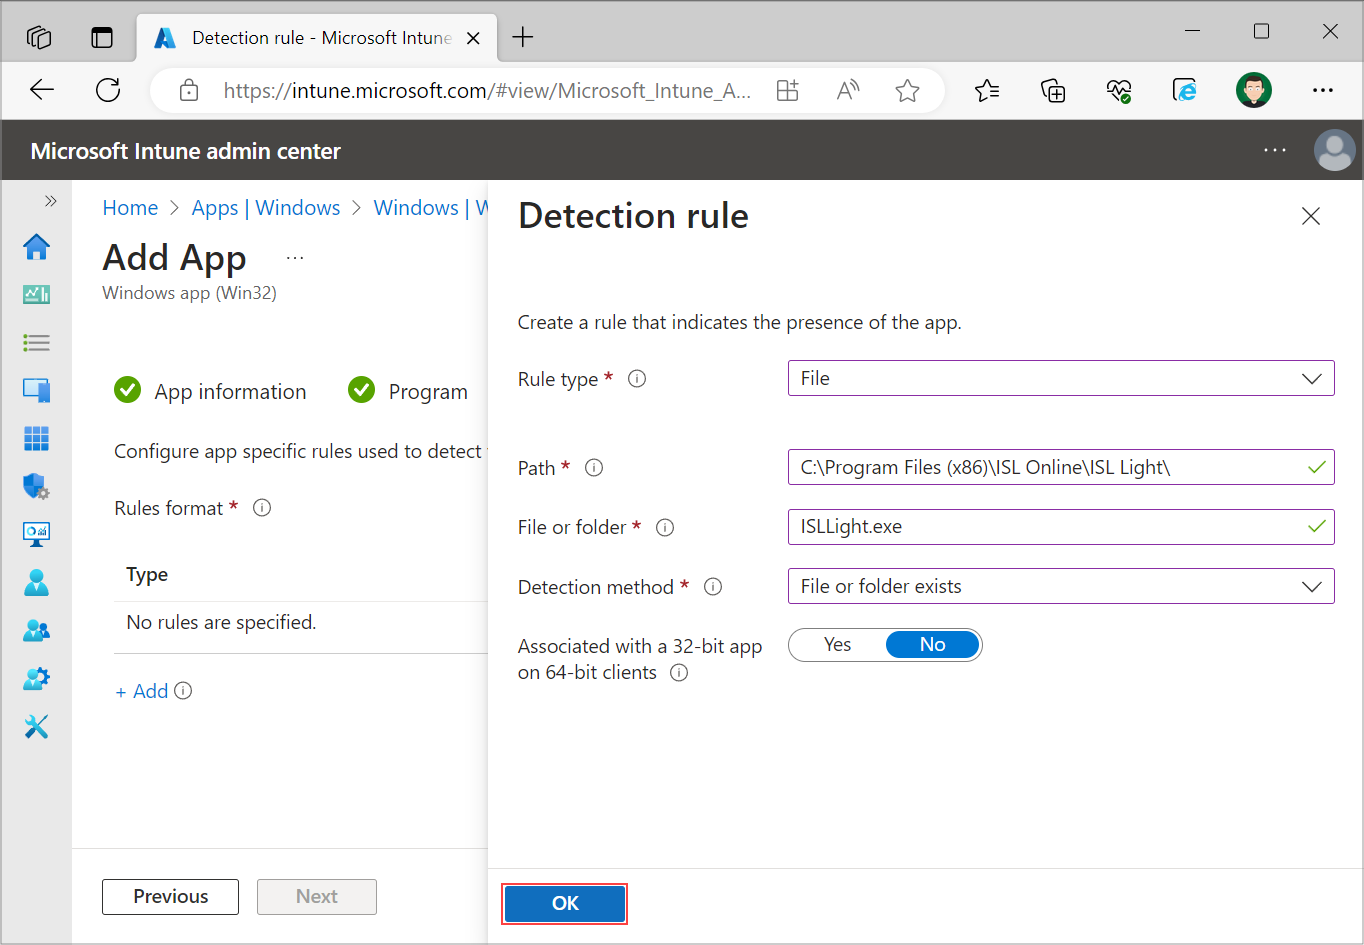
On the “Detection rules” page select “Manually configure detection rules”. Select “Add” and set these settings on the right side that opens up:
- Rule type - File
- Path - “C:\Program Files (x86)\ISL Online\ISL Light\”
- File or folder - “ISLLight.exe”
- Detection method - File or folder exists
- Associated with a 32-bit app on 64-bit clients - No
Select “Ok” to proceed and select “Next” to go to the next page.
Note: If you have customized ISL Light, change the “Path” and “File or folder” accordingly to your customization.
Step 11
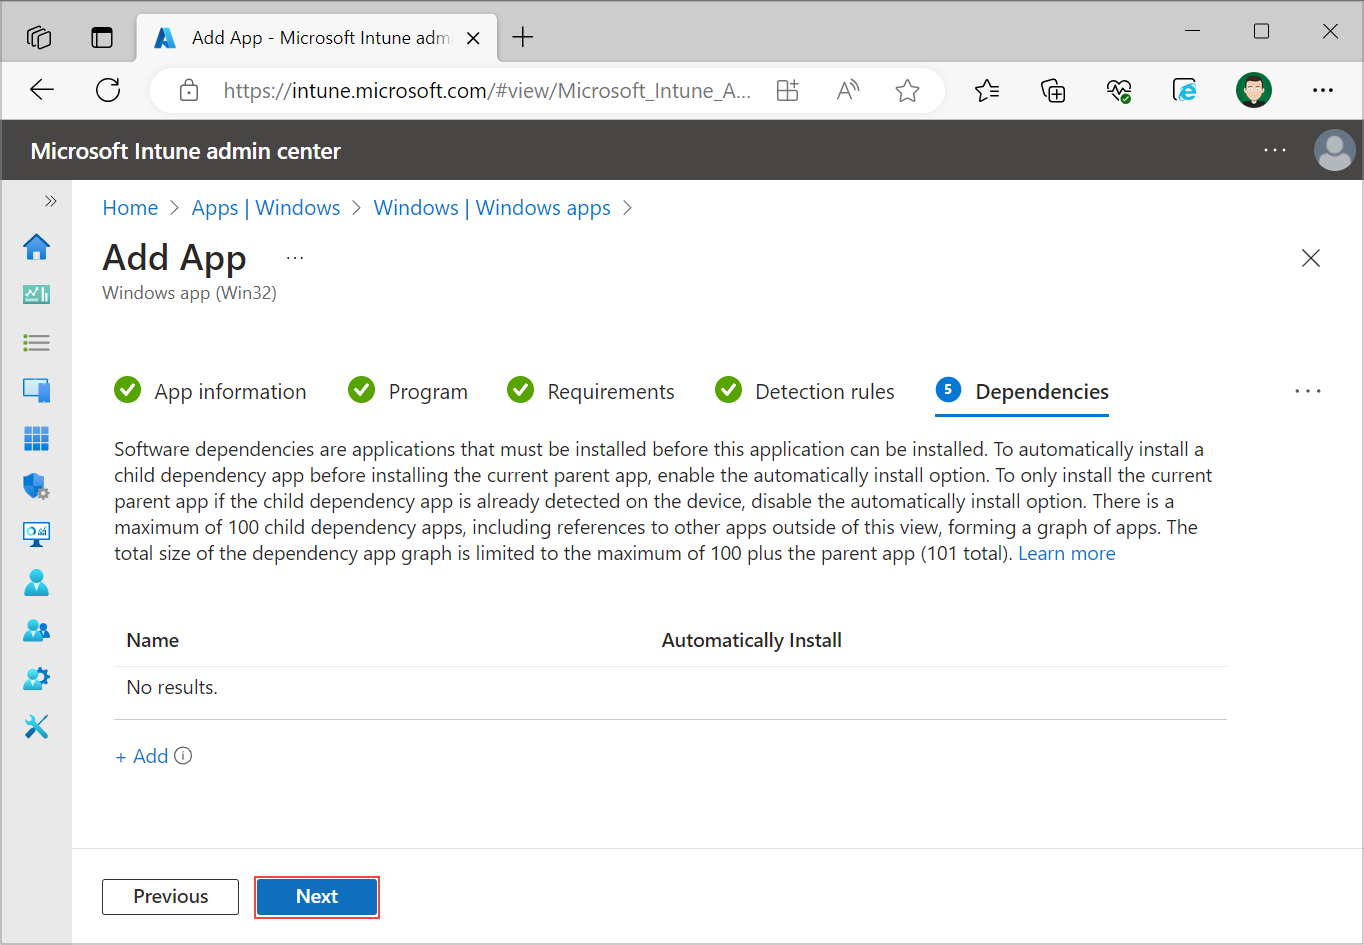
Leave the “Dependencies” page as it is and proceed to the next page.
Step 12
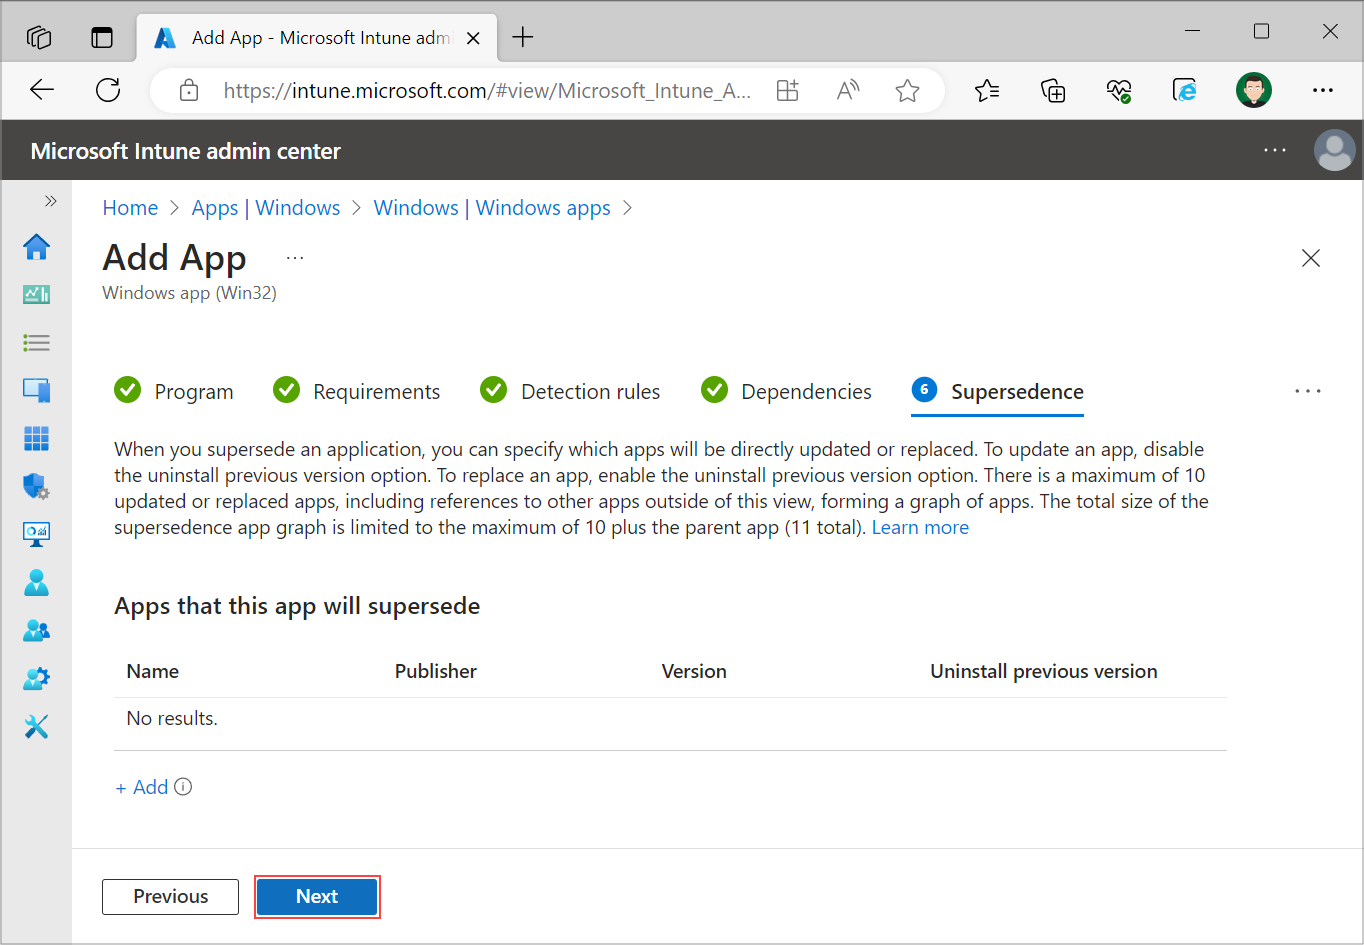
Leave the “Supersedence” page as it is and proceed to the next page.
Step 13
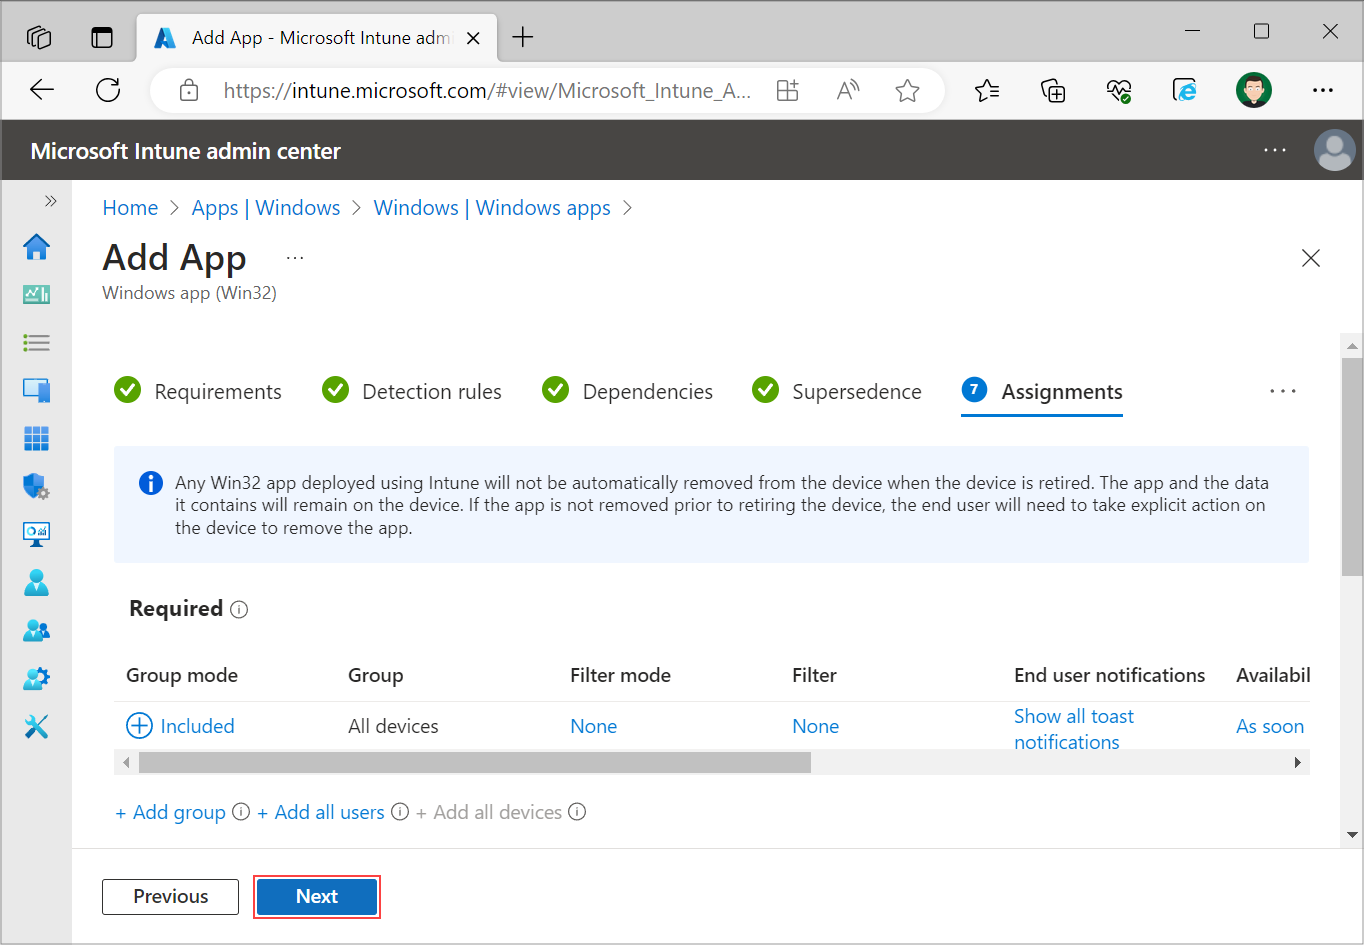
Under “Assignments” page set the groups, users or devices for which you want to deploy ISL Light. Select “Next”.
Step 14
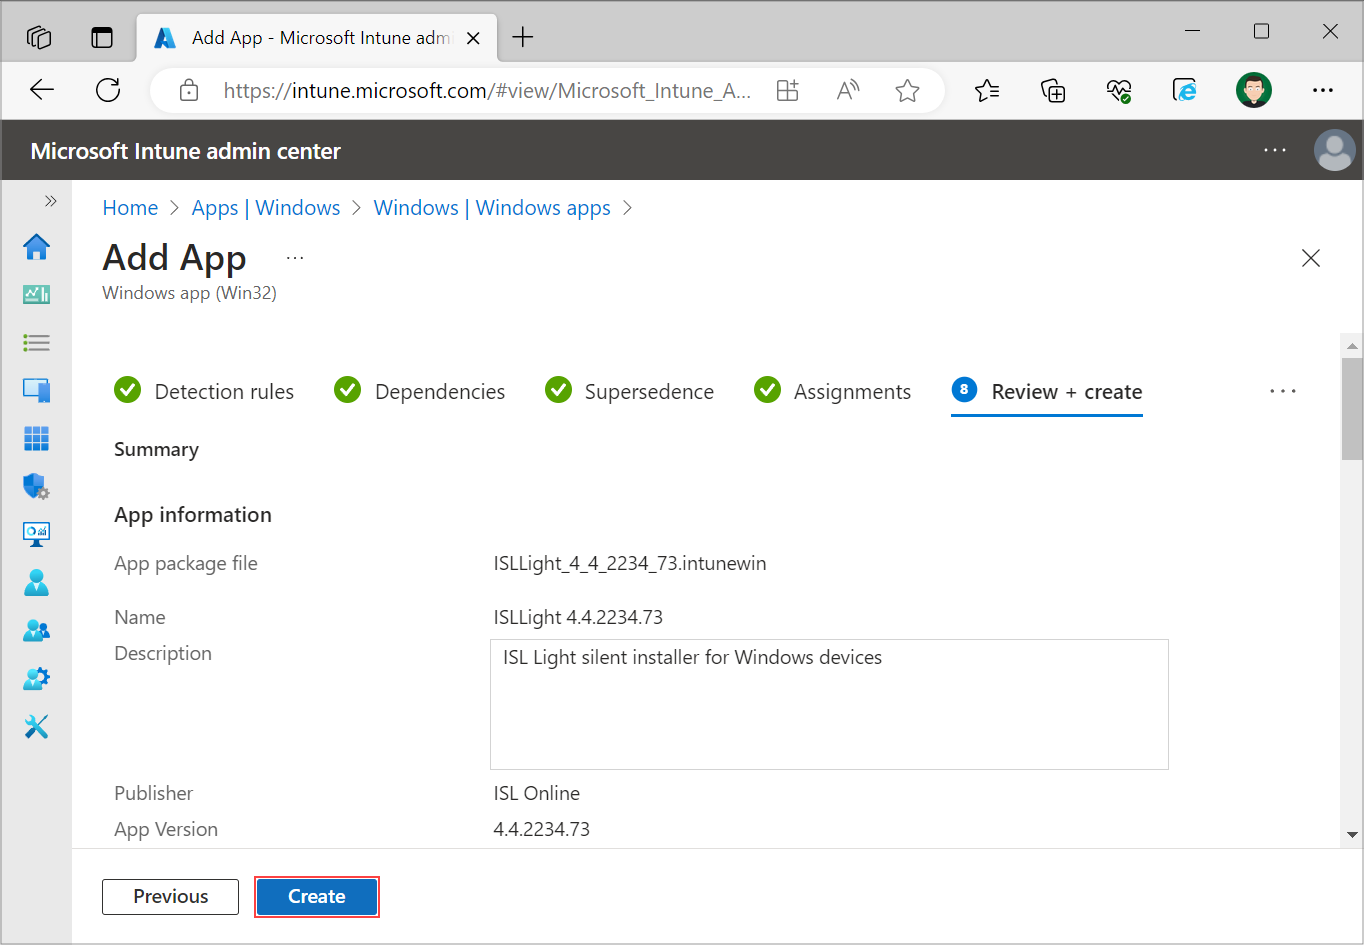
Review and create ISL Light deployment configuration.
Step 15
Script will be executed automatically on the devices that were assigned in step 13.
Step 16
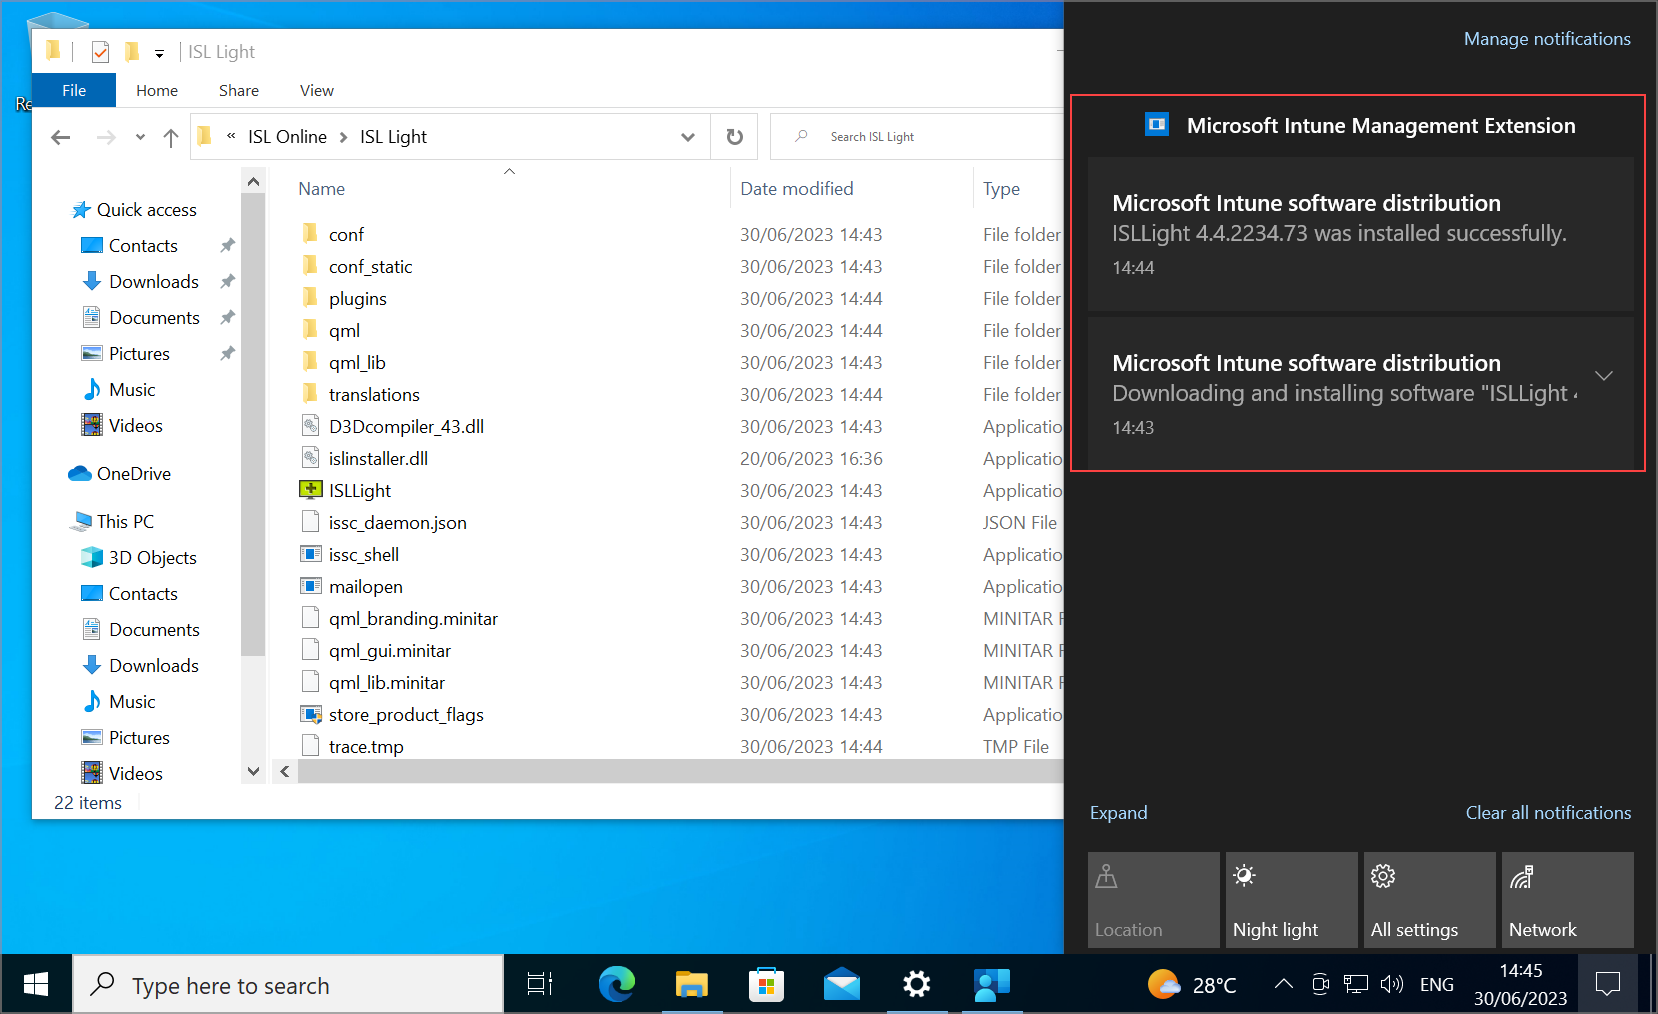
You have successfully deployed ISL Light to a Windows computer using Intune.