In addition to the standard way of connecting to the remote computer with ISL AlwaysOn as described in the topics Connect to Remote Computer - Web and Connect to Remote Computer - ISL Light, ISL AlwaysOn supports two more connection options that might come in handy:
- Connection with Windows user password - Allows you to connect to the remote computer using the Windows user password of the remote machine
- RDP connection tunneled trough ISL AlwaysOn - Allows you to create a RDP connection to the remote machine not on your local network by using ISL AlwaysOn as a RDP tunnel
Connect with Windows user password
Step 1 (Server side)
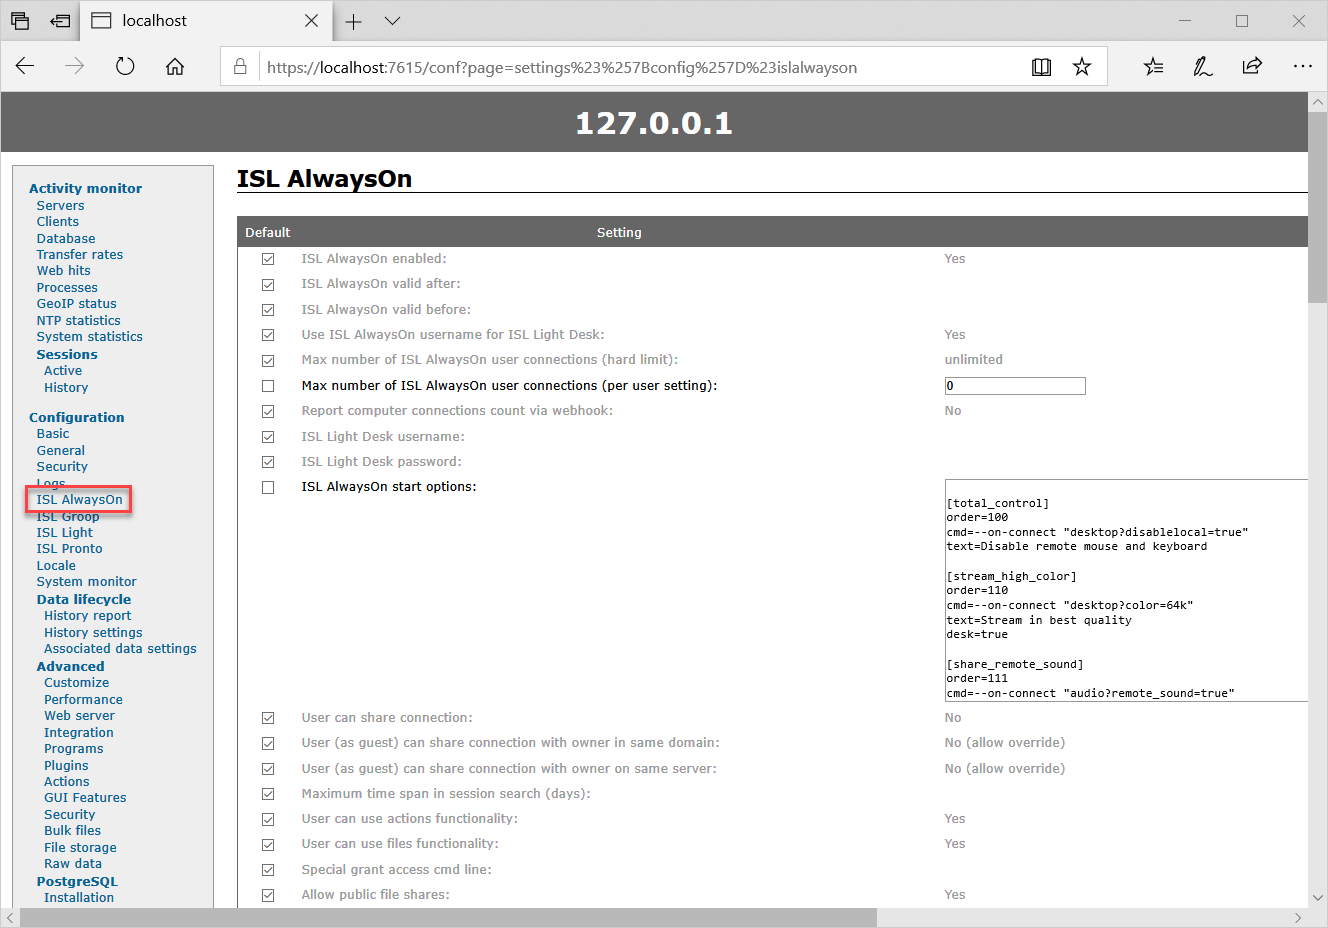
Log into your ISL Conference Proxy configuration page and open ISL AlwaysOn settings under Configuration.
Step 2 (Server side)
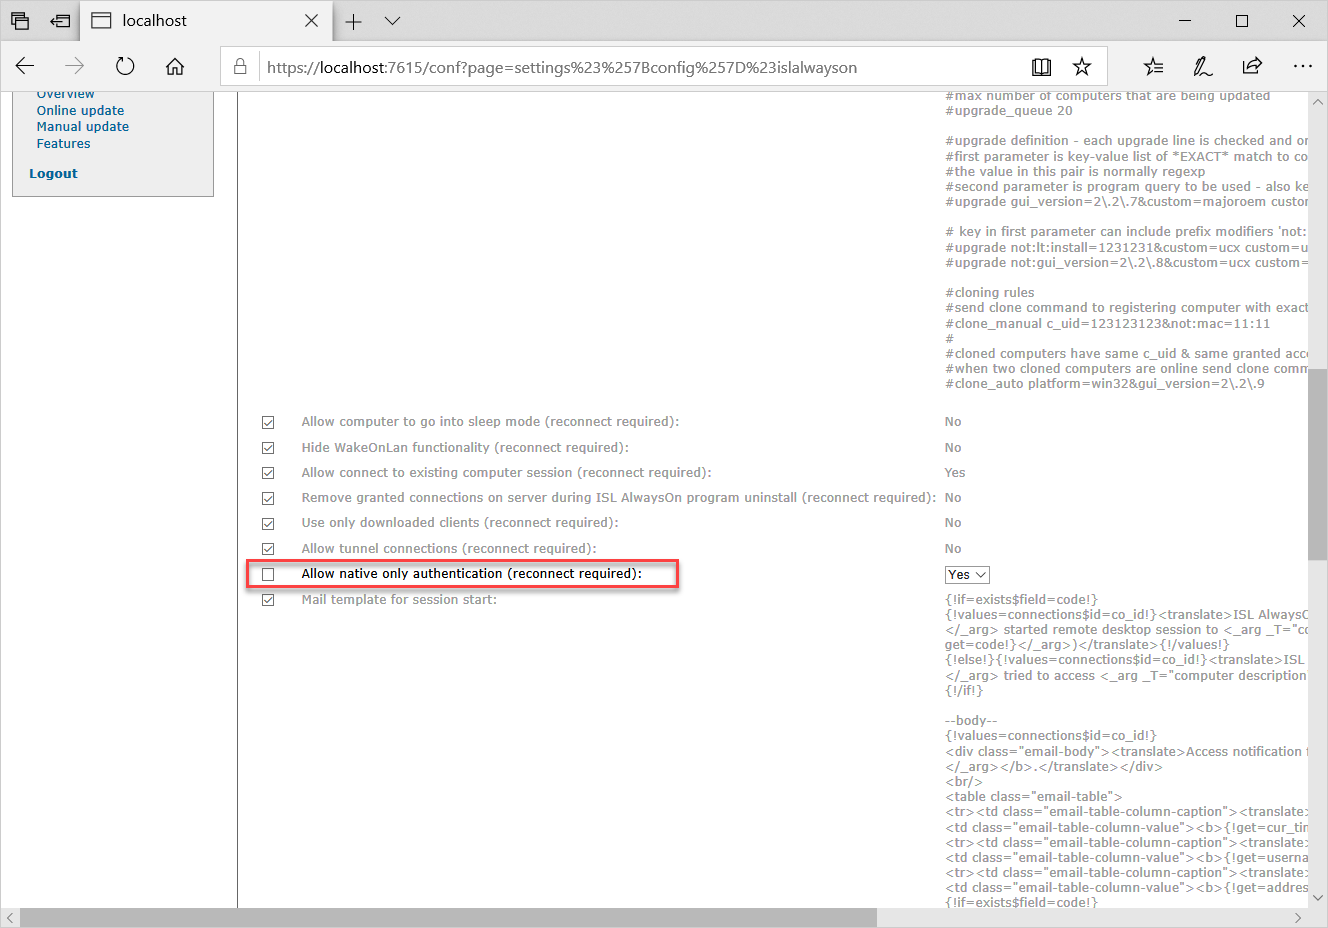
Find the following setting: "Allow native only authentication (reconnect required)" and set it to Yes. Click "Save" at the bottom of the page to apply the change.
Note: Reconnect required notice means the ISL AlwaysOn clients will need to reconnec to the ISL Conference Proxy server in order for the change to become visible. Quickest way to restart the service is trough the administrative command prompt on the client side with the following commands:
net stop isl_always_on followed by net start isl_always_on
Step 3 (Client side)
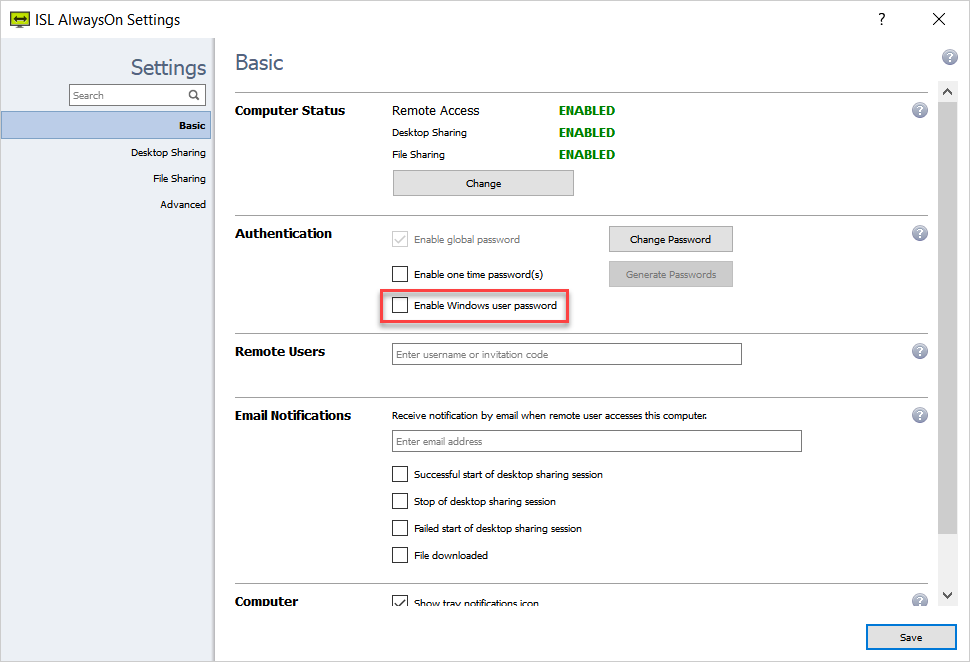
On the remote computer enable Windows user password authentication in ISL AlwaysOn Basic settings.
Note: For Windows user password functionality to work it has to be enabled in ISL Conference Proxy and on the remote computer.
Note: While Windows user password functionality is enabled it will override any other form of authentication (e.g. you can no longer use the global password to connect to the remote computer).
Important: Windows user password functionality offers less security than other forms of authentication. For this reason it is only enabled for the Server license users.
There is currently no plans to enable it for hosted users.
Step 4
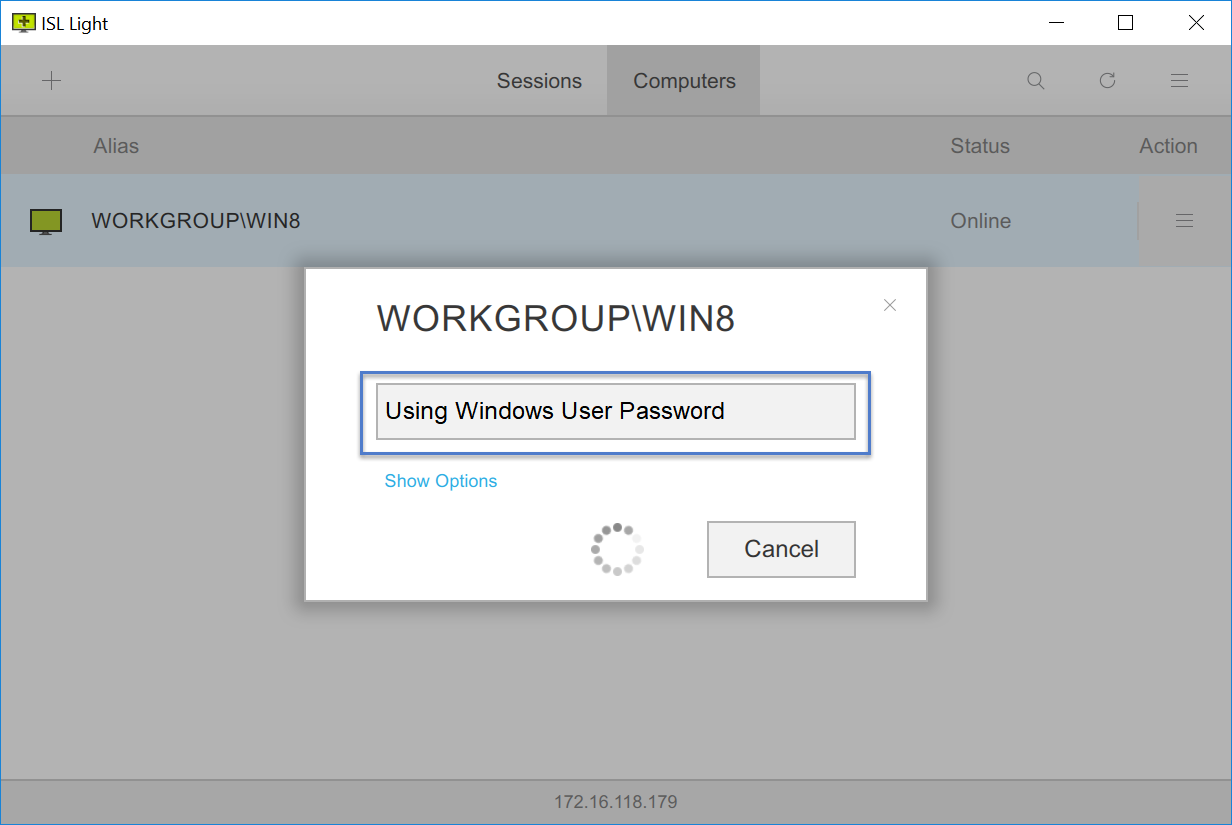
When you click on a computer with a Windows user password functionality enabled you will not be prompted for a password anymore. ISL AlwaysOn will lock the remote computer and you will be connected to a session. You will need to enter the Windows password on the remote computer to begin using it.
Connect with RDP
Important: Steps 1 and 2 show a global setting which will allow RDP connections to all ISL AlwaysOn computers connected to your ISL Conference Proxy. If you wish to enable RDP connection only for a specific computer continue directly to Step 3.
Step 1 (Server side)
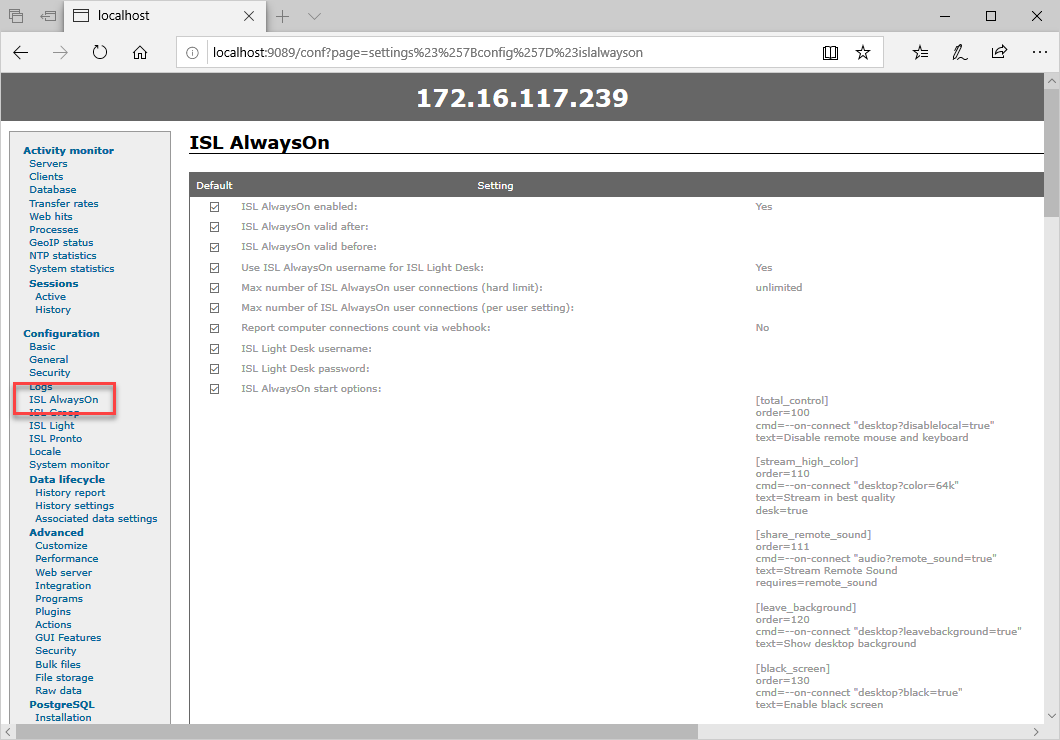
Log into your ISL Conference Proxy configuration page and open ISL AlwaysOn settings under Configuration.
Step 2 (Server side)
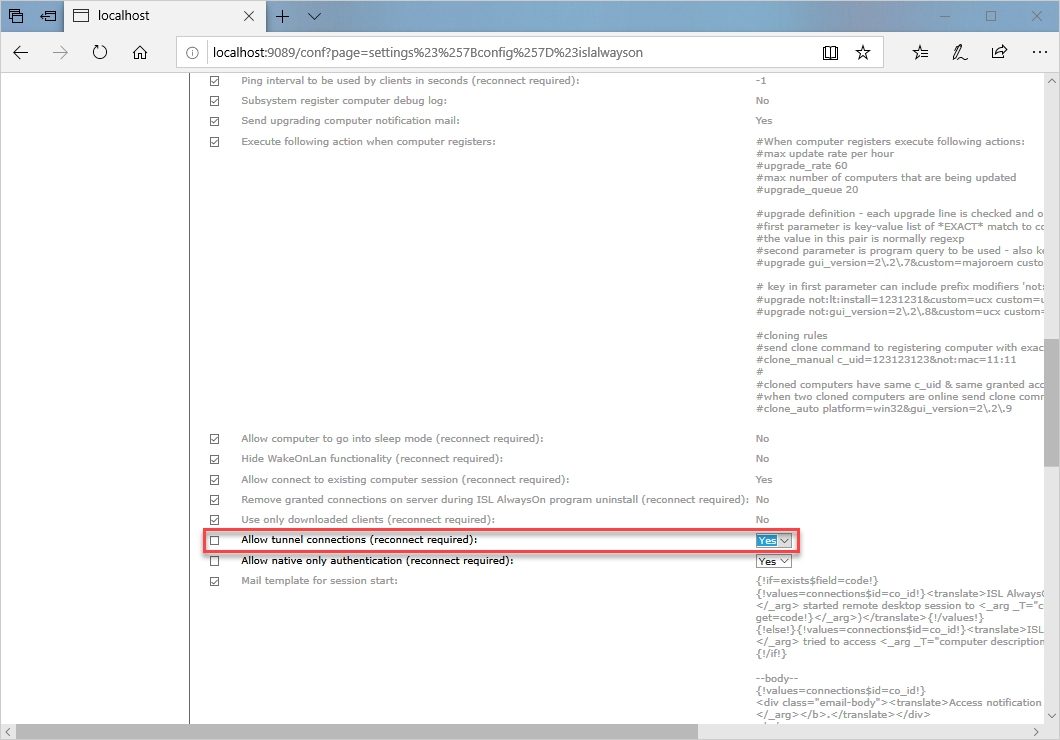
Find the following setting: "Allow tunnel connections (reconnect required)" and set it to Yes. Click "Save" at the bottom of the page to apply the change.
Note: Reconnect required notice means the ISL AlwaysOn clients will need to reconnec to the ISL Conference Proxy server in order for the change to become visible. Quickest way to restart the service is trough the administrative command prompt on the client side with the following commands:
net stop isl_always_on followed by net start isl_always_on
Step 3 (Client side)

Open Tunnel Connection under Advanced settings in ISL AlwaysOn and make sure that the "Allow Tunnel Connections (RDP,SSH)" checkbox is ticked.
Note: In the example above the "Allow Tunnel Connections (RDP,SSH)" checkbox is not ticked, since we did not allow tunnel connections in ISL Conference Proxy (Steps 1 and 2). To enable tunnel connections for this specific computer you have to uncheck the "Use default server settings" and then tick the "Allow Tunnel Connections (RDP,SSH)" checkbox.
Step 4
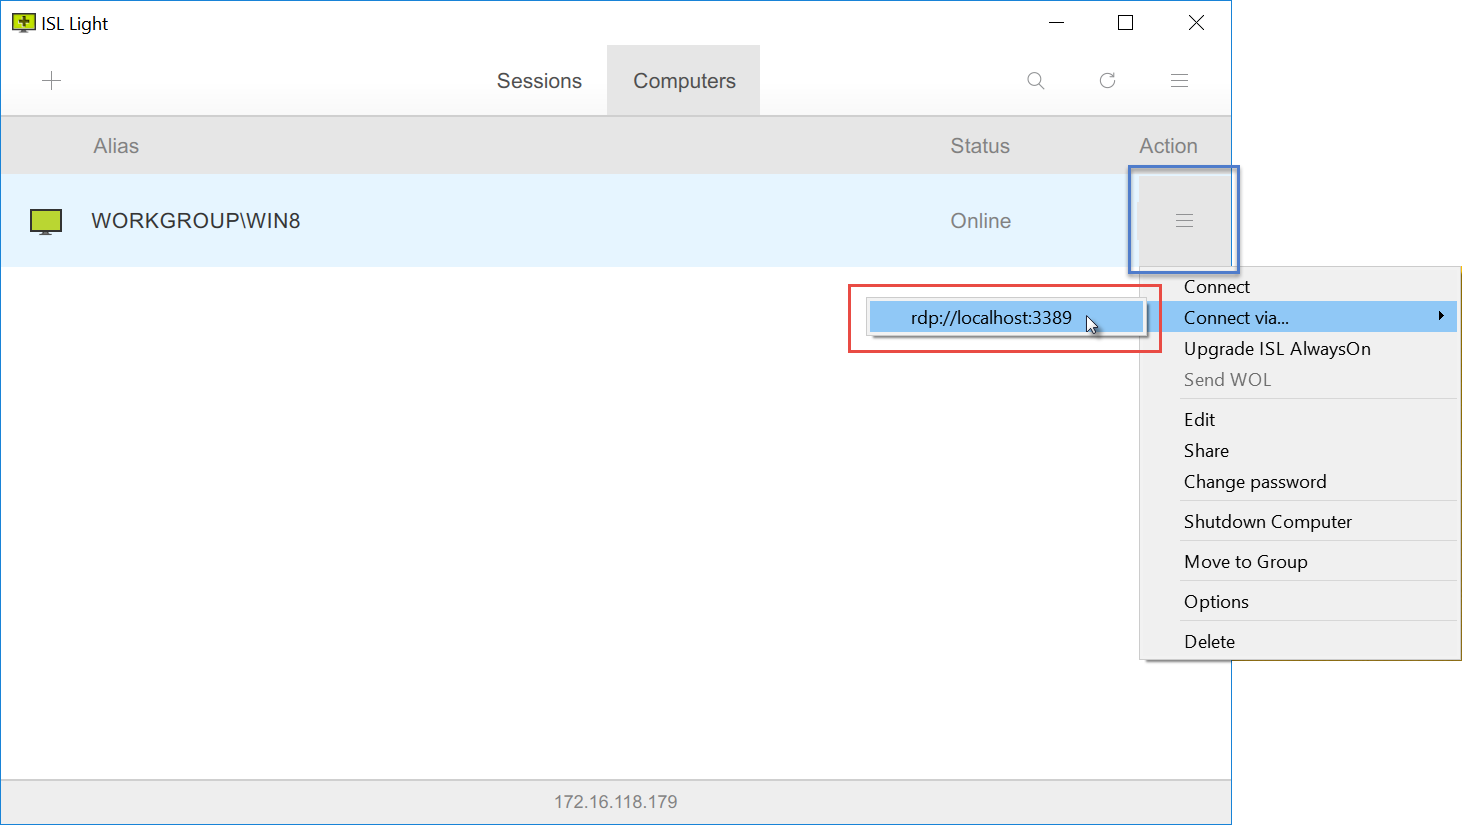
Click on the "Action" button then "Connect via..." and select the rdp option.
Step 5
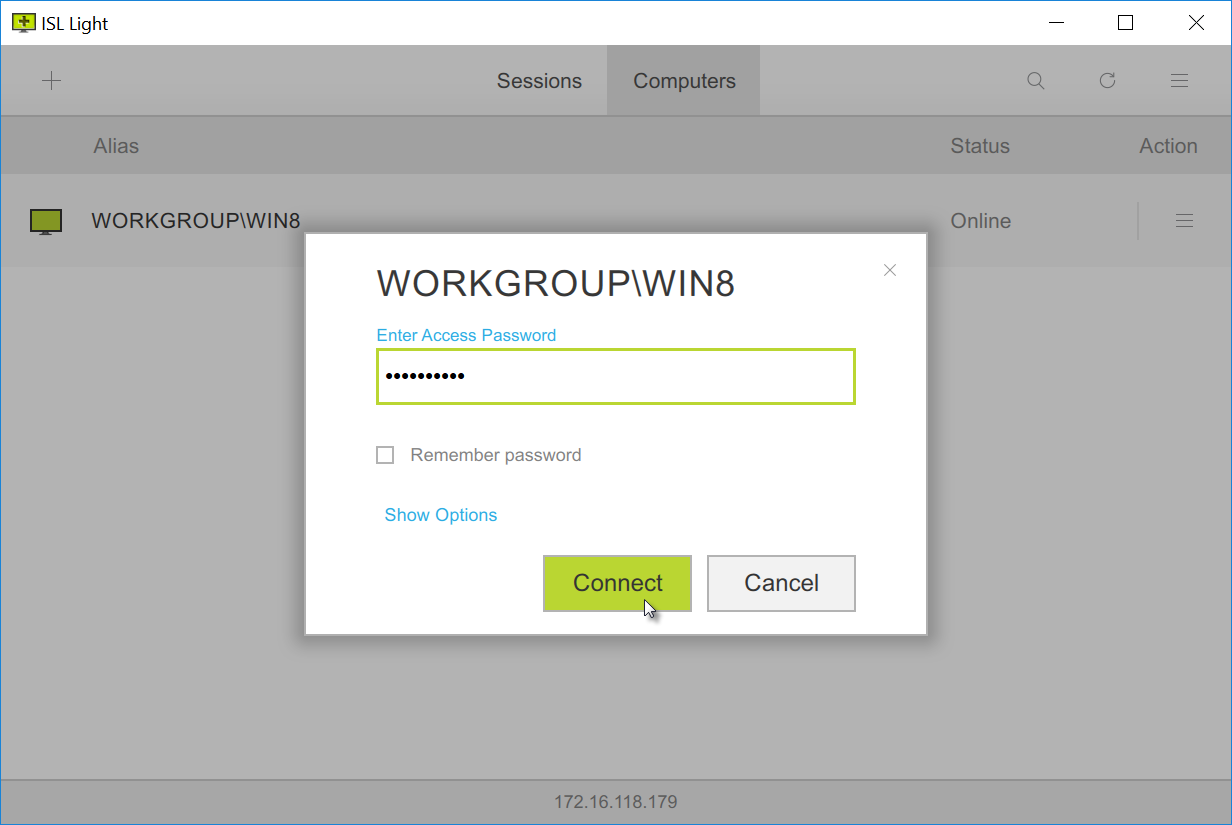
Enter the computer access password and click "Connect". First the connection to remote computer will be established in headless mode meaning without any interface on local or remote side, as the connection is only serving as a tunnel for RDP. Then the RDP session will start automatically.
Important: For this functionality to work the RDP connection on the remote computer has to be enabled. This link shows how to enable it in Windows 10: How to use Remote Desktop.
Step 6
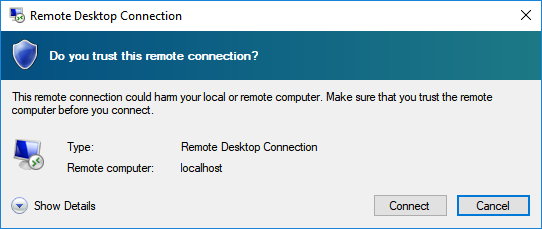
Connect to the remote computer using the RDP interface as you normally would if the computer was on your local network.