This chapter describes the installation procedure for ISL Pronto client.
Please follow these steps for each of your supporters:
Step 1
Download ISL Pronto client. The direct download link is:
http://localhost:7615/start/islpronto
Note: Administrative privileges are required for ISL Pronto client installation.
Step 2
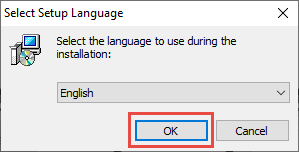
Select language and click "OK" button.
Step 3

Click "Install" button.
Step 4

Enter the information about the server and add a description. Afterwards click "OK" to establish the connection.
Server: enter your server address
Description: anything you like
Step 5
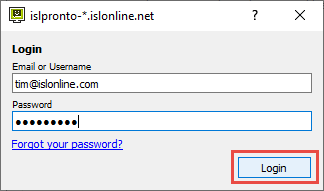
Enter your login credentials and click login.
Step 6
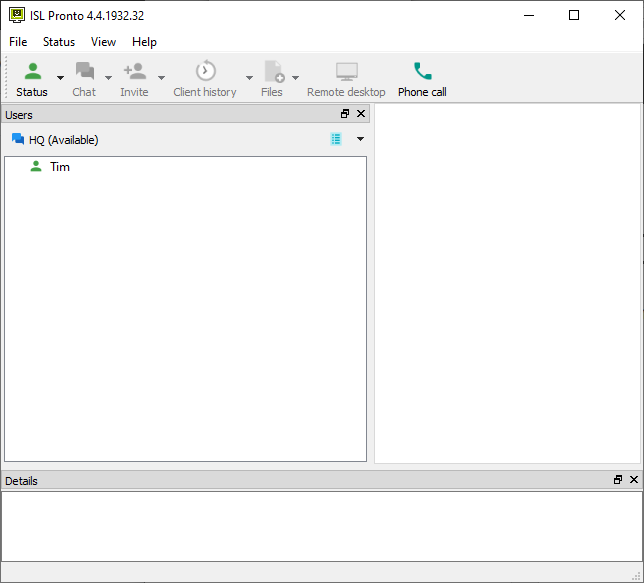
Operator is connected and available for live chat support. This concludes the installation procedure for ISL Pronto.