Requirements: ISL Conference Proxy version 4.2.0 or newer and ISL Light Module version 4.0.2 and higher
Important: Setting up the Server Side Session Recording will not compromise the end-to-end encryption of the session between the Desk and the Client. The Desk (Operator/Supporter) records the session locally and the recording is continuously uploaded to the ISL Conference Proxy Server.
Important note
It is not advisable to use ISL Conference Proxy installation directories for storing server-side session recordings, as that may cause disruptions in server functionality (e.g., automatic updates). We advise using a separate volume for storing session recordings.
Step 1
Create or select a folder on the server file system that will hold the recordings. Make sure the ISL Conference Proxy user (islcp) has write and read permissions for it, otherwise, add it and assign it the following permissions.
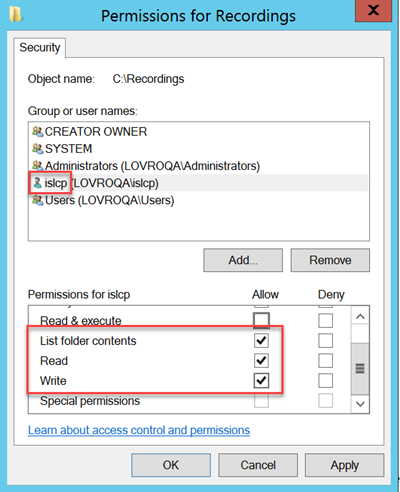
In this example the following folder will be used:
C:\Recordings
Note: When setting up server-side session recording on Linux installation, create a directory to store recordings and store the path to it as you will need it in Step 4. To check the whole path of the created storage directory, navigate to it and use the command "pwd". Add the "islcp" user to the group that owns the directory and make sure the group has read and write permissions (sudo chmod -R g+rw /path/to/recordings), or change the ownership of the newly created directory to the "islcp" user (sudo chown -R islcp /path/to/recordings).
Step 2
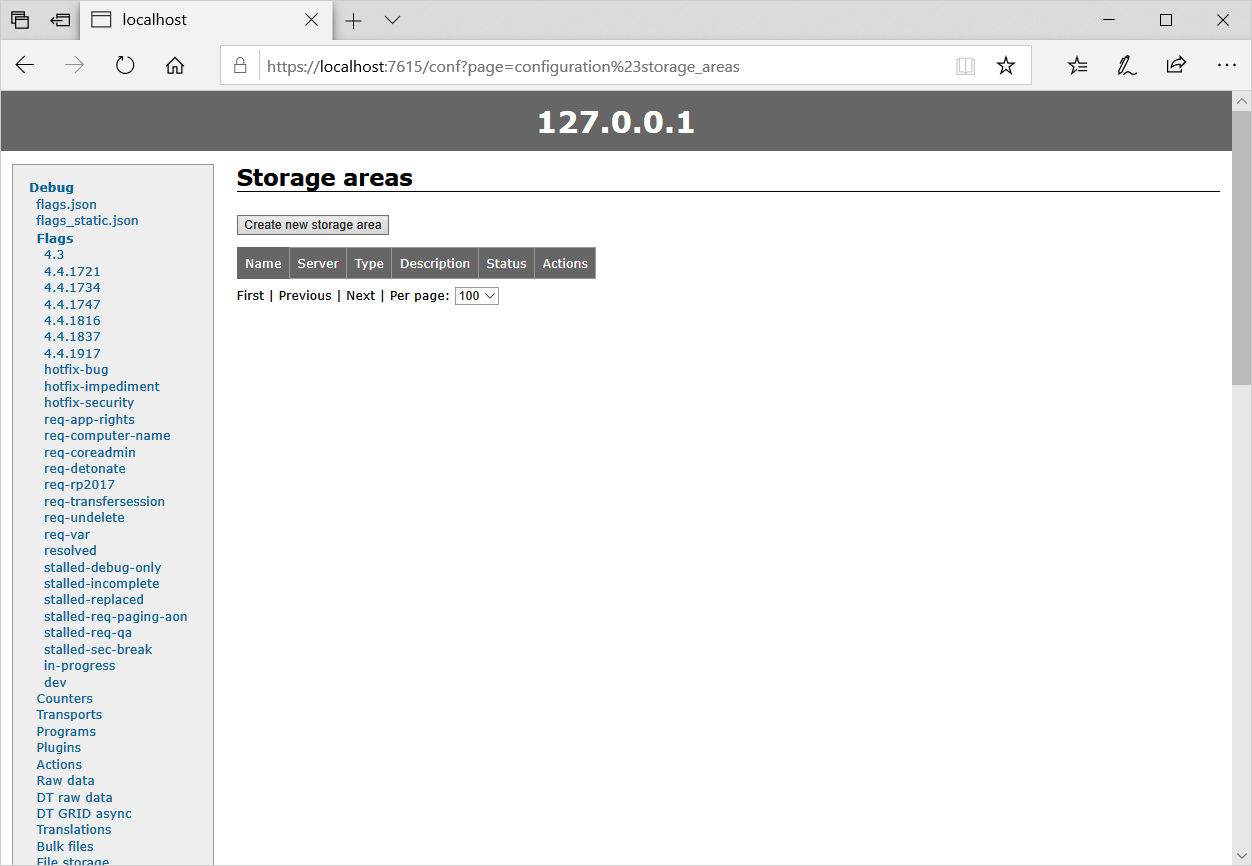
Log into ISL Conference Proxy administration pages (<server-address>/conf) and open the Storage areas (Storage > Areas) tab in the menu on the left.
Step 3
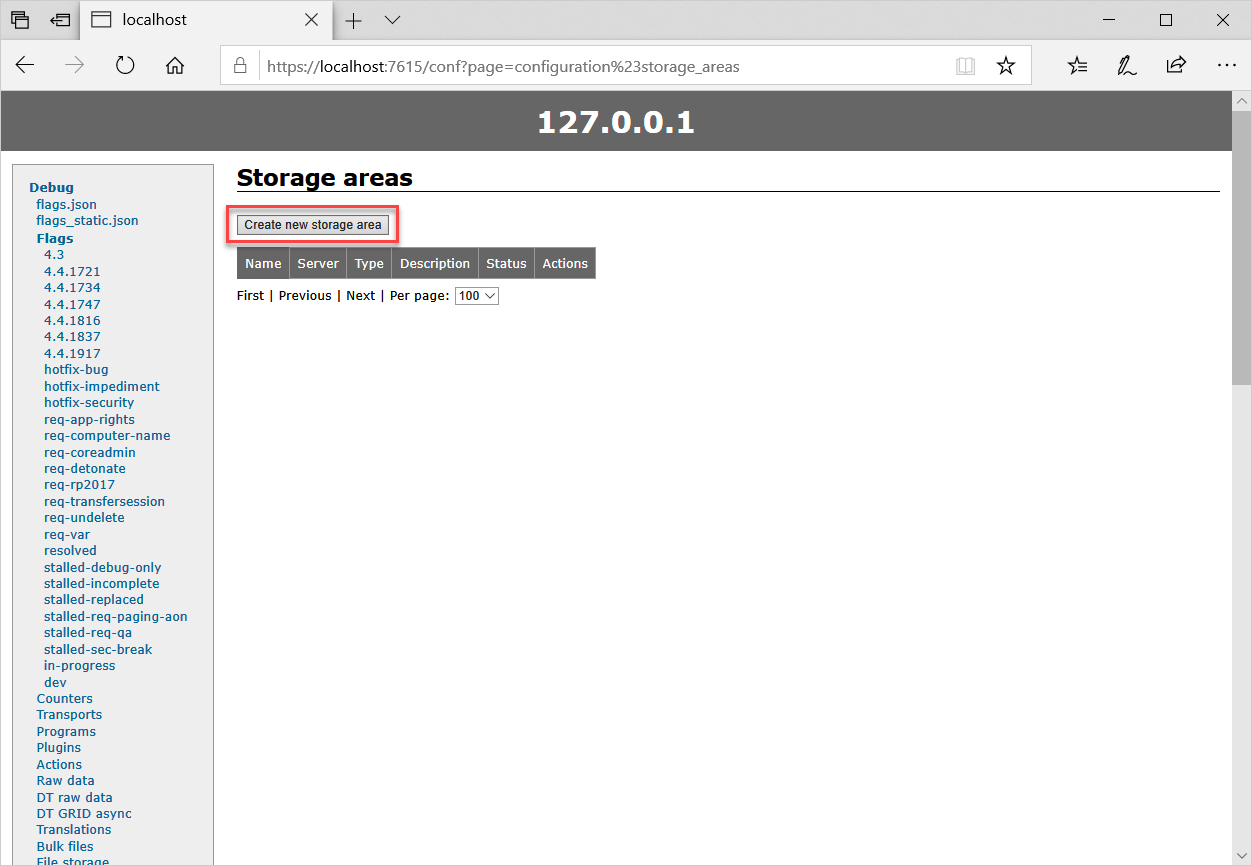
Click on "Create new storage area" to make a new storage area within ISL Conference Proxy where you will store the recordings.
Step 4
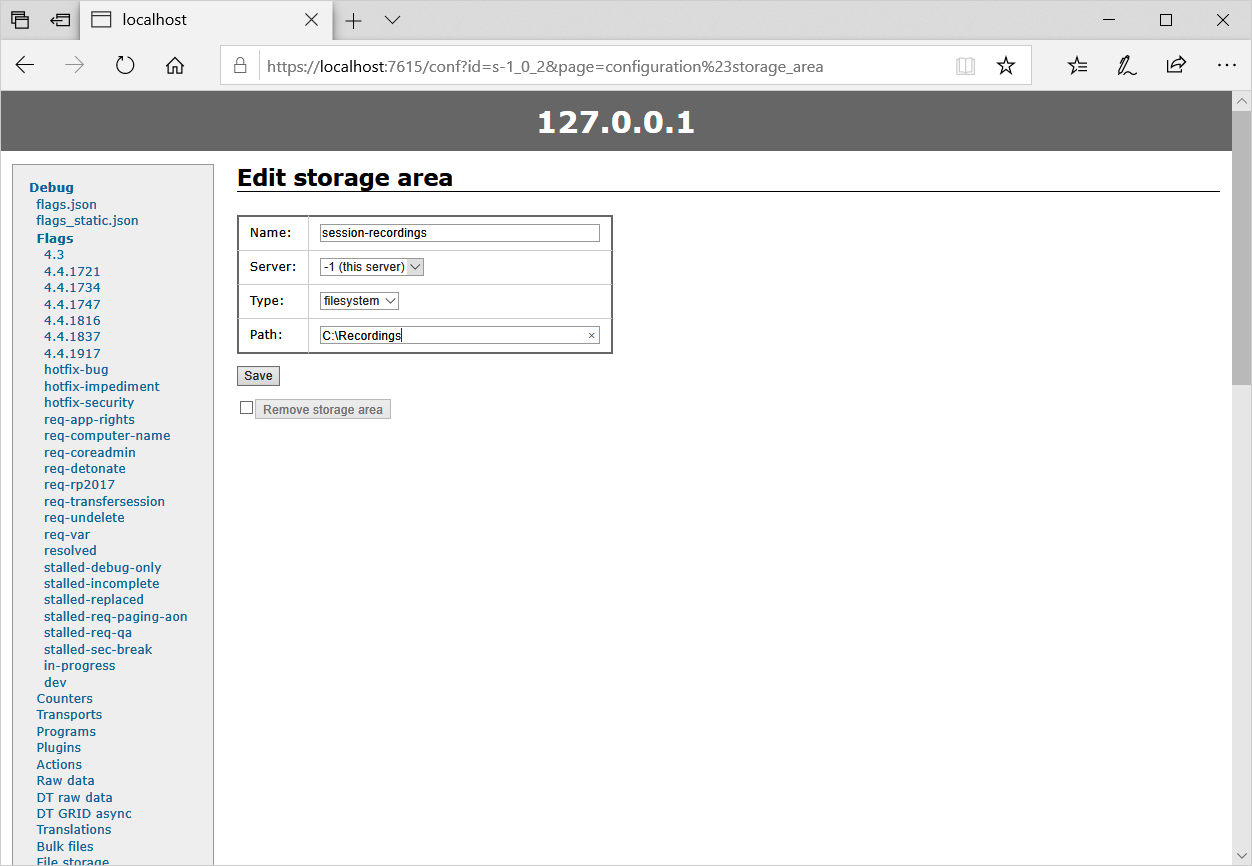
Name the storage area and specify the path to the folder created in Step 1 then click "Save" to create the storage area.
Step 5
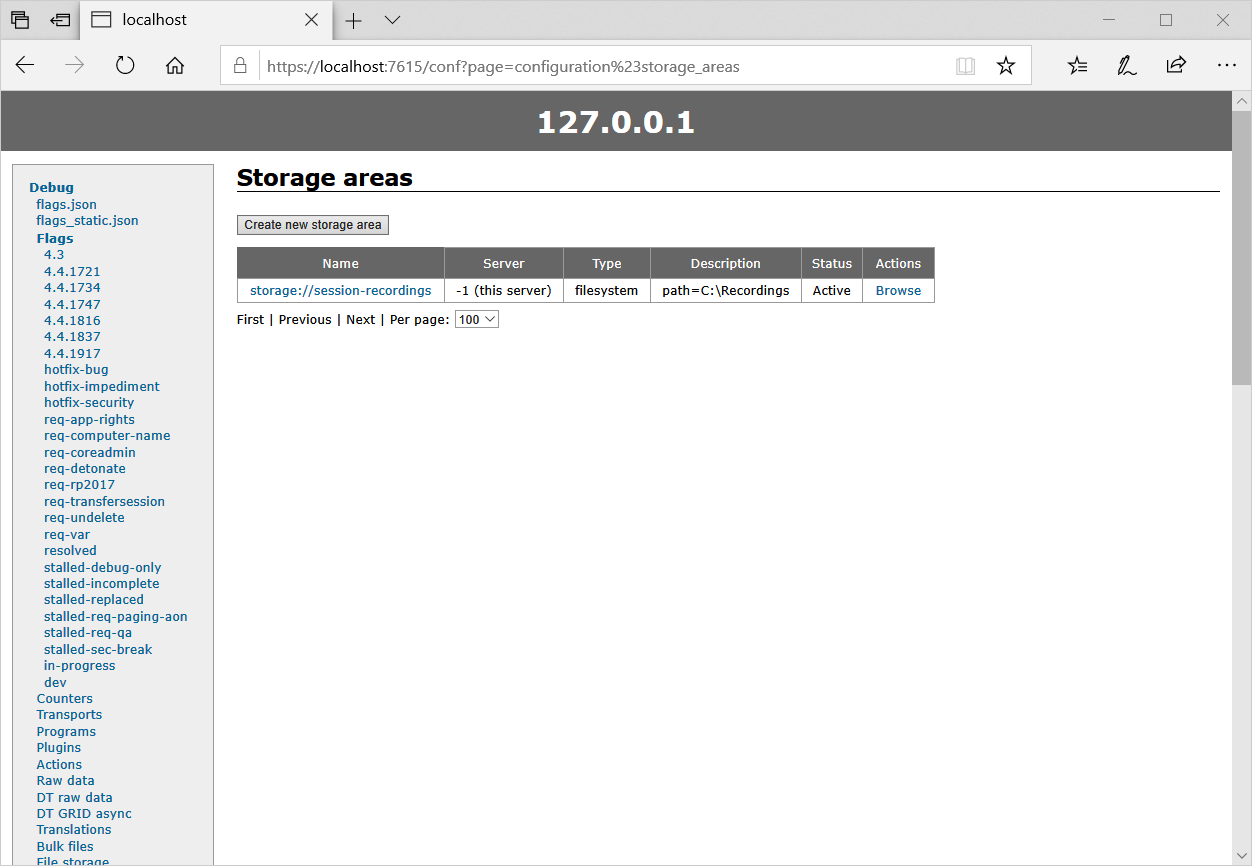
New storage will be displayed in the list of Storage areas.
Step 6
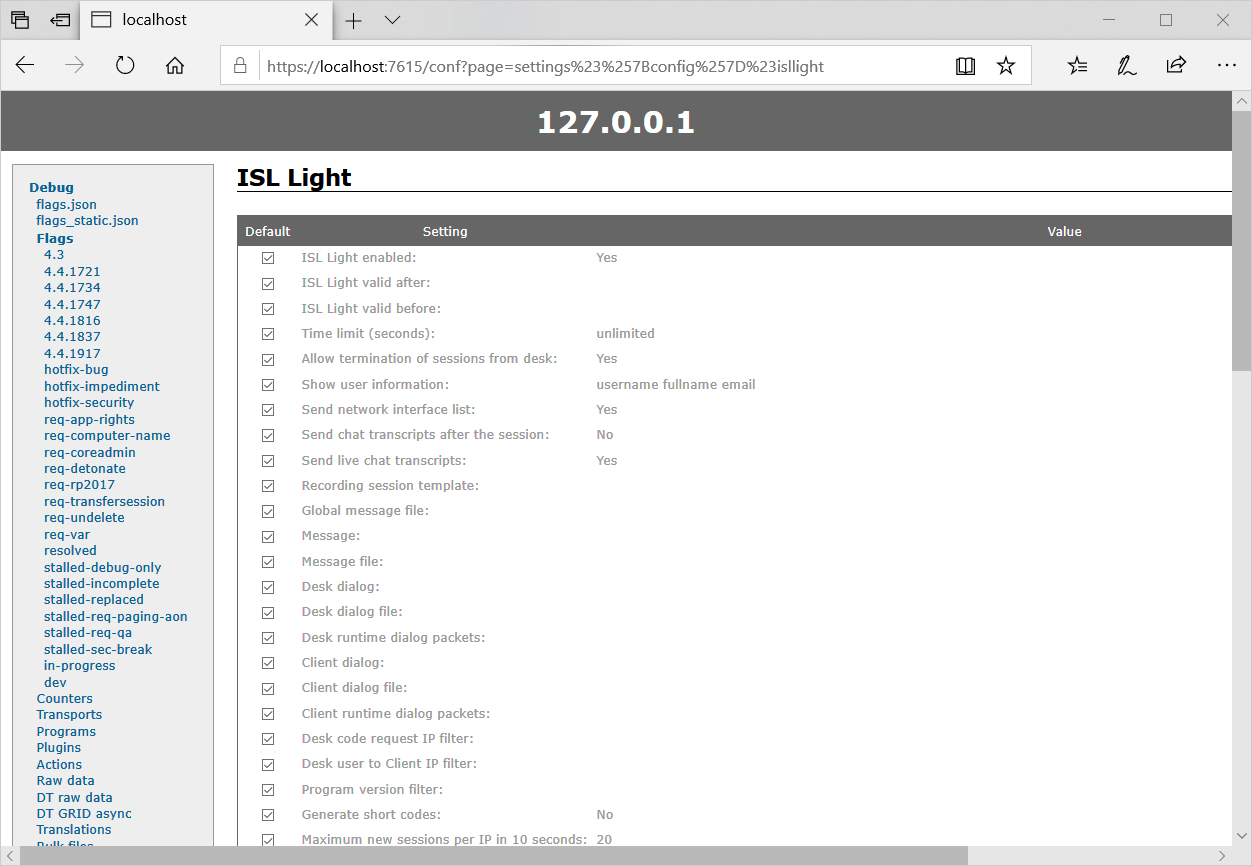
Open the ISL Light configuration tab (Configuration > ISL Light).
Step 7
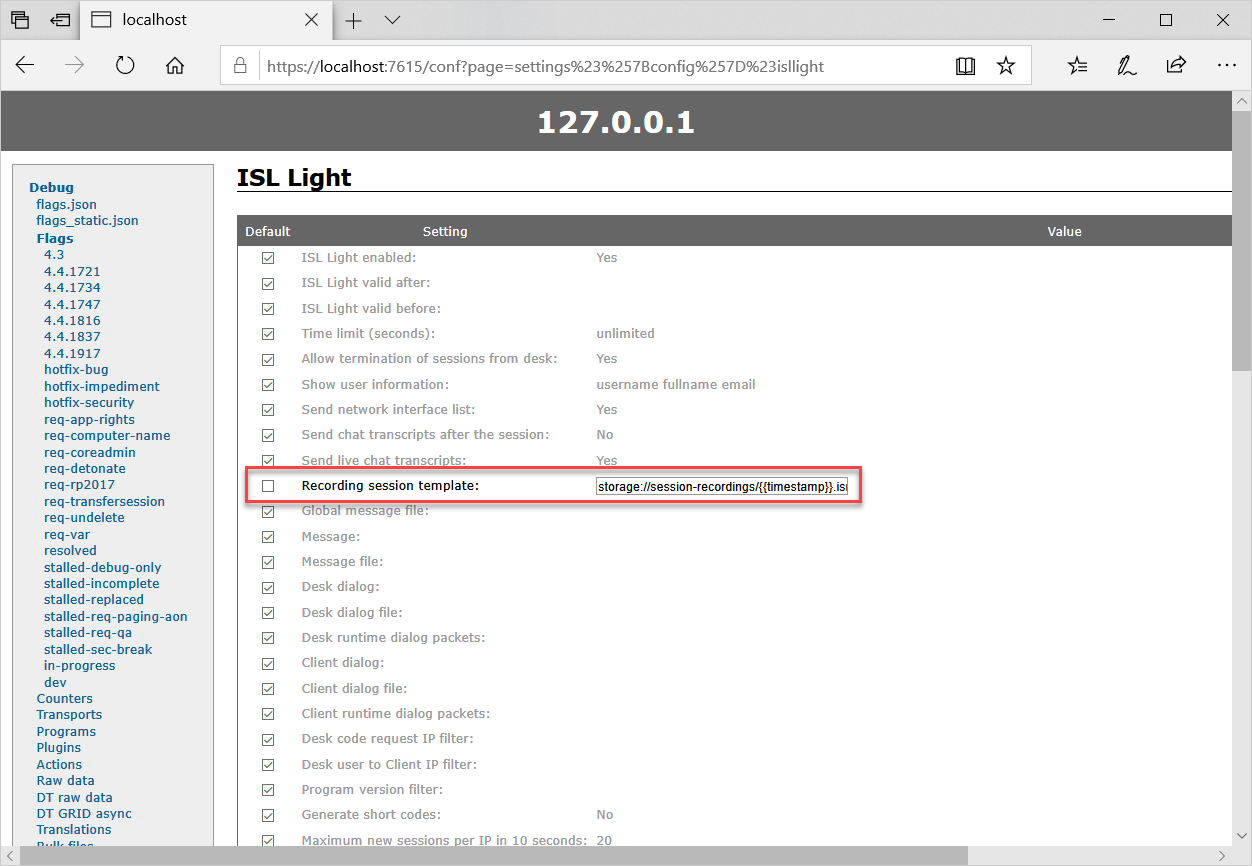
Edit the Recording session template field to specify how the recordings should be named. The following setting value was used for this example:
storage://session-recordings/{{timestamp}}.isrThe following variables can be specified in the name of the recording:
- {{module}} - name of module that is recording - always ISL Light
- {{user}} - the user who created the session, in form of : __domain_user
- {{dbid}} - database id for the session
- {{session_code}} - session code used for the session
- {{server_id}} - id of the server where session was running
-
{{timestamp}} - start of recording (UTC timestamp)
Step 8

You can access the session recordings by pressing the "Browse" button for the recording storage. Or you can access the recordings via the file system at the path specified.
Step 9
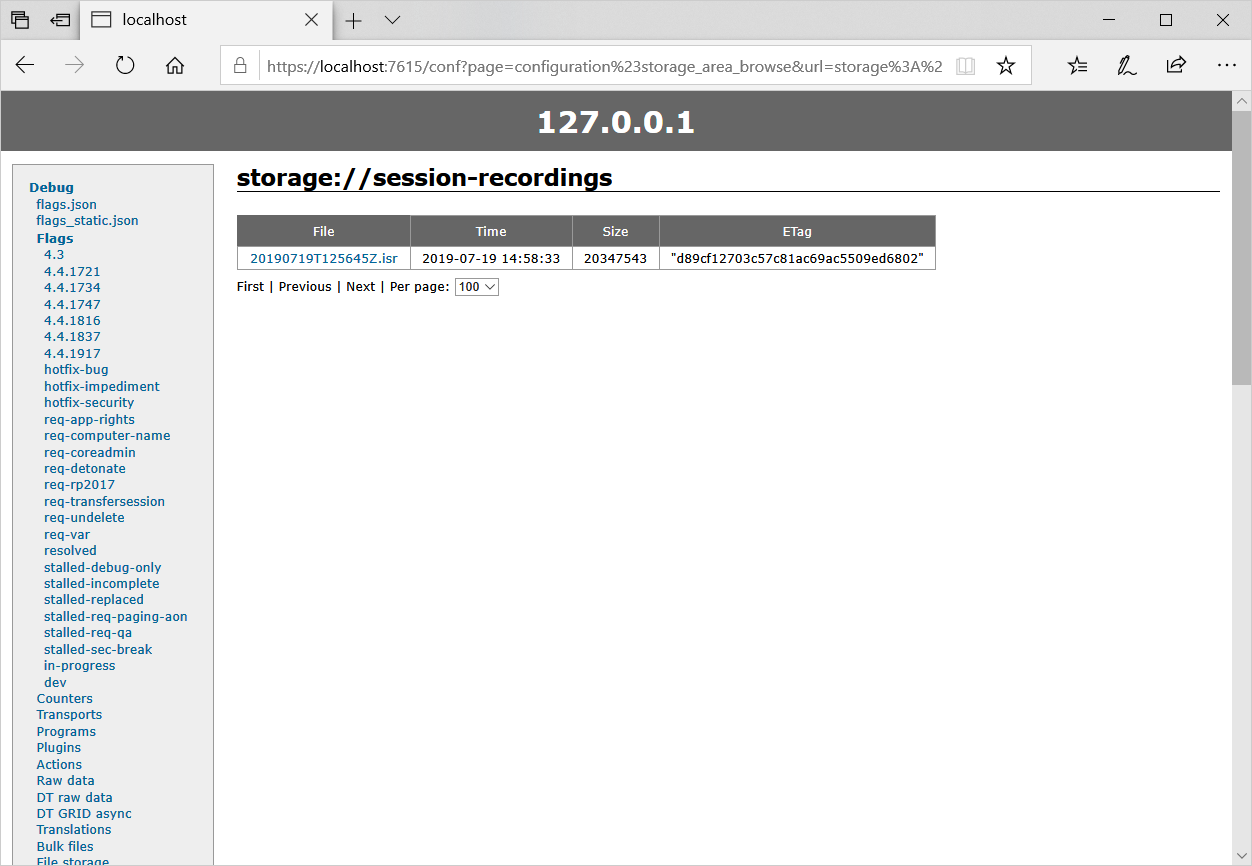
Created recordings are listed inside the storage.
Note: In addition, the server-side session recording will be listed when viewing the ISL Light session information in the Sessions tab of ISL Conference Proxy.