Execute feature allows you to run executable files on the remote computer. This topic shows three different examples on how to perform the remote execution:
- Using ISL Online web interface
- Using online interface for WebAPI2 calls
- Using custom script with WebAPI2 calls
Note: This action can only be executed on remote computer that is running Windows operating system.
Note: The executable that you want to execute on remote computer must not be a GUI application. ISL AlwaysOn actions are designed for console application that will run under system account in session 0, where there is no visible GUI at all.
Example 1 - ISL Online web interface
Example: executing fciv.exe through web interface (fciv.exe utility computes and verifies cryptographic hash values of files.
Pre-requirements
Create a folder named trusted inside ISL AlwaysOn installation directory:
- 64-bit Windows: C:\Program Files (x86)\ISL Online\ISL AlwaysOn\trusted
- 32-bit Windows: C:\Program Files\ISL Online\ISL AlwaysOn\trusted
Step 1
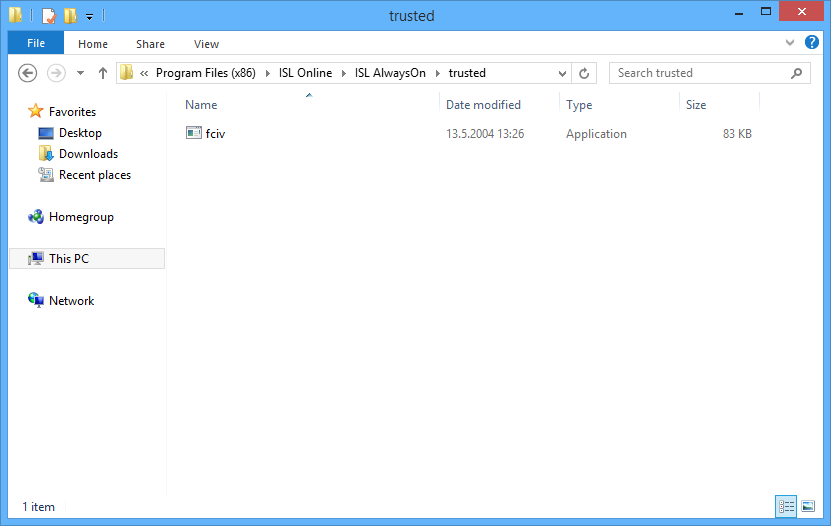
Place fciv.exe inside trusted directory of ISL AlwaysOn (C:\Program Files (x86)\ISL Online\ISL AlwaysOn\trusted) on the remote computer.
Step 2
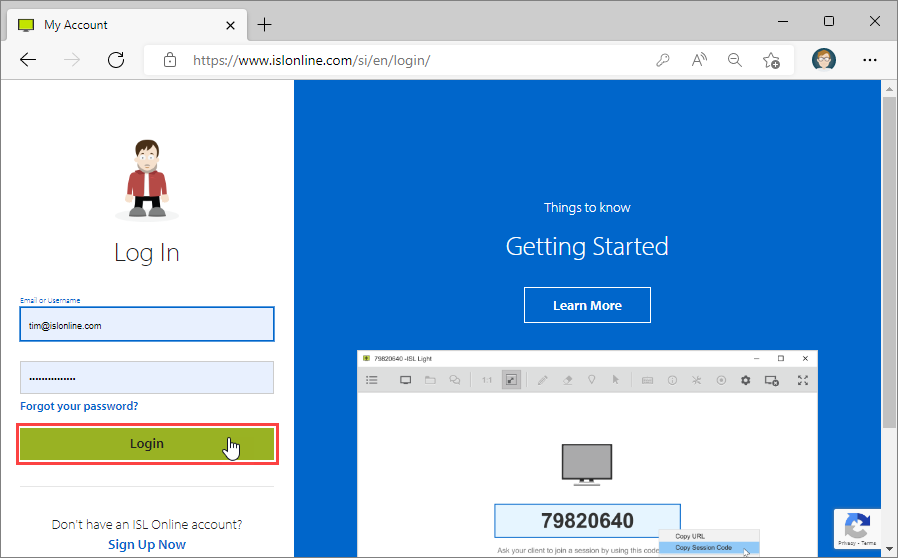
Log into your account at www.islonline.com.
Step 3

Click "Computers" from the sidebar.
Step 4

Open the drop-down menu next to computer on which you wish to run an executable.
Click "Execute".
Step 5

Enter computer access password and the command line arguments, then click "Execute".
For arguments enter:
fciv.exe --arg_e %current_dir%\..\..\trusted\fciv.exe
In this example hash value will be calculated for fciv.exe file, generally input arguments as following:
Name_of_executable --arg_e"Arguments"
You can use the following variables for location:
- %current_dir% points to - C:\Program Files\ISL Online\ISL AlwaysOn\actions\execute_1_0_0
- %windir_system_native% points to windows system32 folder - depending on OS architecture
- %ProgramFiles_native% points to program files folder - depending on OS architecture
Note: Help on how to execute commands can by accessed by pressing Execute without defining any arguments. Additional information will be displayed in place of normal output.
Step 6
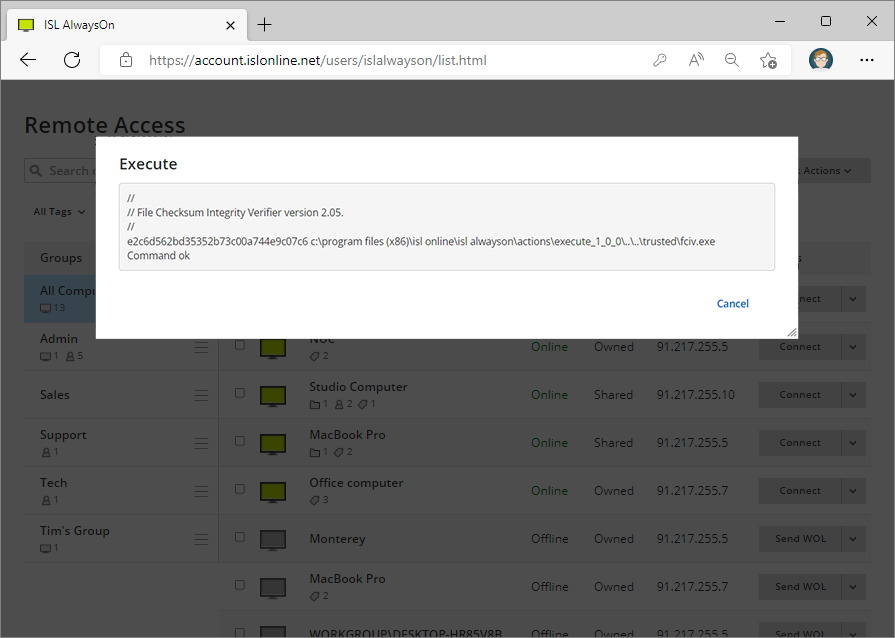
The executable is run on the remote computer and the result is displayed in the browser.
Example 2 - WebAPI2 Calls
Example: executing fciv.exe using WebAPI2
Pre-requirements
Create a folder named trusted inside ISL AlwaysOn install directory:
- 32-bit Windows: C:\Program Files\ISL Online\ISL AlwaysOn\trusted
- 64-bit Windows: C:\Program Files (x86)\ISL Online\ISL AlwaysOn\trusted
Procedure
Step 1

Place fciv.exe inside trusted directory of ISL AlwaysOn (C:\Program Files\ISL Online\ISL AlwaysOn\trusted)
Step 2
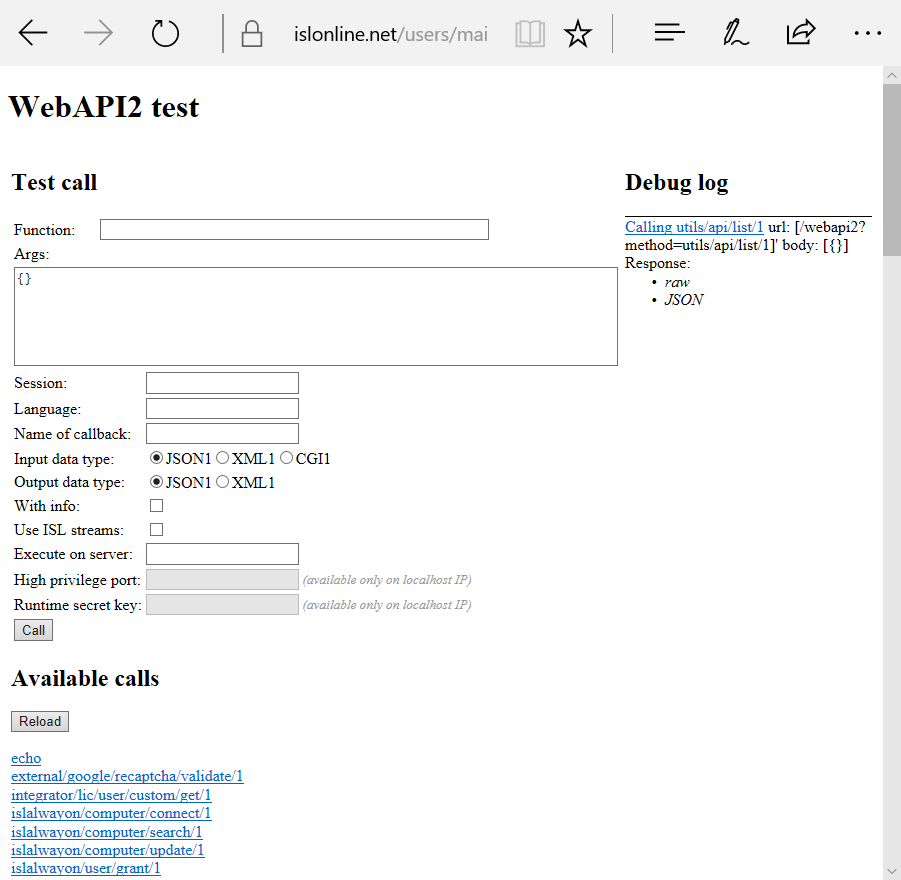
Open up the WebAPI2 test page, where you can manually perform the WebAPI2 calls and examine the server responses. For hosted users the test page is located at:
https://islonline.net/users/main/test_webapi2.html
Note: WebAPI2 calls described bellow can be found by scrolling down on the test page. Select the desired WebAPI2 call by clicking on it and adding the desired arguments in the Args: field. Then click"Call" to execute the call.
Step 3
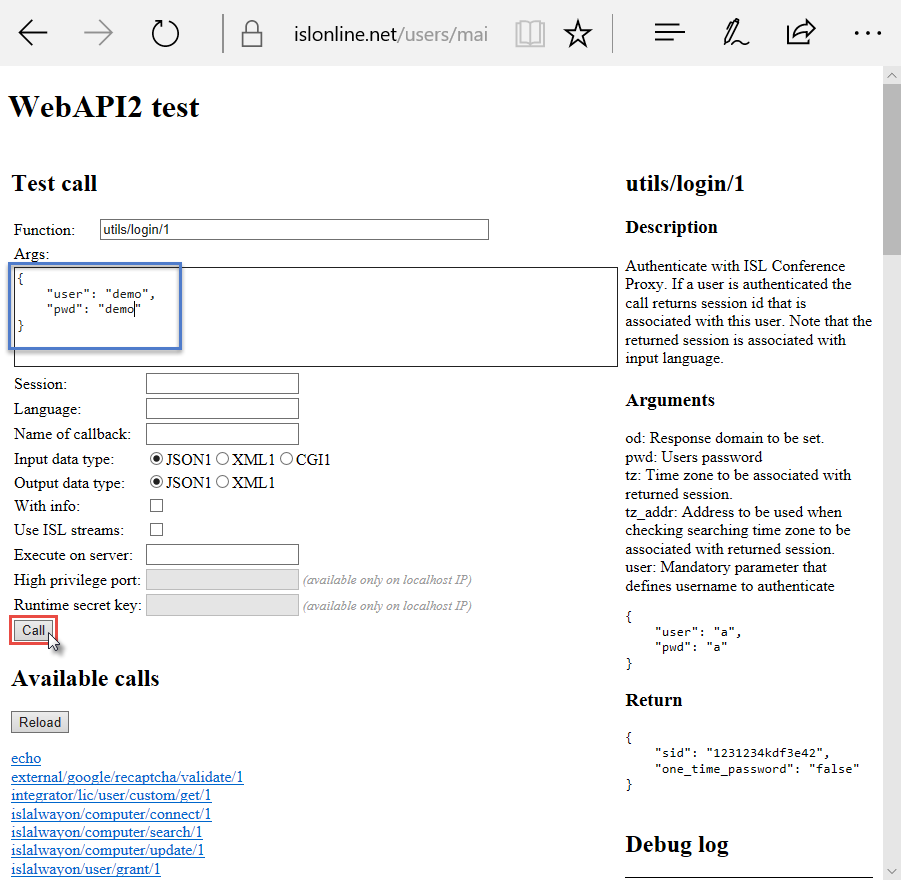
Log in with your ISL Online username and password.
function:
utils/login/1
parameters:
{
"user":"_ENTER_USERNAME_",
"pwd":"_ENTER_USER_PASSWORD_"
}
server response:
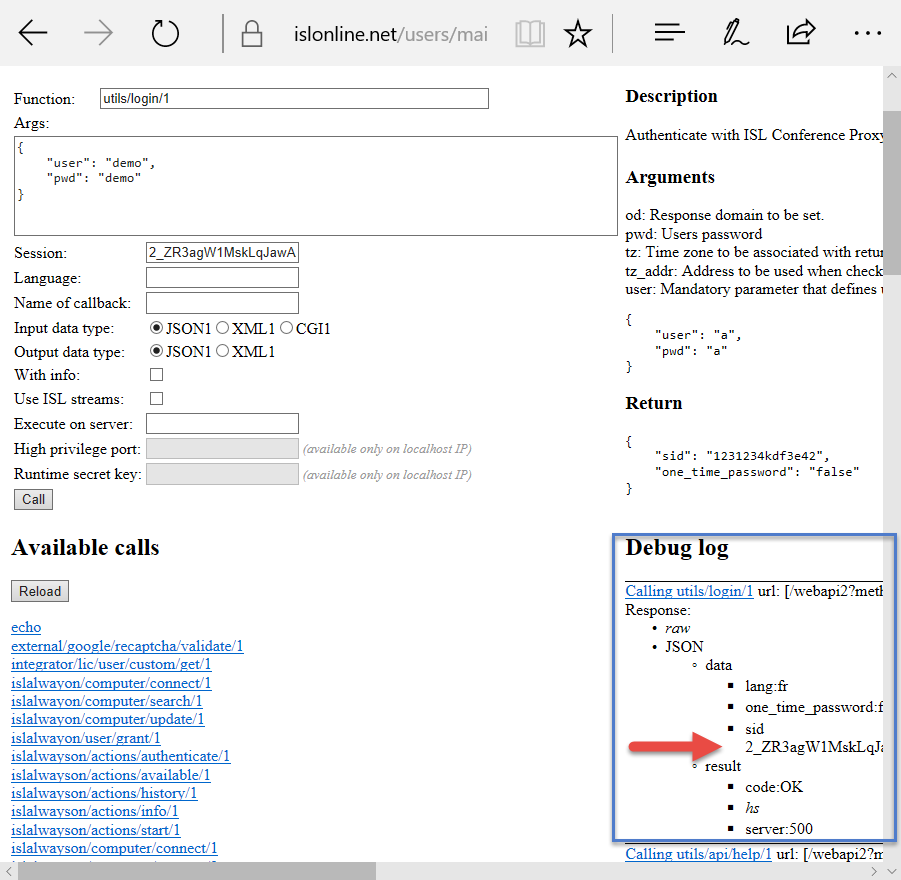
Server response which contains the information which is needed in subsequent steps, together with additional information is displayed in the Debug log section.
In this step you will obtain session id (sid) which is used in subsequent calls instead of username/password to identify yourself.
Note: When performing the WebAPI2 calls the sid has to be included in all the subsequent calls which require authentication. When performing the calls from a script this has to be done manually, however on the test page the sid is included automatically.
Step 4
Search for the computer you would like to perform execution on.
function:
islalwayson/computer/search/1
parameters:
{
"simple_search":"true",
"search":"_ENTER_COMPUTER_NAME"
}
In this step you will obtain co_id of computer - the unique identifier of the computer used by ISL AlwaysOn.
Step 5
Send the desired command to launch the executable on the remote computer.
function:
islalwayson/actions/start/1
parameters:
{
"co_id":"_CO_ID_STEP_4_",
"name":"execute",
"arguments":["fciv.exe","--arg_e","%current_dir%\\..\\..\\trusted\\fciv.exe"]
}
In this step you will obtain action_id - unique identifier of the performed action so you can reference it later.
Step 6
Check the status of the execution.
function:
islalwayson/actions/info/1
parameters:
 {
"action_id":"_ACTION_ID_STEP_5_",
"info":"computers",
"events":"true"
}
In this step you will receive authenticate chmd5 number.
Step 7
Authenticate on the remote computer.
function:
islalwayson/actions/authenticate/1
parameters:
{
"co_id":"_CO_ID_STEP_4_",
"chmd5":"_CHMD5_STEP_6_",
"action_id":"_ACTION_ID_STEP_5_",
"plain_password":"_YOUR_COMPUTER_ACCESS_PASSWORD"
}
In this step you will receive ok response, which means you were correctly authenticated.
Step 8
Check the info of the execution again.
function:
islalwayson/actions/info/1
parameters:
{
"action_id":"_ACTION_ID_STEP_5_",
"info":"computers",
"events":"true"
}
Since you are authenticated on the remote computer you will receive fid - unique file identifier and file - name of the file which contains the result of execution.
Step 9
Get the result which is stored in file with file id fid.
function:
islalwayson/file/download/1
parameters:
{"fid":"_FID_STEP_8_",
"type" : "file",
"file":"_FILE_STEP_8_"
}
In this step you will receive download link of the file which you download to check the result.
Example 3 - Using WebAPI2 calls in a script
A script written in javascript is used as an example on how to used webapi2 calls in a script. First a function that is used to perform a log-in is explained, as all the subsequent calls are just slightly modified versions of it.
Important: If you decide to modify the script and use it for different purposes always pay attentions that $.ajax() calls are performed on links with secure connection - https. This guarantees that either password or session id can not be obtained by an attacker and used to gain access to your or remote computer.
Function Example:
function logIn(usr,pwd){
    var reqdata = {
    "user": usr,
    "pwd" : pwd};

    var url = "https://"+ serverAddress +"/webapi2?he=JSON1&method=" + encodeUIComponent("utils/login/1");
    url += '&hedata=' + encodeURIComponent(JSON.stringify(reqdata)) + '&jsonp=?';
    console.log(url);
    $.ajax({
        url: url,
        dataType: 'jsonp',
        crossDomain: true,
        success: function(data) {
            try {
                if ('OK' == data.result.code) {
                    if (typeof(data.data.sid) == 'string') {
                        sessionId = data.data.sid;
                        console.log("Log in succesfull, searching for computer");
                        $('#nbox').text("Log in succesfull");
                        $('#textBox').val(JSON.stringify(data.data));
                        searchPc($('#cname').val());
                   }
                }
            }
            catch (e) {
                console.log("Error while logging in: "+e);
            }
        },
        error: function() {
            console.log("Error while logging in, webapi2 call could not be executed");
        }
    });
}- reqdata : Associative array with all the required parameters for webapi2 call.
- url : Constructed url which is used in $.ajax() function to perform the webapi2 call.
- if ('OK' == data.result.code) : Use this response to check if the server returned the OK value for webapi2 call. Additional if statements are used to check if the retuned .json file contains the desired values to proceed.
- searchPc() : The next function to call. Since ajax calls are performed asynchronously, you should call the next webapi call only when the previous one is completed otherwise you might get unexpected results. We ensure this by placing next call into the function which is triggered only a successful ajax call.
Example: