Here you will be able to determine the location of shared files on your computer and set the permissions for those who can access the files.
- General Overview
- Example 1: Sharing a folder from your computer
- Example 2: Sharing a file from your computer
- Example 3: Sharing a file from your computer with Copy/Email URL
- Example 4: Viewing and managing shared files/folders through ISL AlwaysOn Web GUI
- Shared Folder features
General Overview
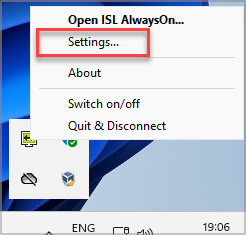
To get to File Sharing first open "Settings" from the ISL AlwaysOn tray icon.
Next select "File Sharing" from the left-hand side menu.
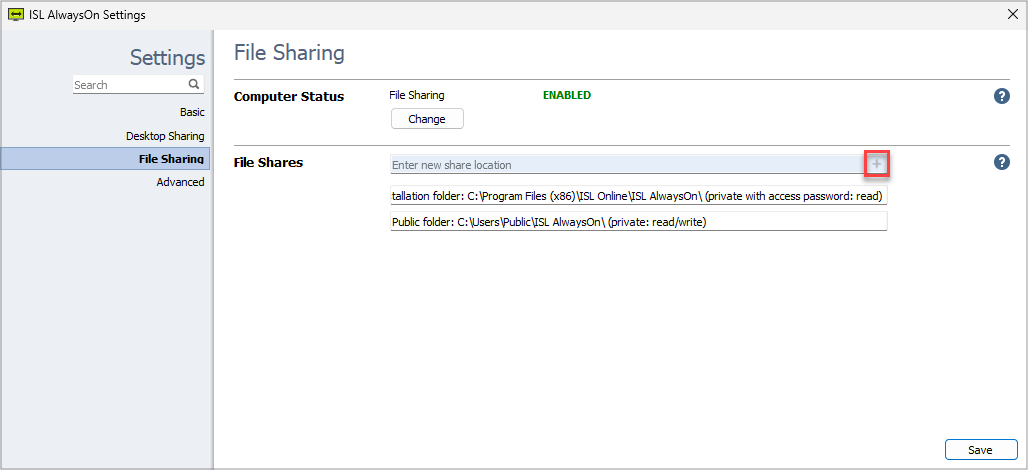
Click on the "+" button (which appears after you hover the mouse over the "Enter new share location" field) to browse and select a share location on your computer.
Note: Since ISL AlwaysOn 4.4.2116.38 a public share is not created automatically when a user grants connection to the computer on macOS or Linux, however, it is still created on Windows.
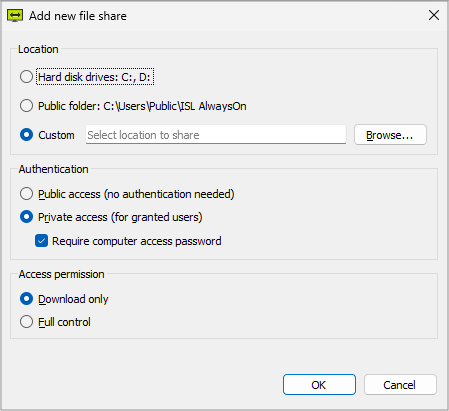
In the Add new file share window, you can browse for a specific share folder and set authentication and permission access to the files.
Location: Select the location of the file share
Authentication:
- Public access: Allows everyone to see the files
- Private access: Allows only you or users who you granted access to see the files (computer access password is optional)
Access Permission:
- Download Only: Allows users access to download files in your share location
- Full Control: Allows users to have full control (read/write/delete) over the files in your share location
Example 1: Sharing a folder from your computer
Step 1
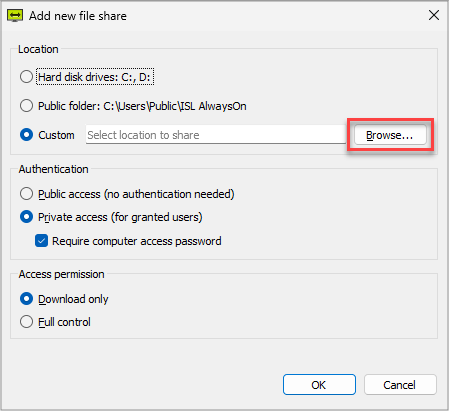
Click "Browse" to locate a folder.
Step 2
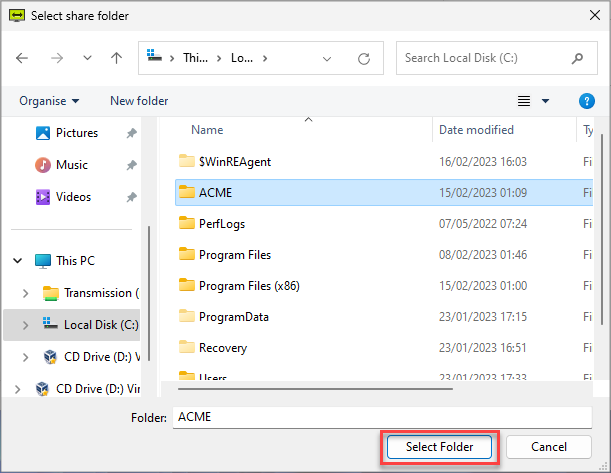
Locate the folder on your computer/network and confirm the selection with "Select Folder".
Step 3
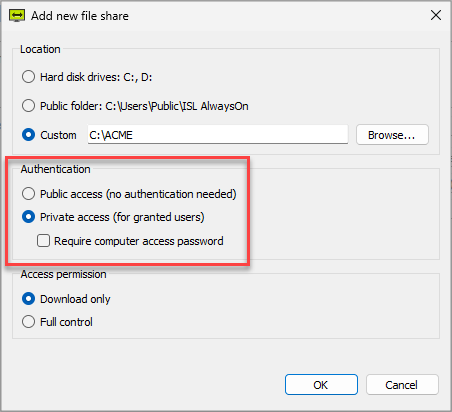
Select the Authentication type.
Step 4
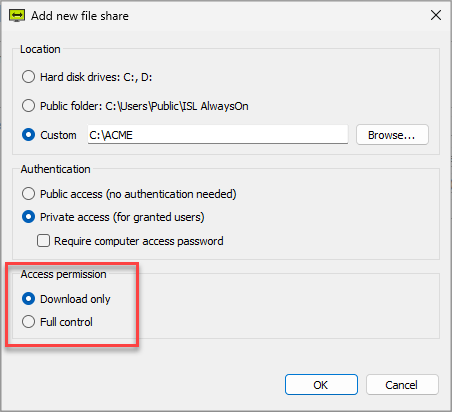
Select preferred Access Permission.
Step 5
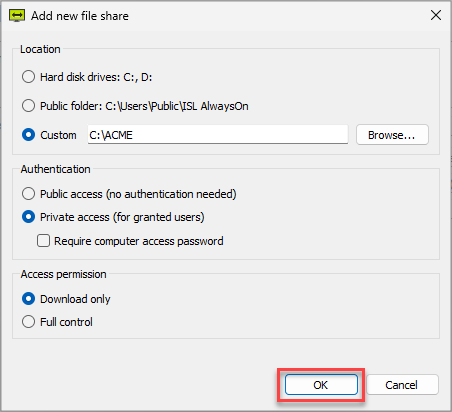
Click "OK".

You will now see the just added folder on the list of folders that are shared.
Example 2: Sharing a file from your computer
Step 1
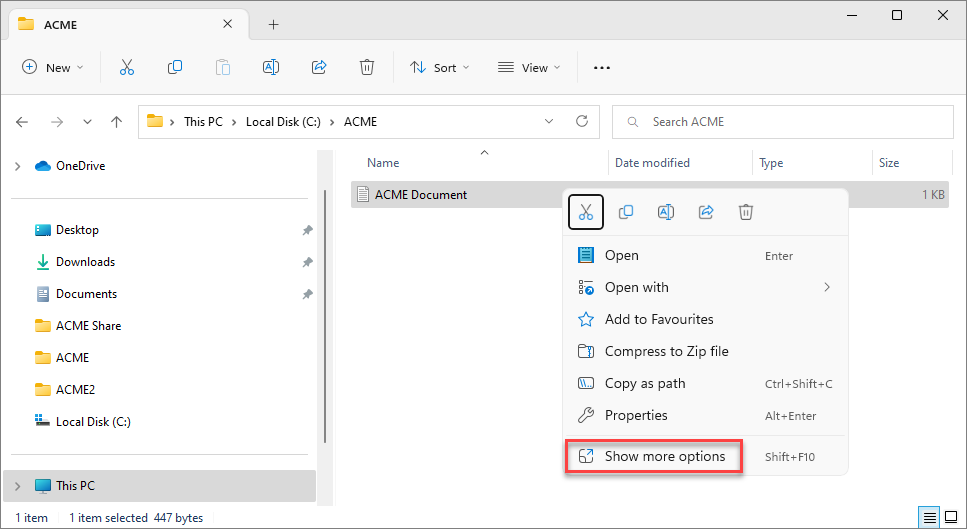
Locate the file you wish to share with ISL AlwaysOn and click on it with the right mouse button. If you are not using Windows 11, please skip to the next step. On Windows 11 you have to first click on "Show more options".
Step 2
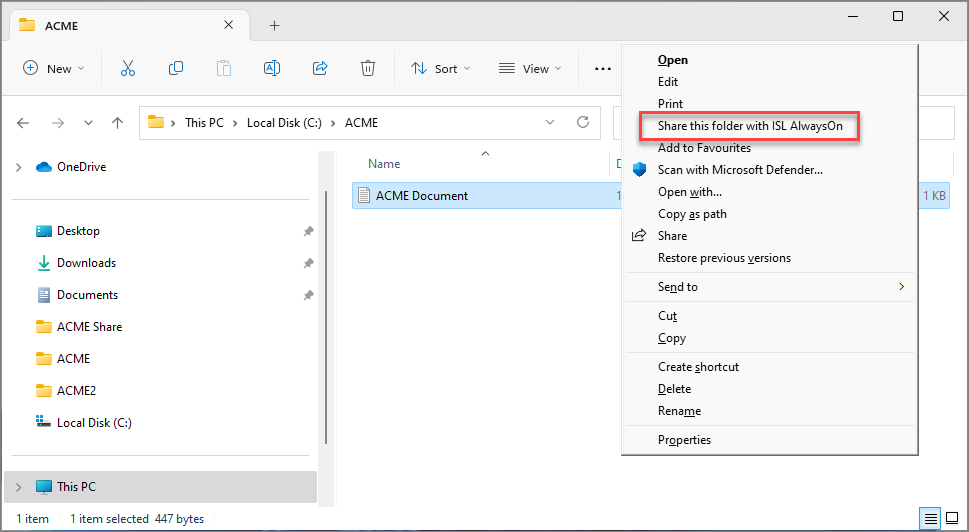
Click on the option "Share this folder with ISL AlwaysOn" (depending on your setup you may be asked to enter the Main Access Password).
Step 3
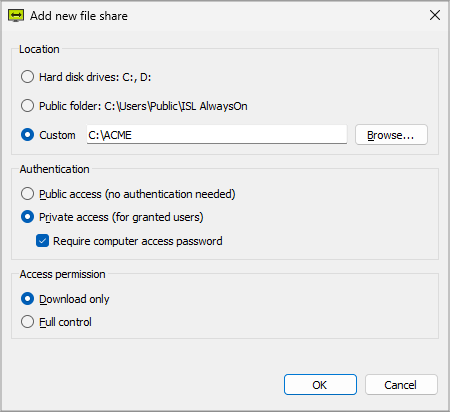
Here you can set all the sharing options along with access permission and authentication.
Step 4
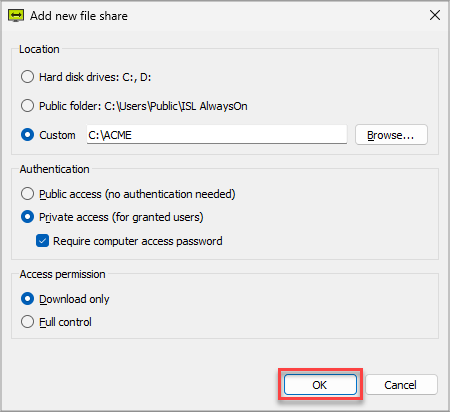
Click "OK" to confirm settings.
Example 3: Sharing a file from your computer with Copy/Email URL
Step 1
First, open your ISL AlwaysOn Desktop GUI tool by double-clicking the tray icon.
Step 2

Scroll down to File Sharing and click on the "Add Folder" button.
Step 3
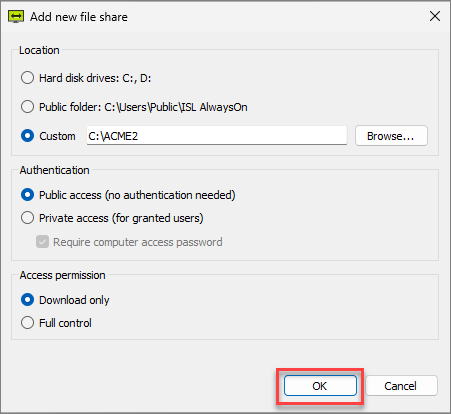
Select the Location, Authentication, and Access permissions and click "OK".
Step 4
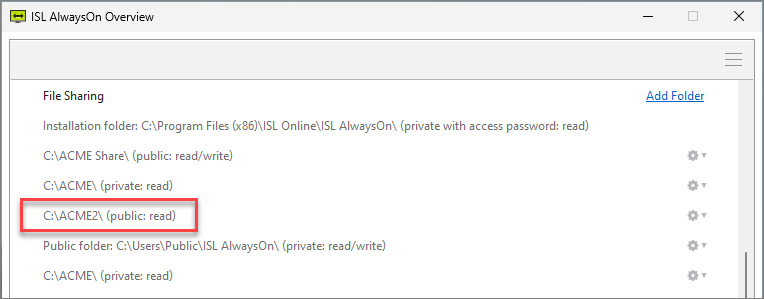
The selected folder is then added to the File Sharing list.
Step 5
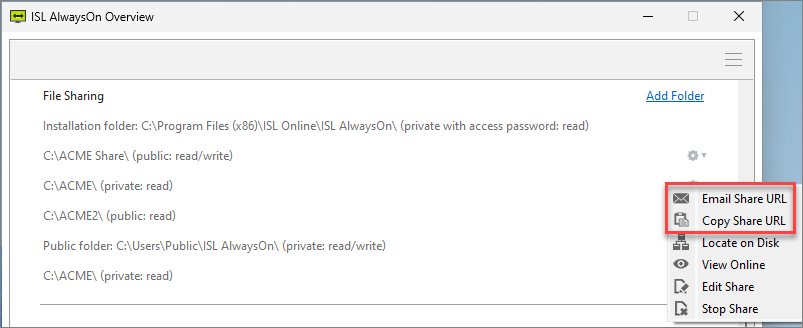
Click on the "cog icon" to the right of the file share location and select "Email share URL" or "Copy Share URL" to send someone the selected folder.
Important: For you to share a private folder with someone outside of your company you will, for security reasons, be required to create a username and password with access to either your ISL Online Account or their account.
Step 6
Once the recipient clicks on the link sent to them, they may be asked for a password (if set up during the file share settings) to view files in the shared folder.
Example 4: Viewing and managing shared files/folders through ISL AlwaysOn Web GUI
Step 1

First login to your ISL Online account.
Step 2
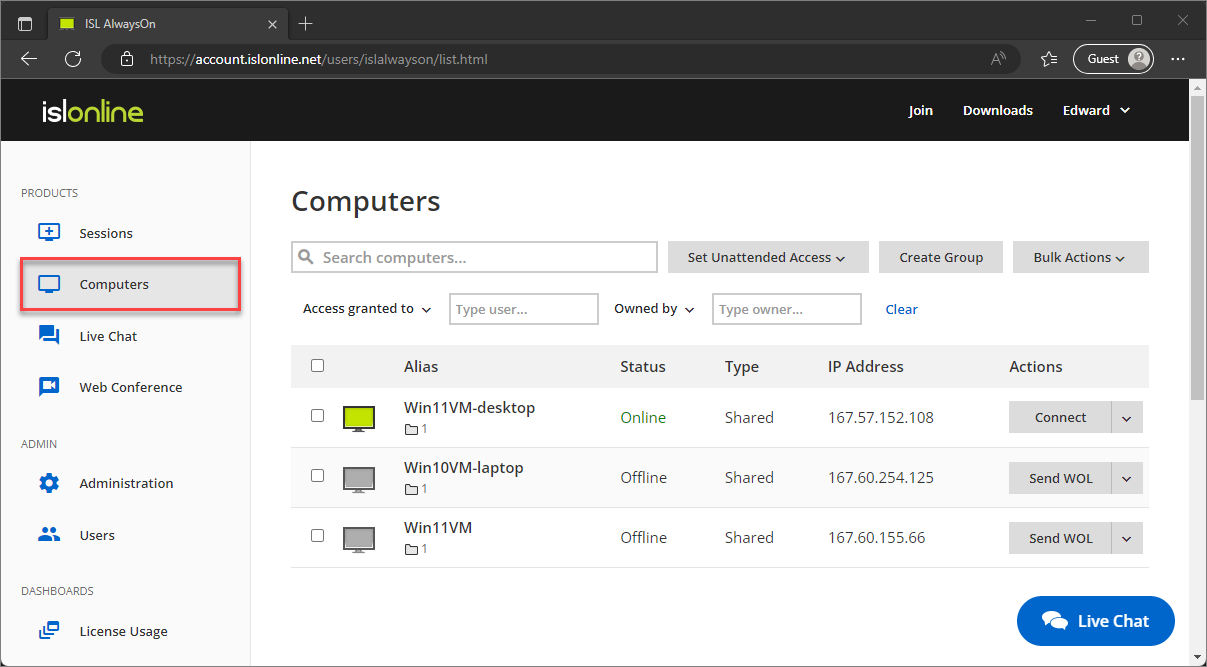
Click on Computers from the left-hand menu bar.
Step 3
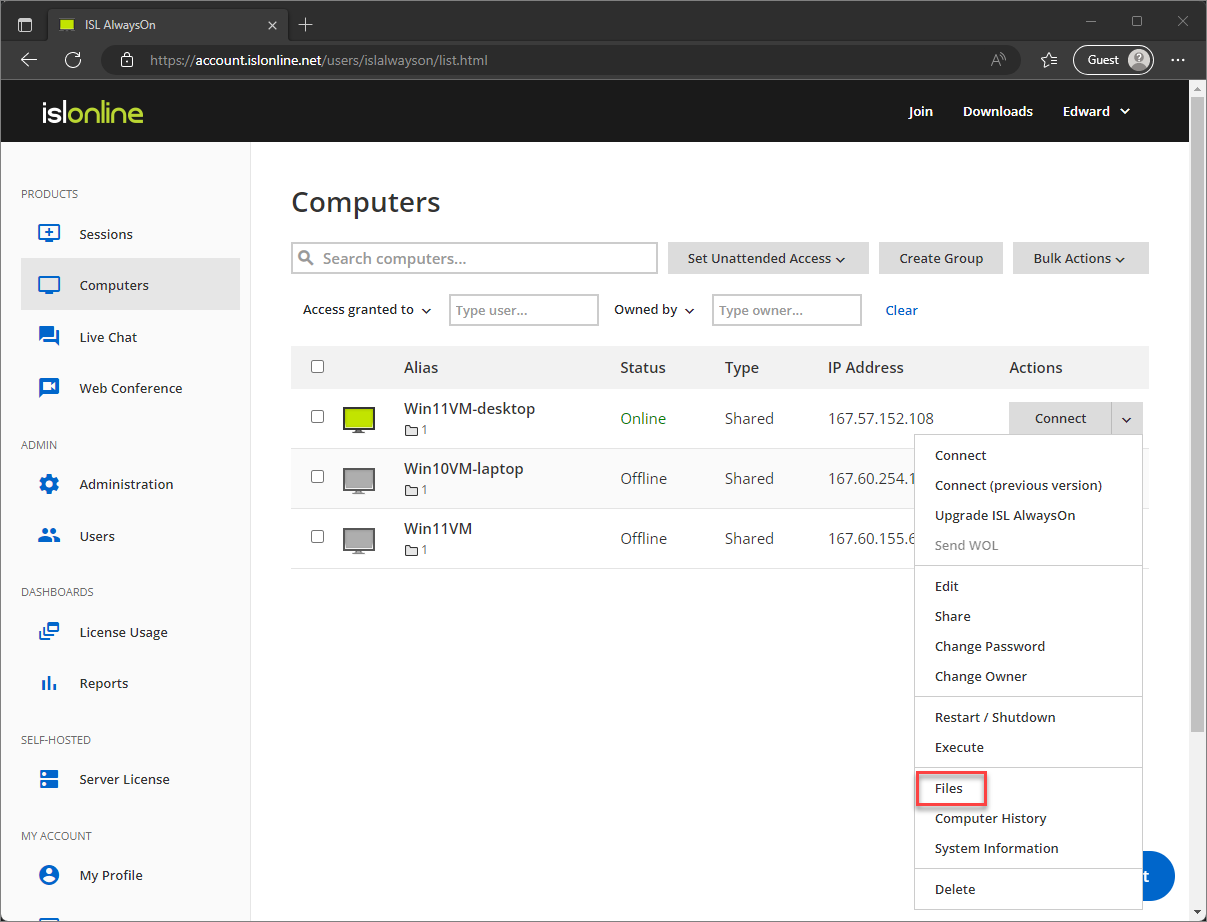
Locate the computer you wish to view shared folders, click on the arrow next to "Connect", then click "Files" from the drop-down options.
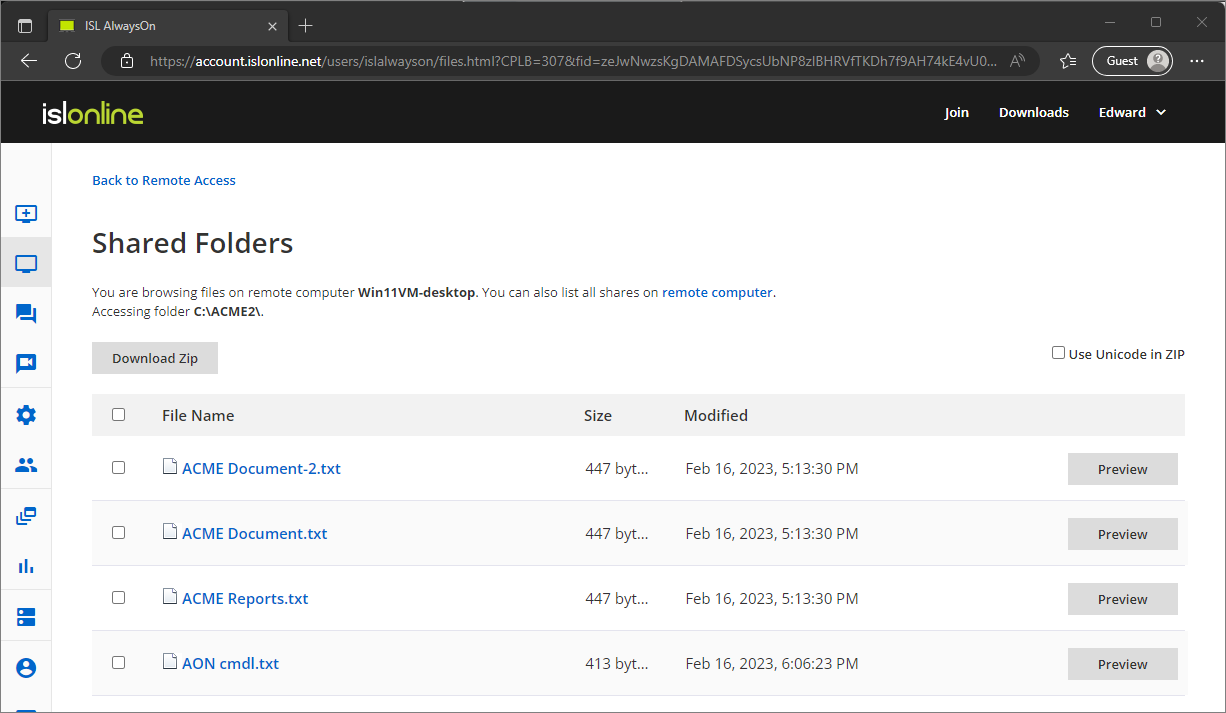
Step 4
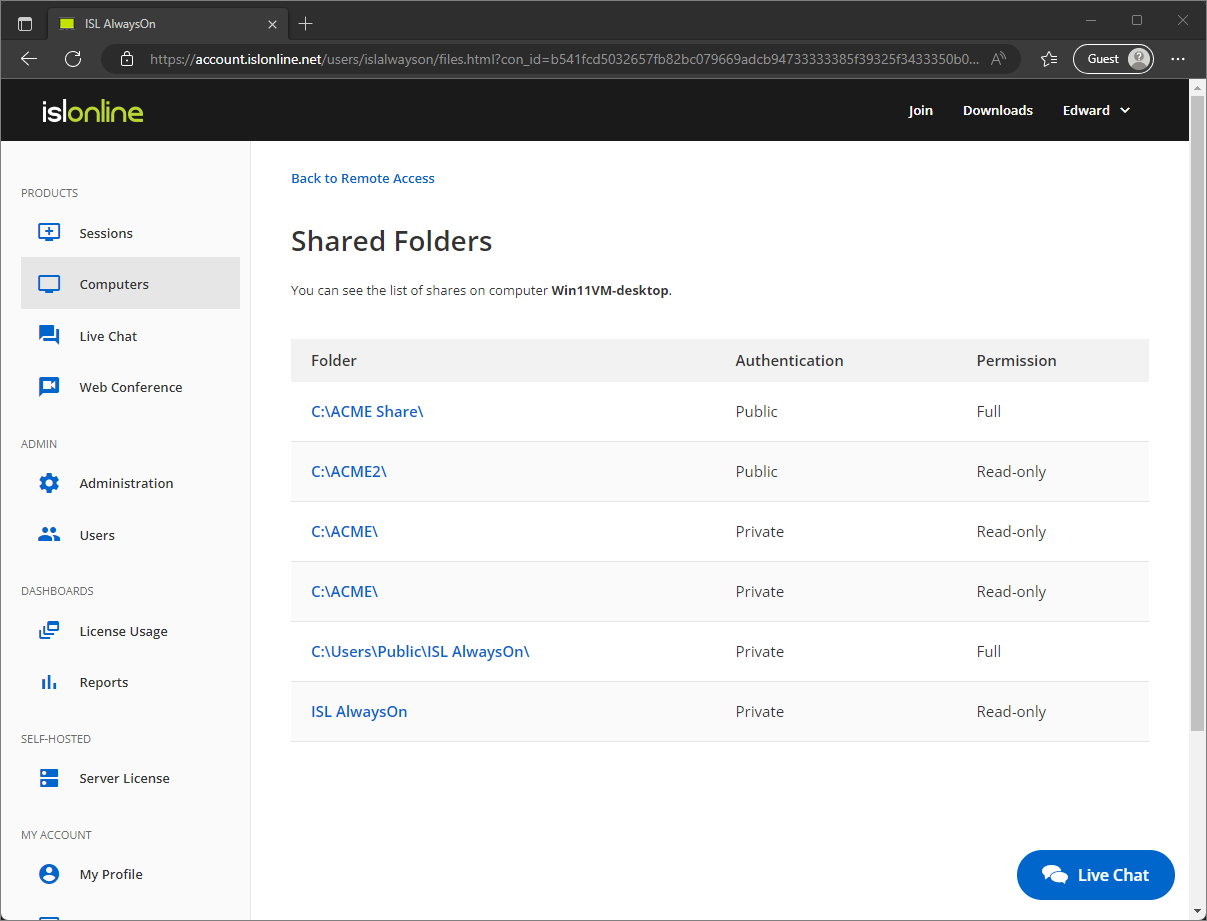
Here you can see a list of all shared folders on the selected remote computer.
Step 5
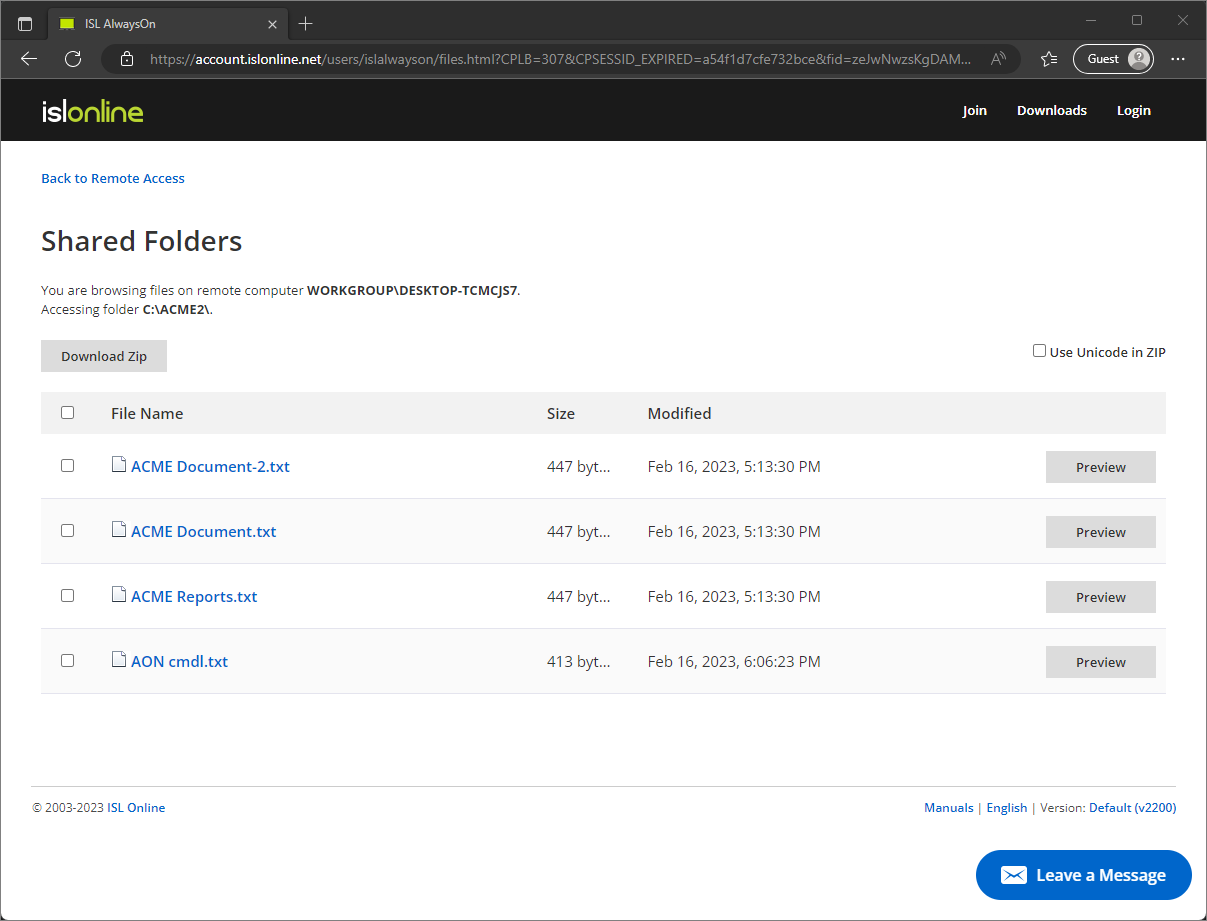
Open the chosen folder by clicking on its name. You might be prompted to enter the computer's access password if the folder's authentication was set to Private + Requires access password (see the General Overview).
Step 6
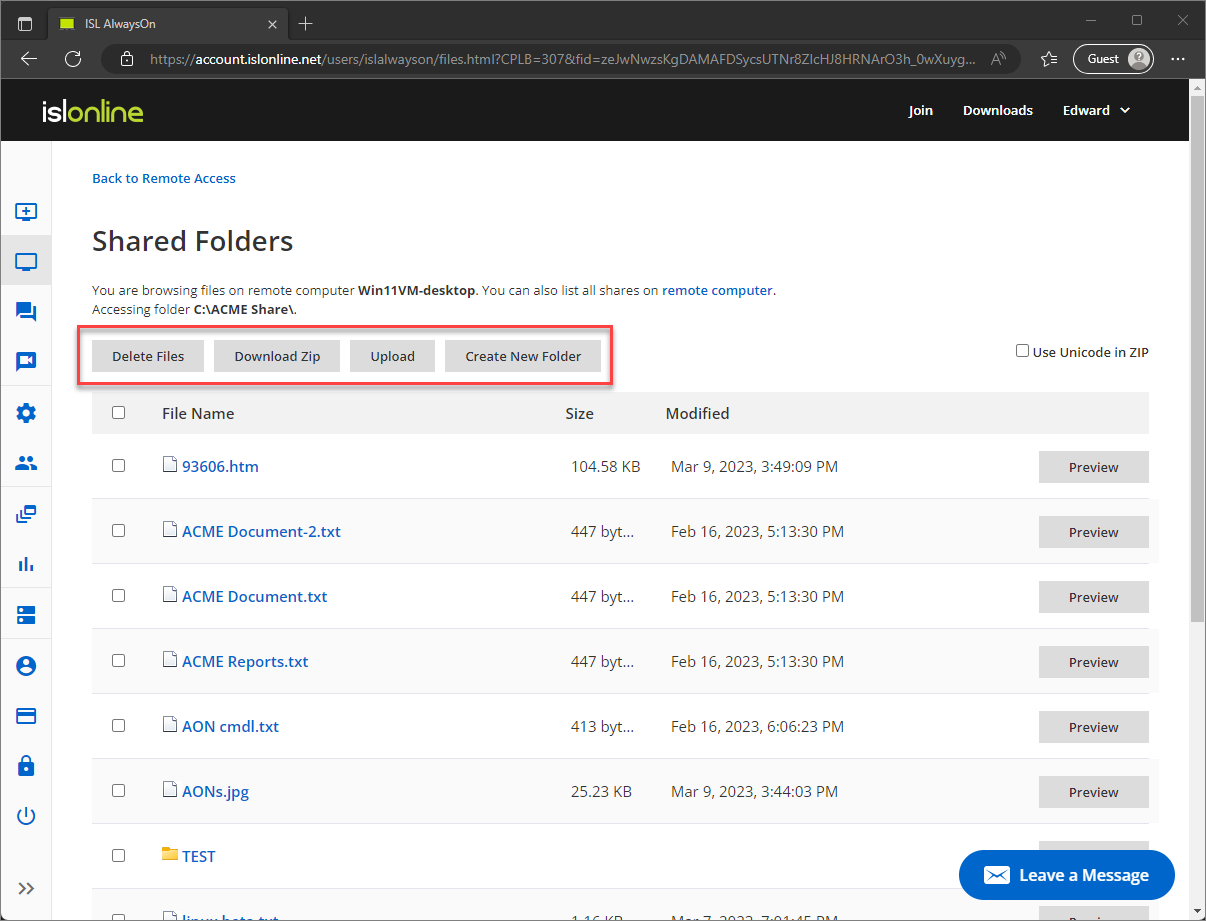
The example above shows a folder with full access, which means you have the option to Delete Files, Download Zip (multiple files), Upload files, and Create New Folder inside the current folder.
Shared Folder features
1. Delete the file(s)
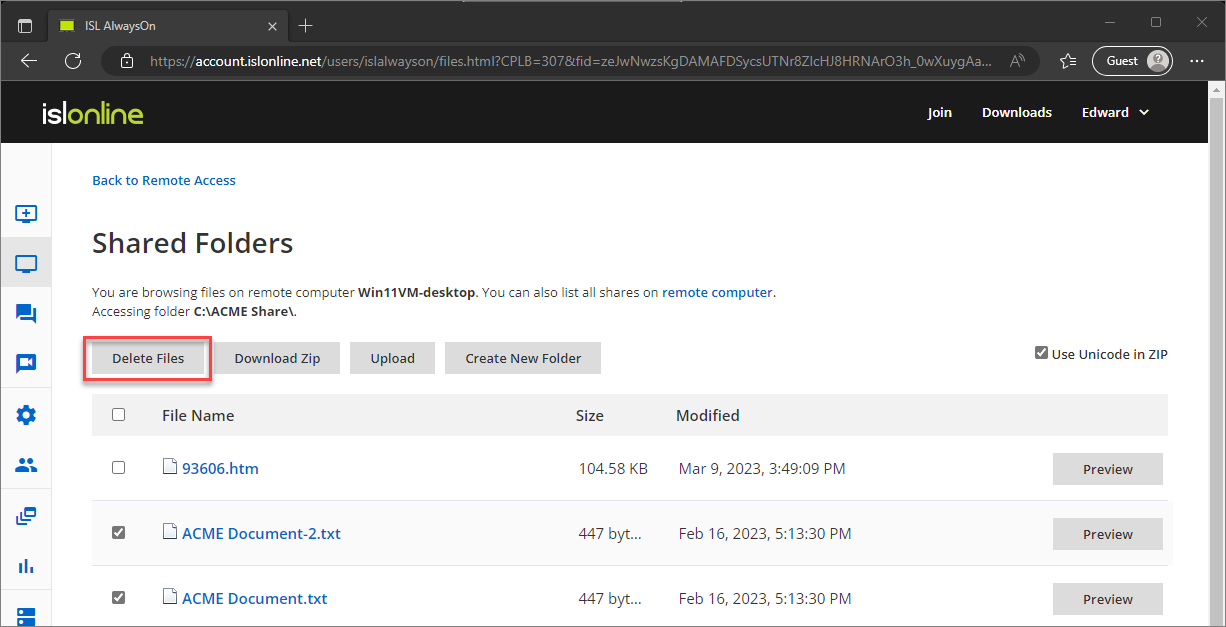
Mark the checkbox in front of the file(s) you want to delete and press the "Delete Files" button. A confirmation window will appear.
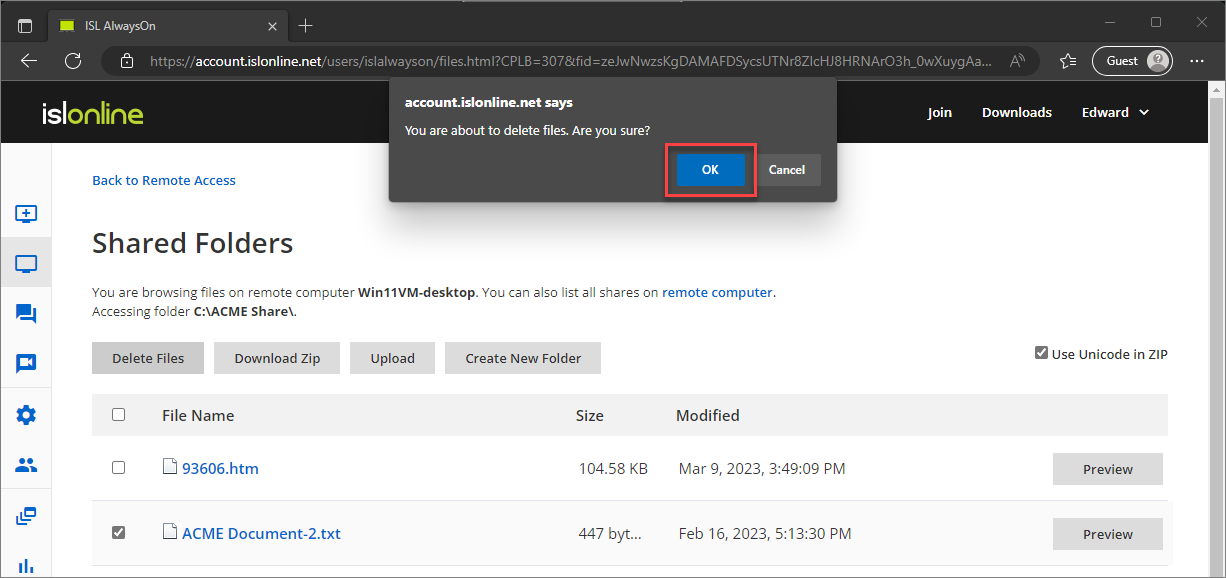
When you click "OK" the file will be deleted from the shared folder.
2. Multiple files download
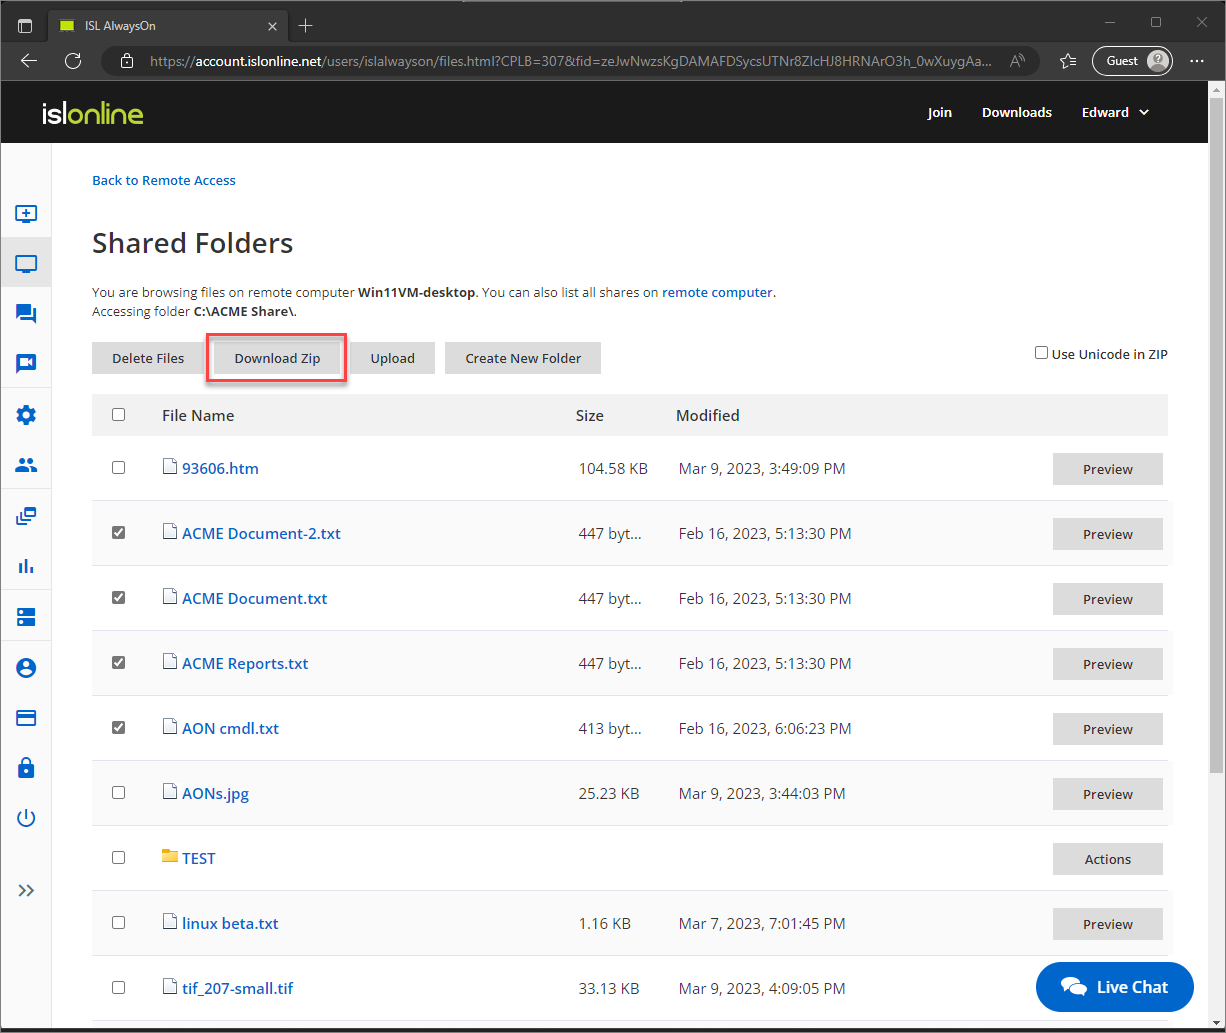
To download multiple files, first, mark the checkbox in front of each file, then click "Download Zip".
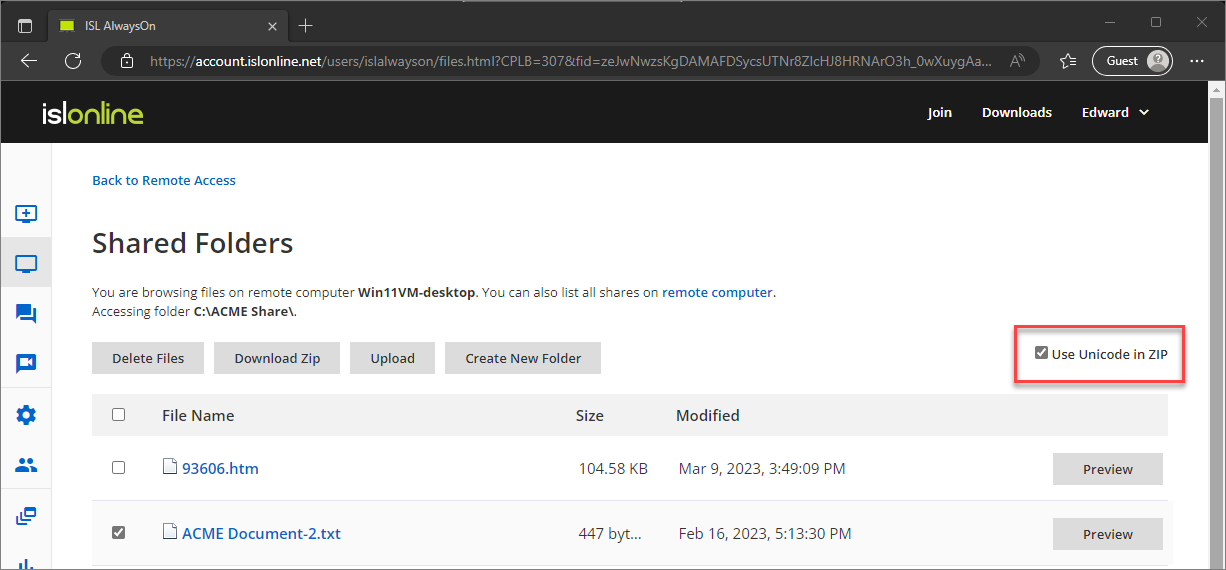
Check the box in front of the "Use Unicode in ZIP" if file names contain Unicode characters.
3. Upload a file
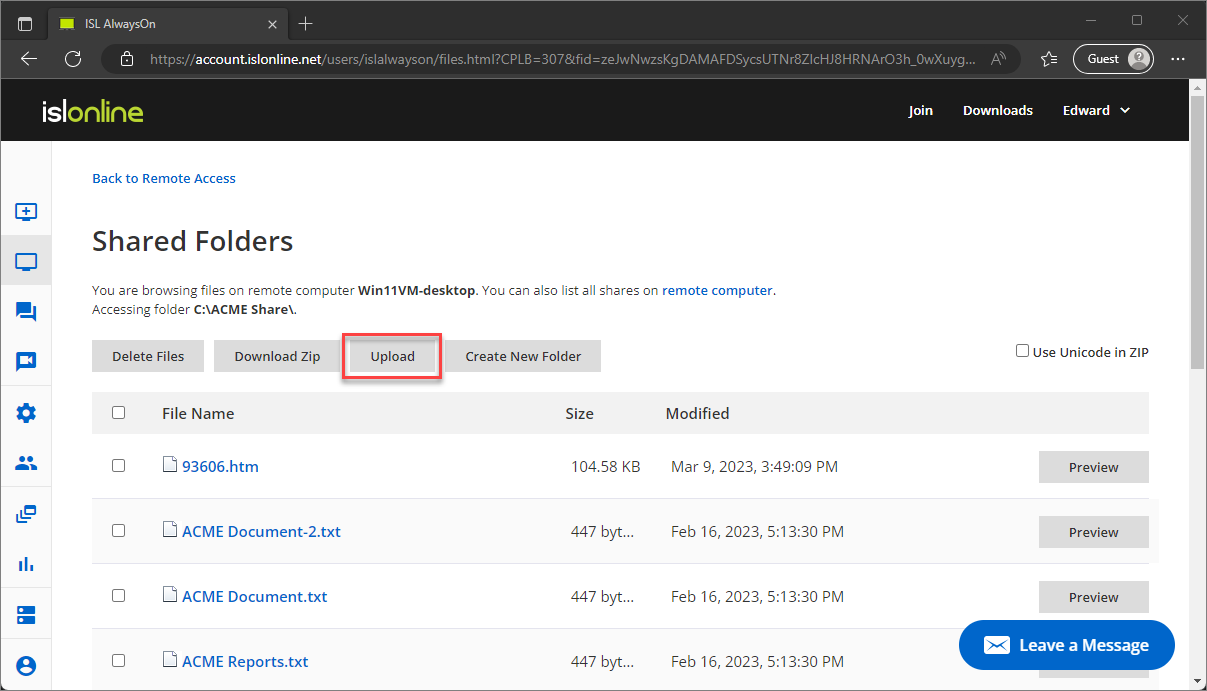
If you wish to upload files to the folder click "Upload" and a file upload screen will open in a new window.
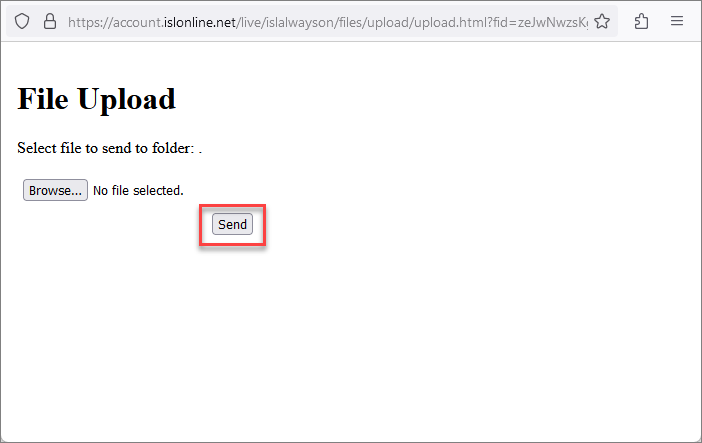
Open a local file manager with "Browse", select the file, and finally click on "Send".
4. Create New Folder
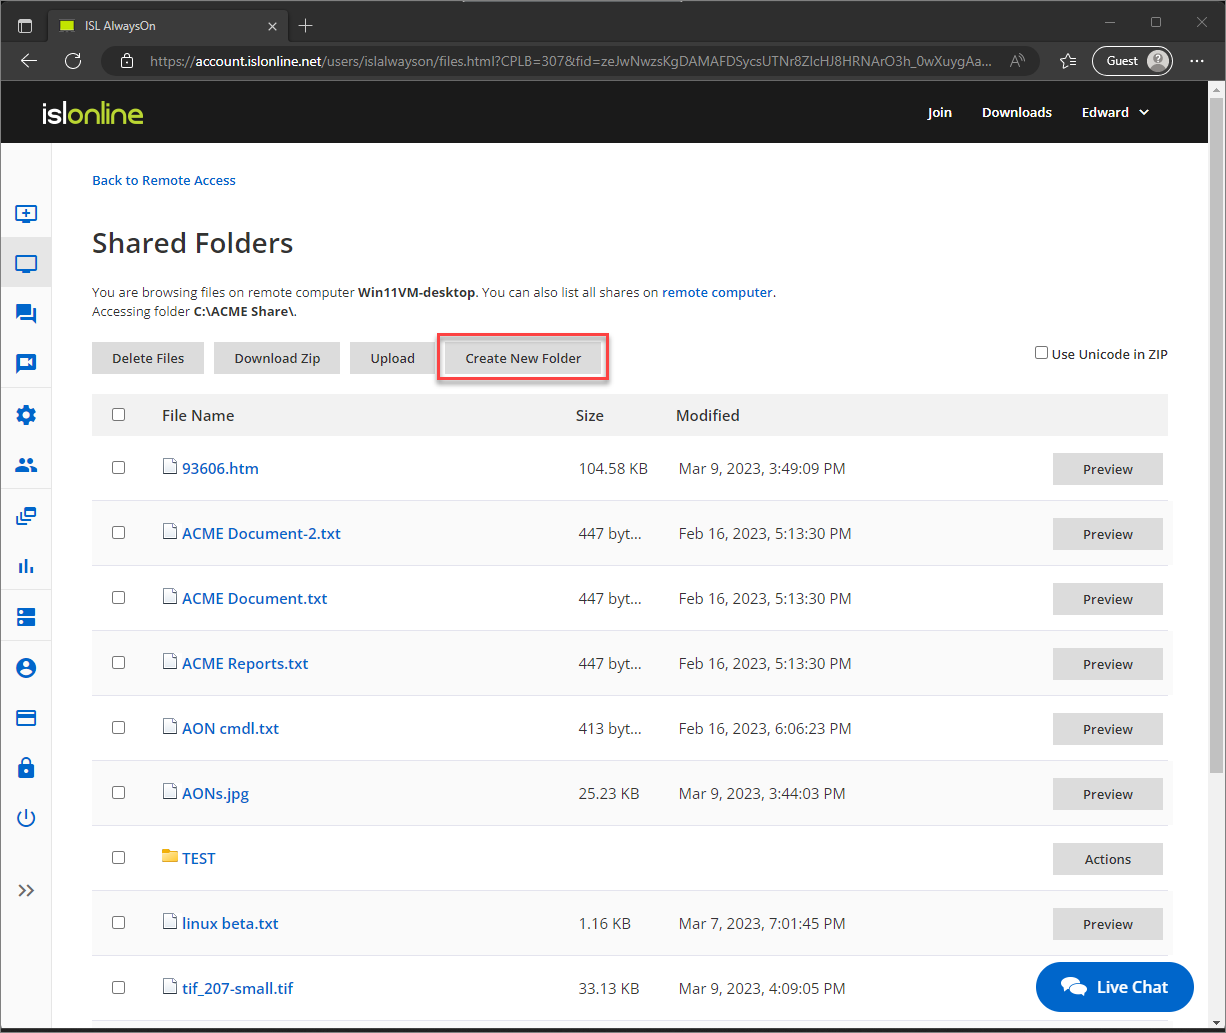
To create a new folder click on the "Create New Folder" button. Enter the folder's name and confirm with "OK".
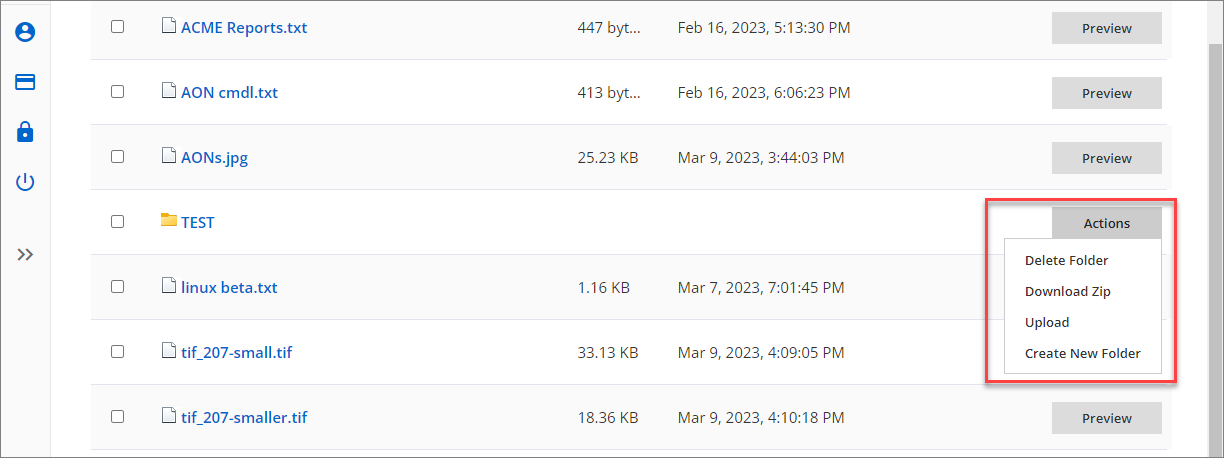
Each folder has an "Actions" button on the far right, which opens a drop-down menu with the following options:
- Delete Folder (remove the folder)
- Download Zip (pack all the files in this folder in a Zip file before downloading)
- Upload (upload a file to this folder)
- Create New Folder (create another subfolder in this folder)
Note: Please make sure the folder is empty before deleting it, otherwise the function will not work.