There are different ways to manage files.
Video Tutorial
File Manager
Step 1
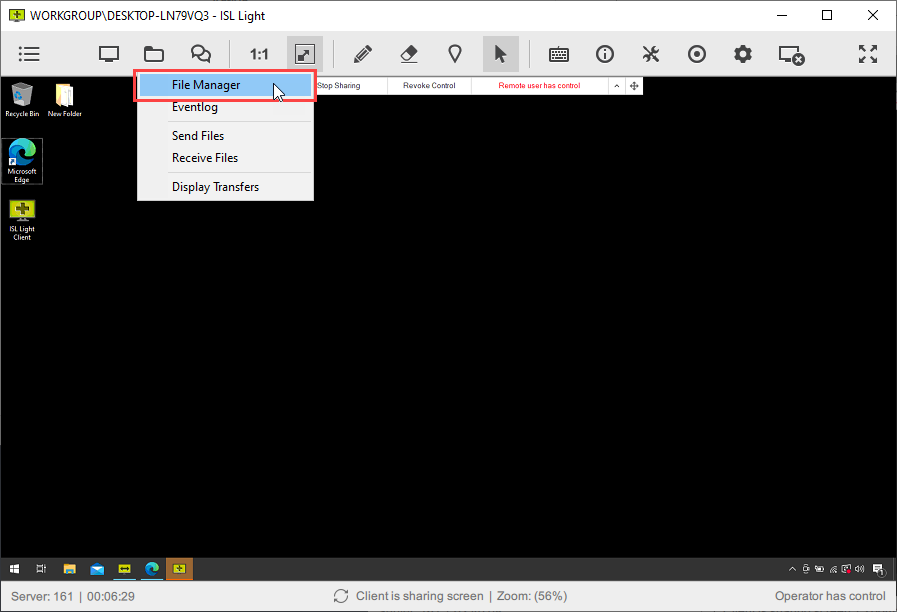
Connect to remote computer and click "File Manager" item from File Sharing drop-down menu.
Step 2 (Client side only)

On File Manager start client will be asked to allow operator to manage his files.
Note: Depending on the level of the audit log the dialogue will be slightly different. The following audit levels are available:
- No Audit - no audit log is created - dialogue above is shown
- Audit Level Basic - log contains filename, size and application version (local & remote) - extended dialogue is shown
- Audit Level Detailed - in addition to what is logged in Audit Level Basic, the log contains paths (local & remote) and file hash - extended dialogue is shown
Note: When connected to unattended computer the permission is granted automatically.
Step 3
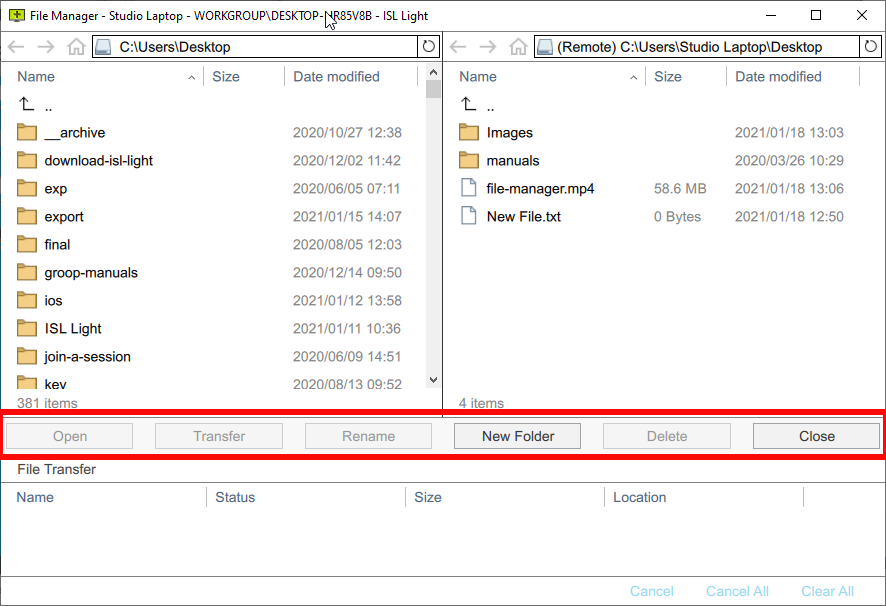
File Manager can be used for various tasks:
Navigation:
- Back (Alt+Left Arrow)
- Forward (Alt+Right Arrow or Shift + Backspace)
- Home (Alt + Home)
- Up to folder (Alt + Up Arrow)
- Focus Path Location (Ctrl + L)
- Deselect (Escape)
Commands:
- Open (Enter)
- Transfer (Ctrl + Enter)
- Rename (F2)
- New Folder (Ctrl + Shift + N)
- Delete (Del)
- Close (Alt + F4)
Step 4
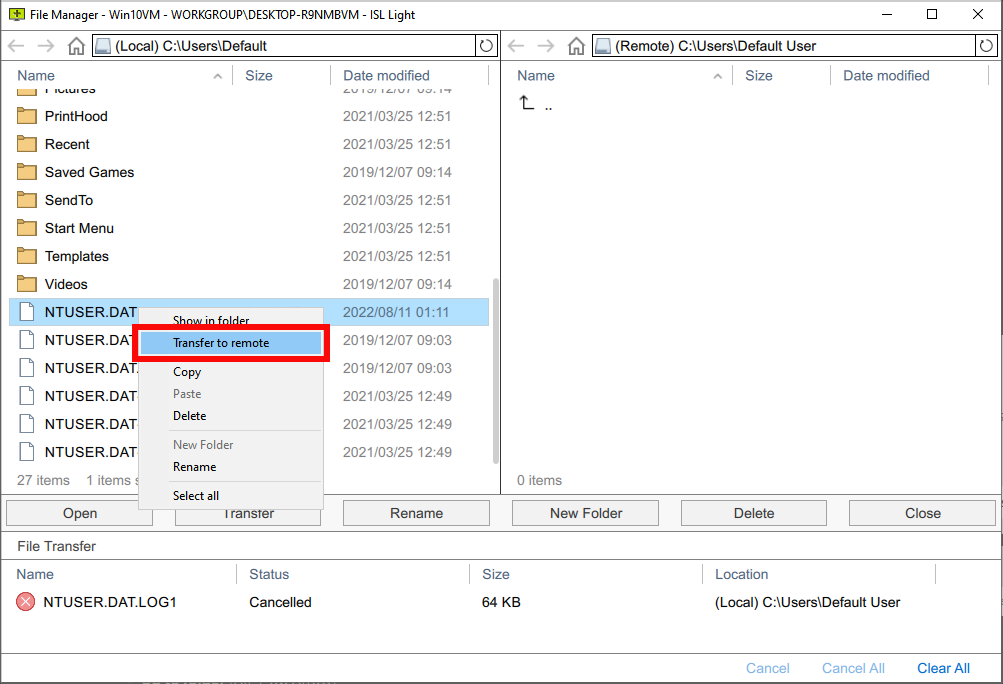
Right-Click on the file with the right mouse button to get the file context menu.
Note: The Transfer command will change accordingly to show weather the file will be transferred to remote or to the local computer.
Eventlog
Step 1
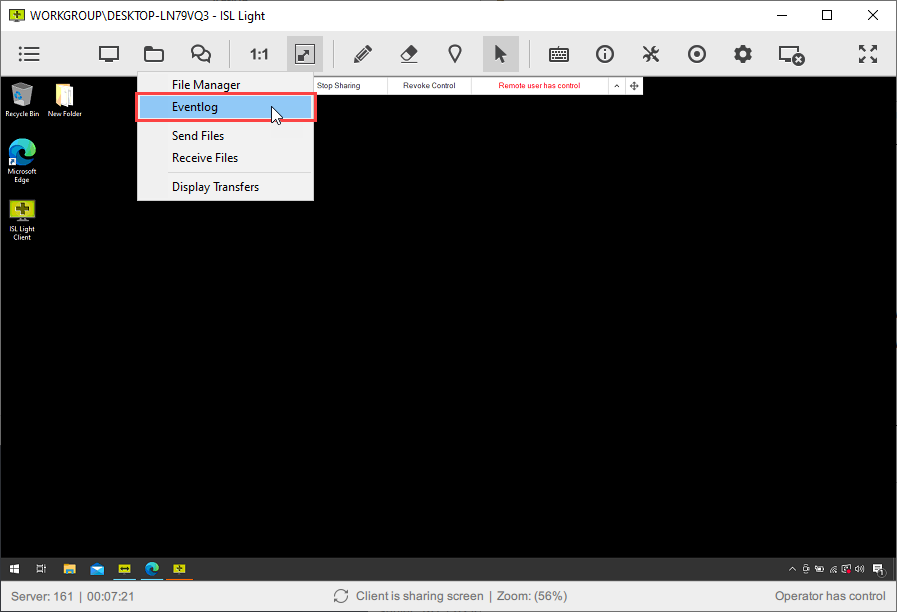
Click "Eventlog" item from File Sharing drop-down menu.
Step 2
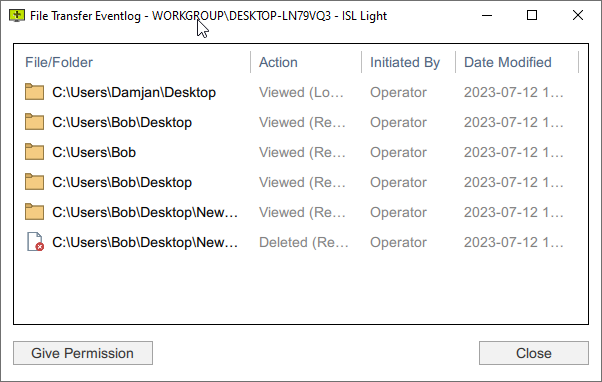
Eventlog opens.
Send Files
Step 1
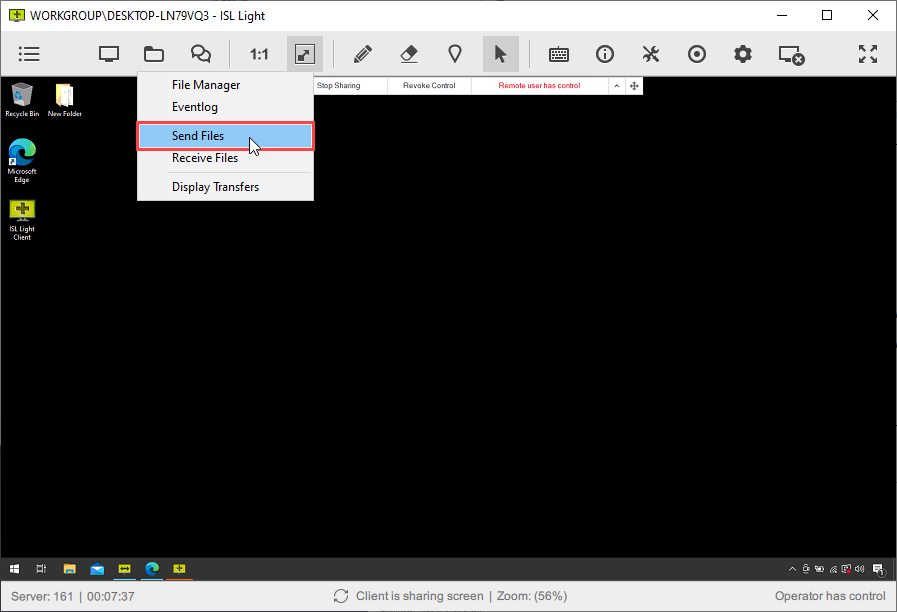
Click "Send Files" item from File Sharing drop-down menu.
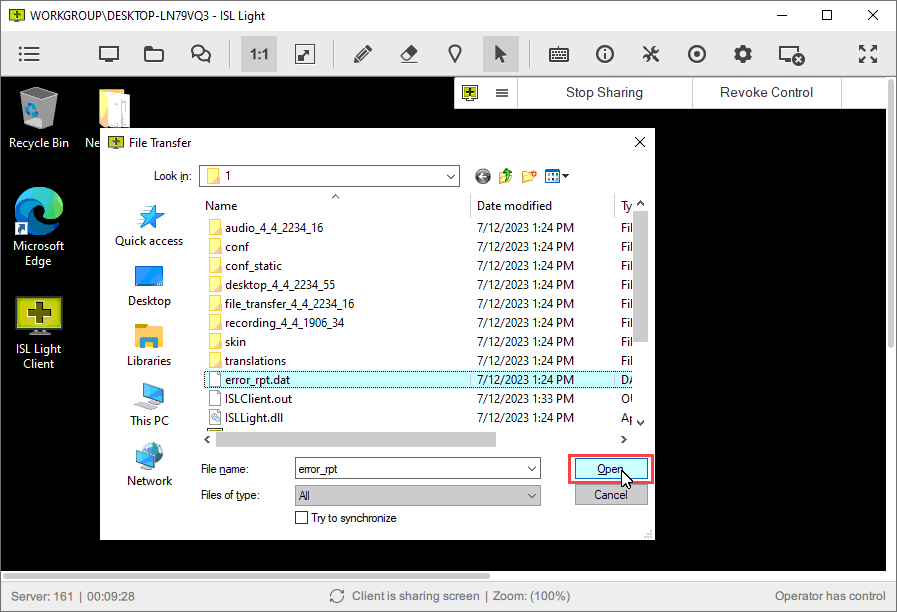
Step 2

Choose file you want to send to remote side and click "Open".
Note: When you send a file without "Try to synchronize" option, the receiving side must decide what to do (Replace/Save (with appended suffix)/Cancel).
With "Try to synchronize" option checked, the remote file is synchronized with new content by renaming the original (for backup) and transferring the new one. If no changes are detected via hash, nothing is sent.
Receive Files
Step 1

Click "Receive Files" item from File Sharing drop-down menu.
Step 2
Choose file you want to send to your side and click "Open".
Note: When you receive a file without "Try to synchronize" option, the receiving side must decide what to do (Replace/Save (with appended suffix)/Cancel).
With "Try to synchronize" option checked, the remote file is synchronized with new content by renaming the original (for backup) and transferring the new one. If no changes are detected via hash, nothing is sent.
Display Transfers
Step 1
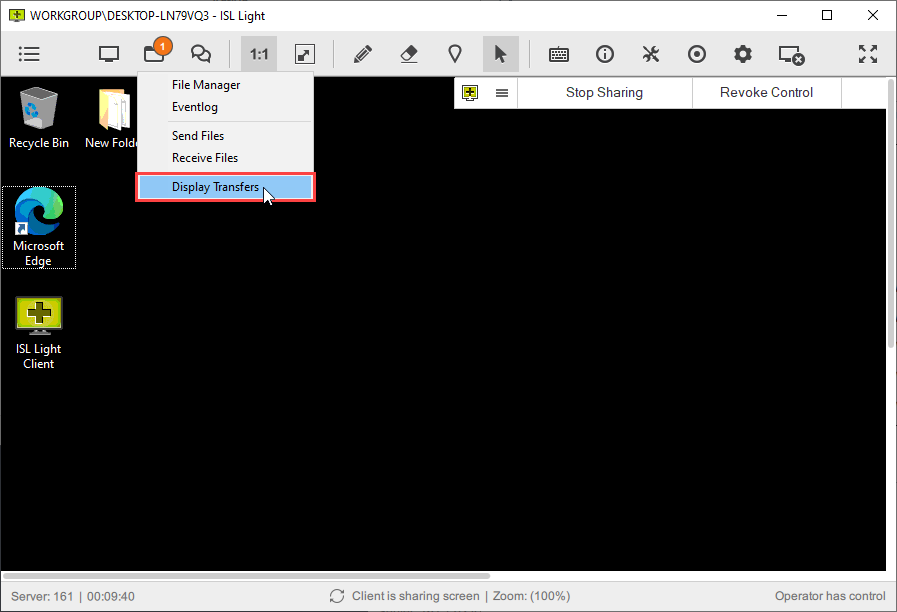
Click "Display Transfers" from File Sharing drop-down menu.
Step 2
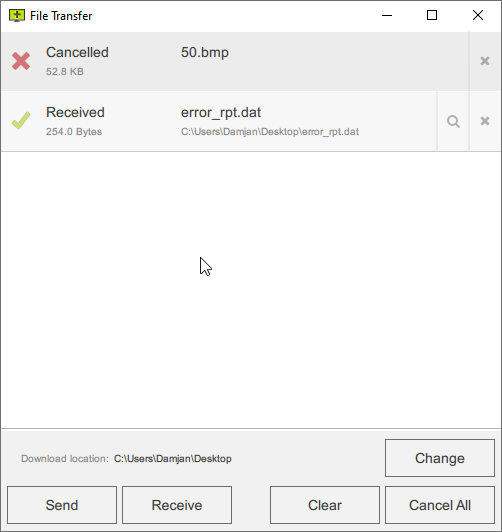
From here you have following options:
- Change the Download location folder. Files sent to you will be saved at that location by default.
- Send files to remote computer. When you click the Send button, the explorer window will open up allowing you to select the files you wish to send. Alternatively you can drag and drop the file you wish to send into the File Transfer window.
- Receive files from remote computer, when you click the Receive button, the explorer window will open up on the remote computer prompting the user on the other side to send you files from his or hers computer. You can alternatively select the files from remote computer by yourself if the remote user granted you control of the computer.
- Clear the file transfer window, information about files that were sent or received and their status will be removed. Files that you receive will remain in the Download location folder and you will have to delete them from there if you wish to remove them.
- Cancel all transfers in progress (incoming and outgoing). The status of a file that was being transferred will be changed to cancelled and the user will have to resend it.