One way to enhance the security of your remote support sessions is by taking advantage of the session recording feature, which enables you to review the activity performed on a remote desktop and chat, for reference or auditing purposes. This is particularly important for organizations that handle sensitive data or need to comply with regulatory requirements.
Note: The recorded sessions are saved in a format called ISR, which supports high-quality recordings while keeping the file size small. You can then play back the recordings with ISL Player, which also offers editing and exporting options to AVI format. You can also enable or disable the session recording feature for all users or individual users, depending on your preferences and security policies.
For additional information about ISL Player, please refer to the ISL Player manual.
Note: You can also set up automatic session recording in ISL Light or ISL AlwaysOn settings. If you enable this feature in ISL Light settings, the recordings will be saved on the operator's computer. If you set it up in ISL AlwaysOn settings, the recordings will be saved on the remote computer.
Video Tutorial
User Manual
Step 1
Start the remote session via the session code or connect to the remote computer on your list.
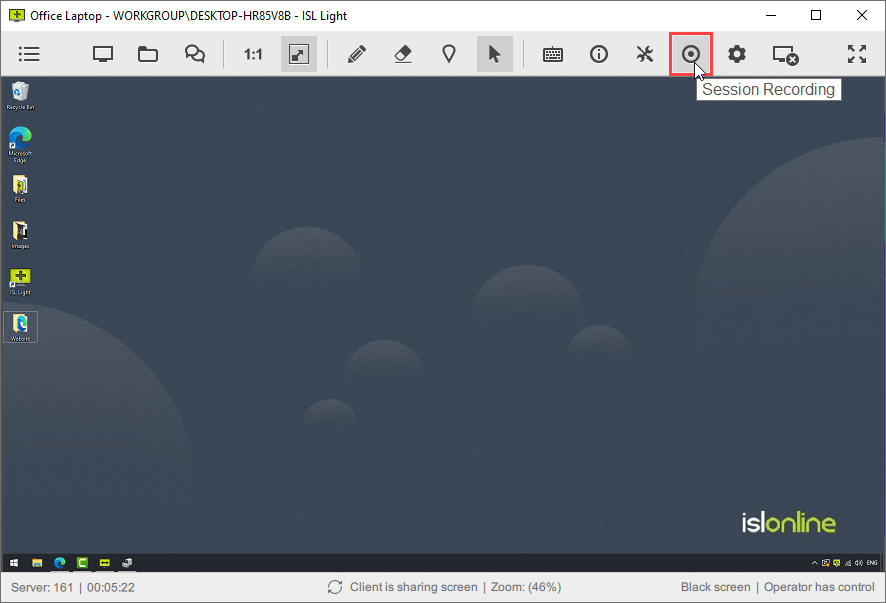
Click the "Session Recording" button in the toolbar to record the remote desktop.
Step 2
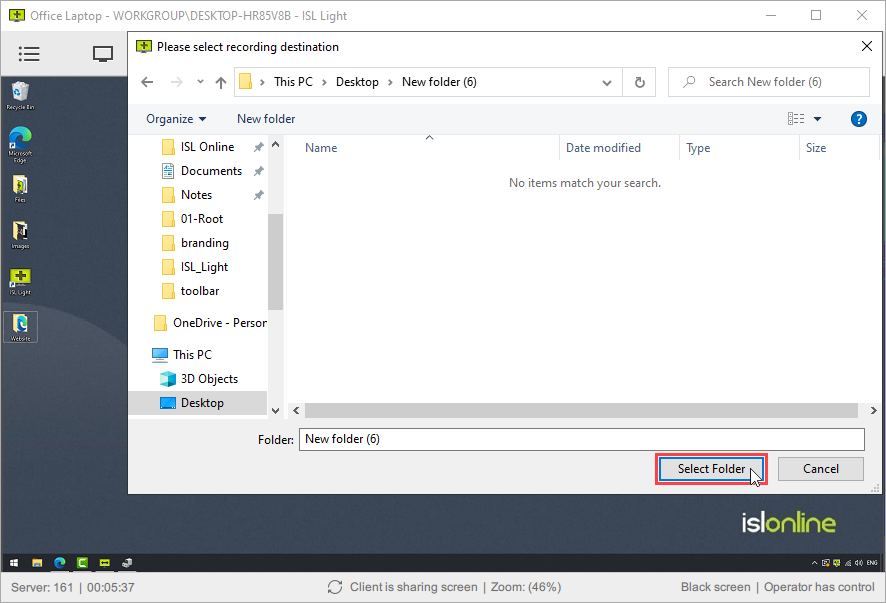
Click "Select folder" once you choose the location for the recording file (.isr) to be saved.
Step 3
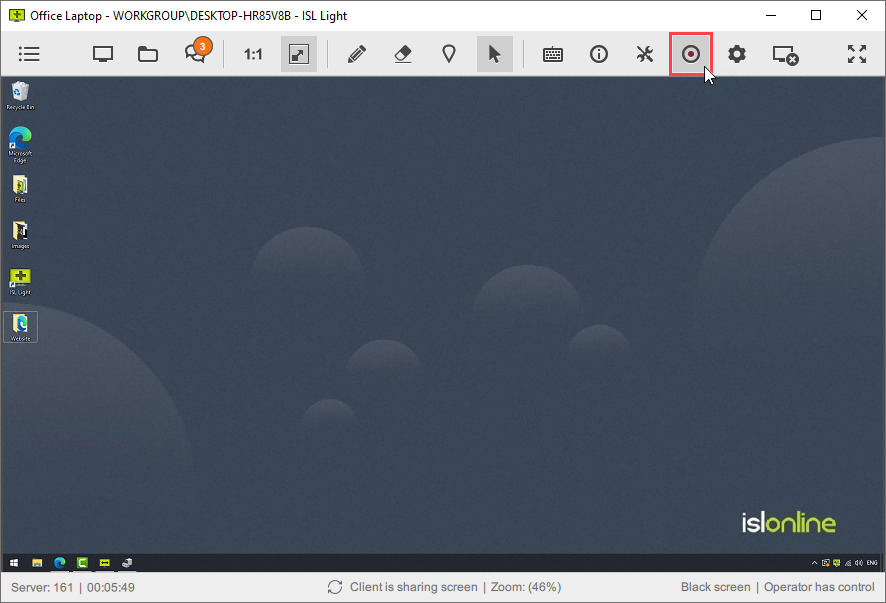
Click the "Session Recording" red button to stop recording the session. The recording will be stopped and saved to the selected location.
Step 4

At the end of the session, you can select "Open" to play the recording with ISL Player.
Step 5
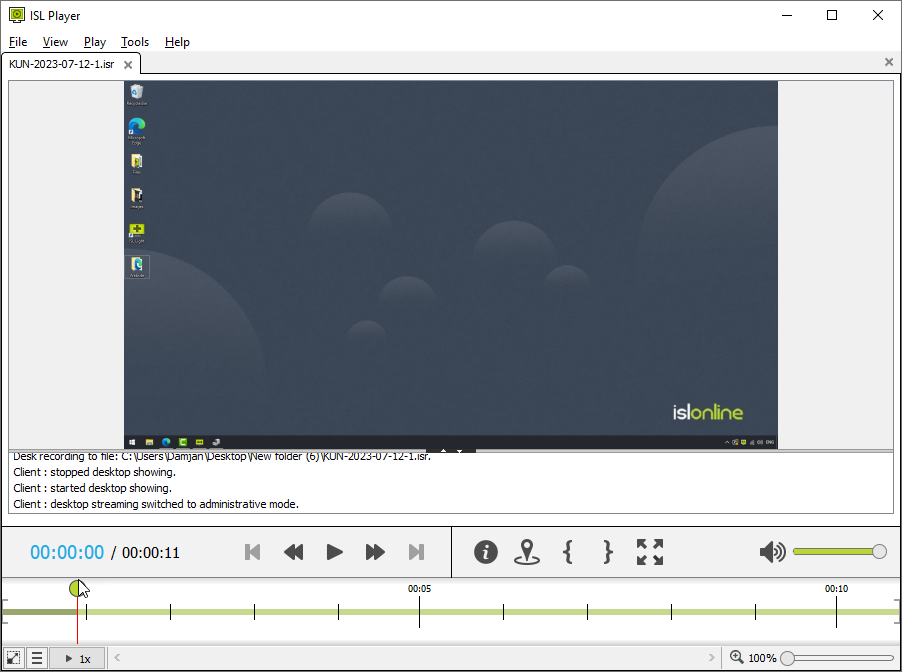
ISL Player will open (or it will be downloaded if it has not been installed) to play the recorded session.